658
Chapter 59:
Working with Oversized Jobs
To pause after printing or plotting panels
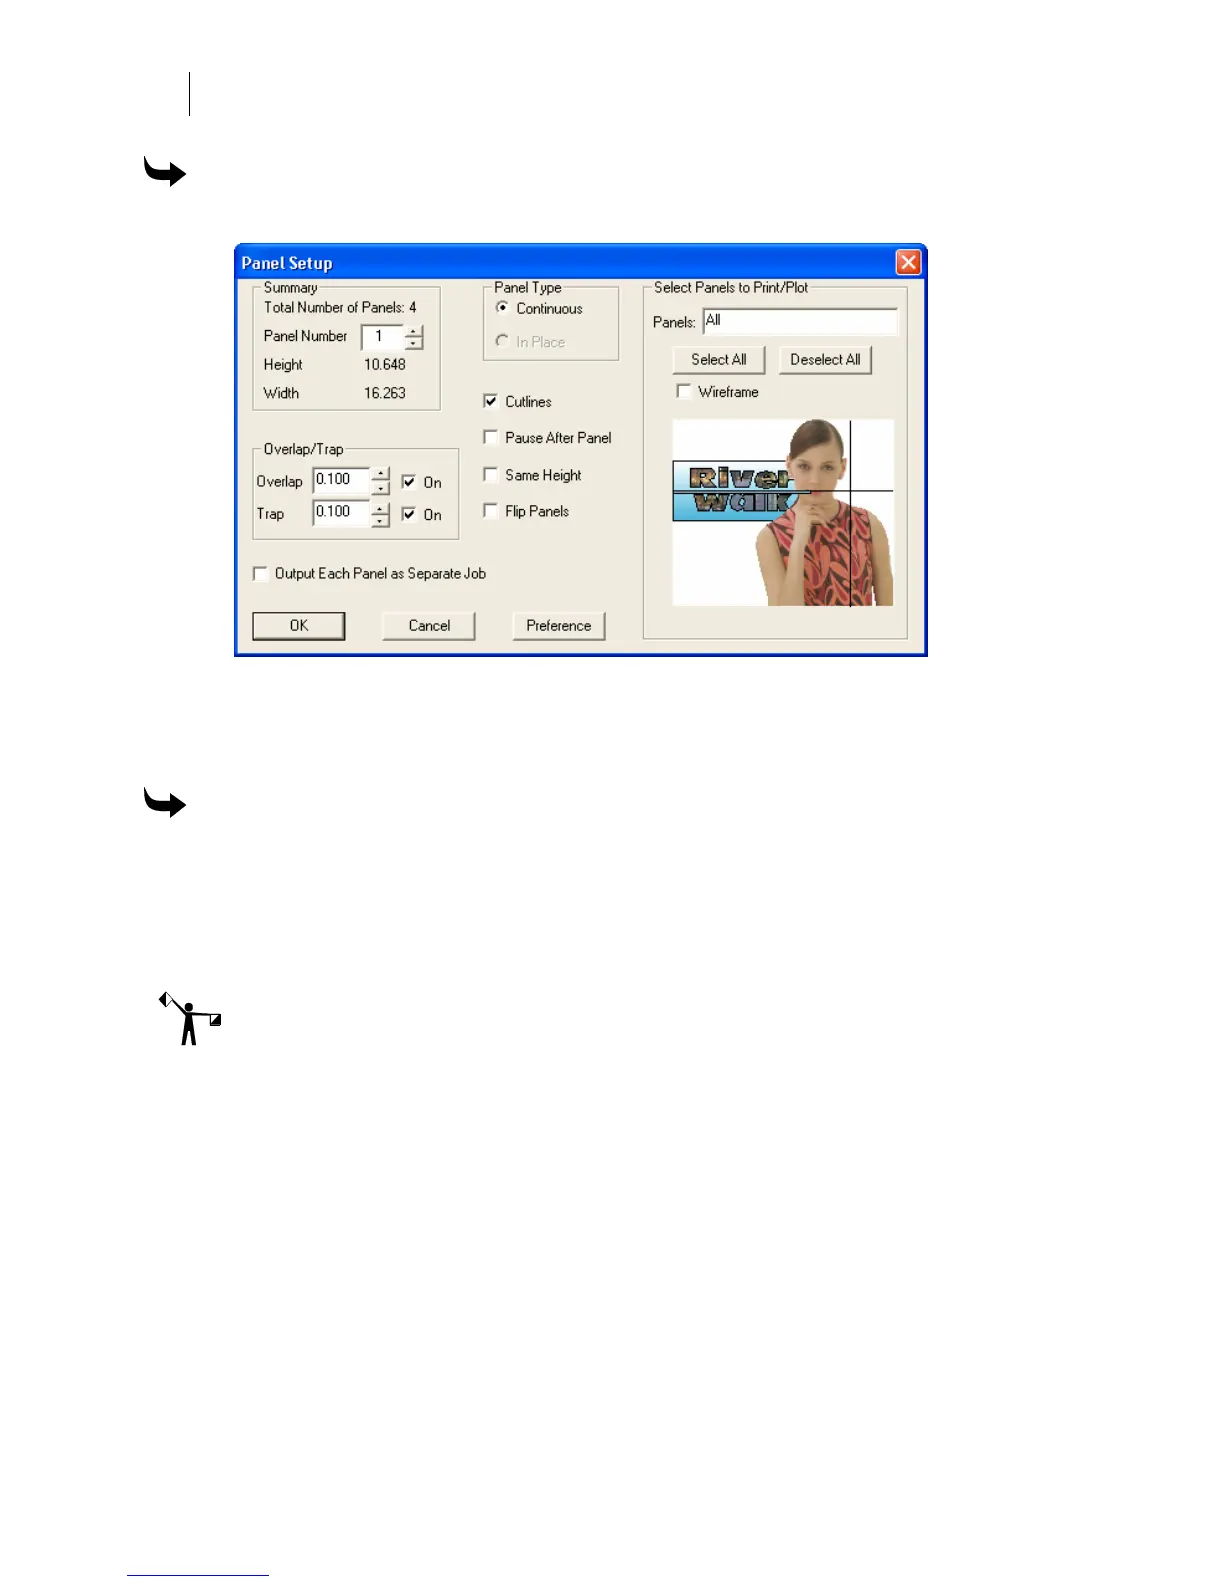
1 Click Layout > Panels to open the Panel Setup dialog box.
2 In Panel Type turn on Continuous.
3 Turn on Pause After Panel.
4 Click OK.
To panel for ease of weeding
1 Click and drag a panel line from the horizontal or vertical ruler.
2 Click Layout > Panels to open the Panel Setup dialog box.
3 In Panel Type turn on In Place.
4 Click OK.
Note: To cut a job using In Place, the entire job must fit on the plotter without panels.
Flipping panels
If there is a noticeable color density difference where panels meet in a multi-panel job, it may be
a good idea to turn on the Flip Panels check box. When checked, every other horizontal panel in
a multi-panel job is printed upside-down. This may provide a closer match between panels
because it can compensate for variations in color density across foils.
Outputting each panel as a separate job
In a multi-panel job − especially one with large panels − you can improve cutting accuracy by
providing registration targets for each panel. Turn on the Output Each Panel as Separate Job
check box. GSPPlot will automatically create a separate spool file for each panel, and each panel
will have its own set of targets. The spool file names will contain the original saved file name
with an “x” suffix (where “x” is the number of the panel).
 Loading...