464
Chapter 42:
Distorting and Warping Objects
Tip: You can access the Distortion command from the Tools
menu, on the Tools toolbar, or by selecting an object and right-
clicking to display the context menu.
3 Choose a distortion type from the list or enter the Type number from the Distortion
Reference Chart.pdf (found on your OMEGA CD).
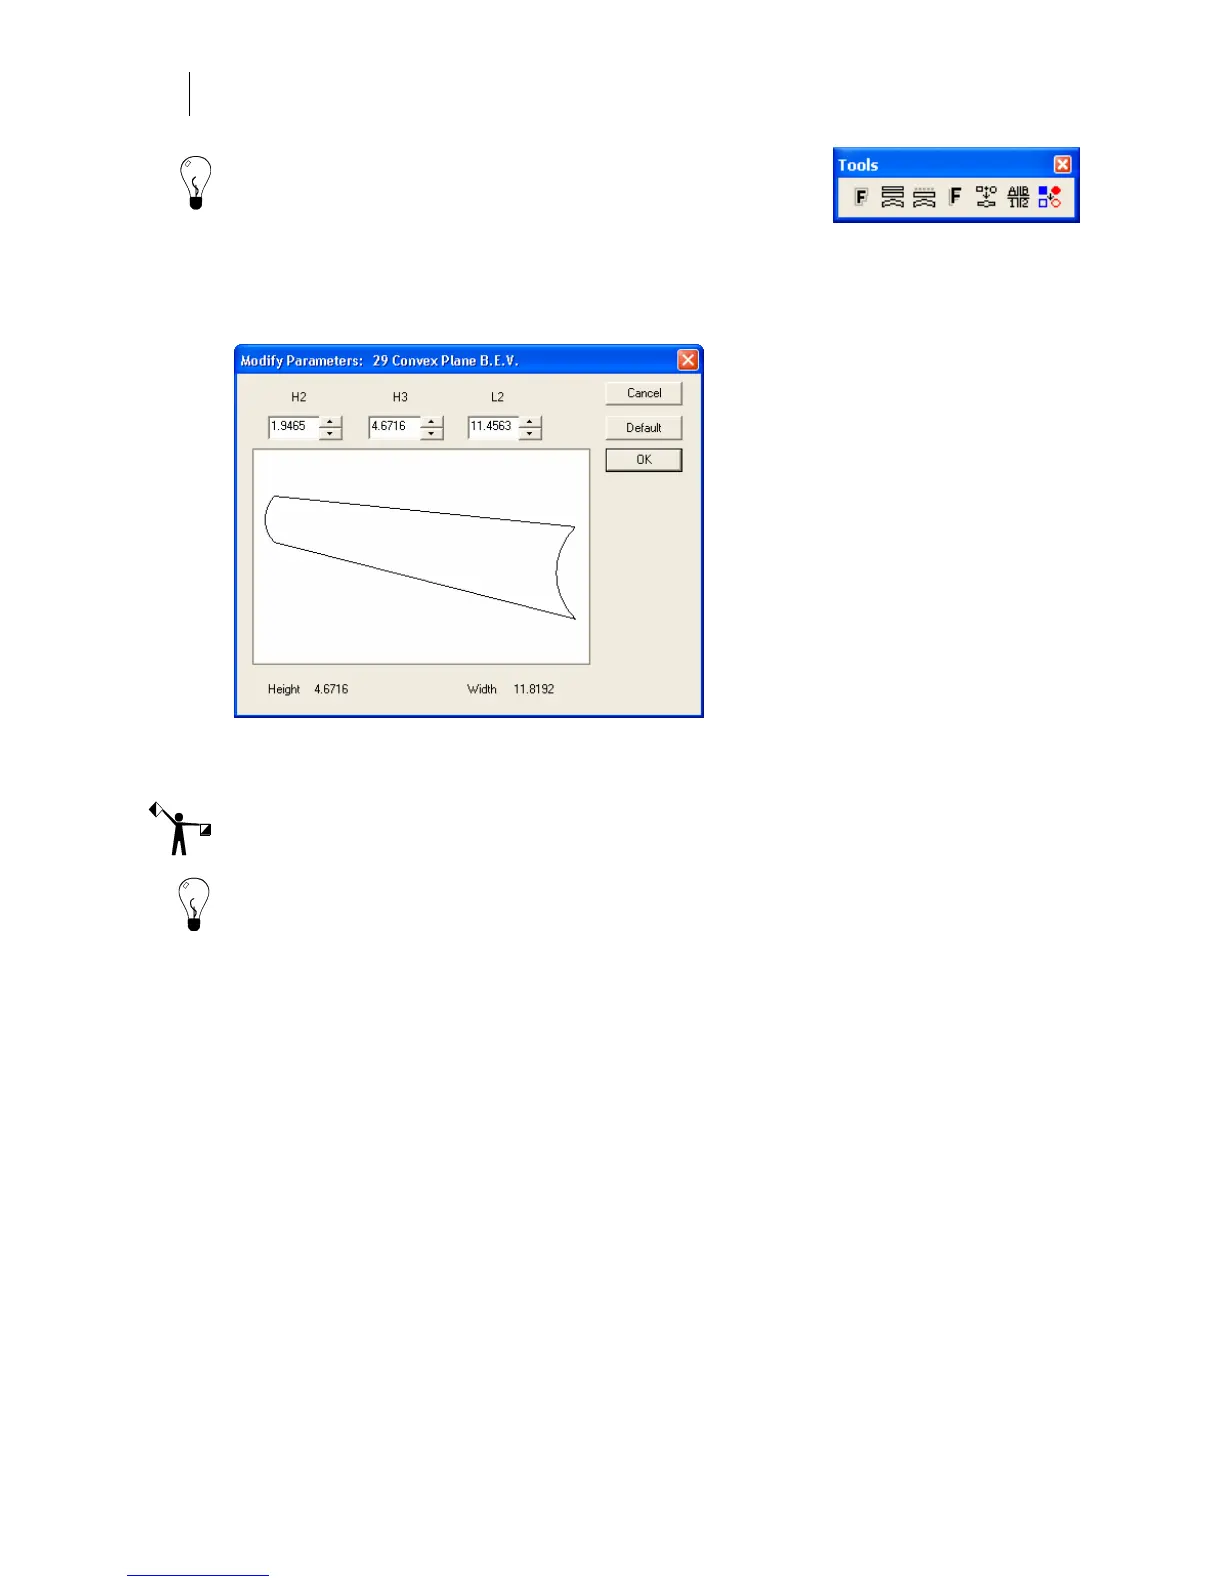
4 Click Continue to open the Modify Parameters dialog box.
5 Use the text boxes or scroll arrows to change the amount of distortion.
6 Click OK. To remove the distortion, Smart Edit and click Distort Off.
Note: To return to the default values, click Default in the Modify Parameters dialog box.
Tip: A shape with a complex gradient fill may be converted to a series of shapes each
containing a single gradient. When distorted as a group, the shapes will have the appearance
of the original single shape with a gradient that follows the path of the distortion. To do this,
export shapes with complex gradient fills to a GAD format with "Export Complex Fills as
Complex Fills" unchecked, then re-import the file.
Warping an object
The Warp option in the Tools menu allows you to create a distortion inside a custom warp
envelope. There are also standard envelopes available in the Warp dialog box. These can be
further modified to create very special effects (see “Detail editing a warp”). If you need to
change the warp, Smart Edit it.
Using a custom warp envelope
You can create your own envelope to use with any object − text or shapes − that you will warp.
Once you have created the envelope and the object to be warped, open the Warp dialog box.
The object automatically warps into your envelope. For example:
 Loading...