465
When selecting, press and hold Shift, click on the envelope first, and then click on the object to
put in the envelope. If you do not, the object will not be in the envelope when you open the
Warp dialog box.
The envelope can be part of the design (print, cut, or print/cut) when you return to the work
surface if you turn on the envelope in the Warp dialog box.
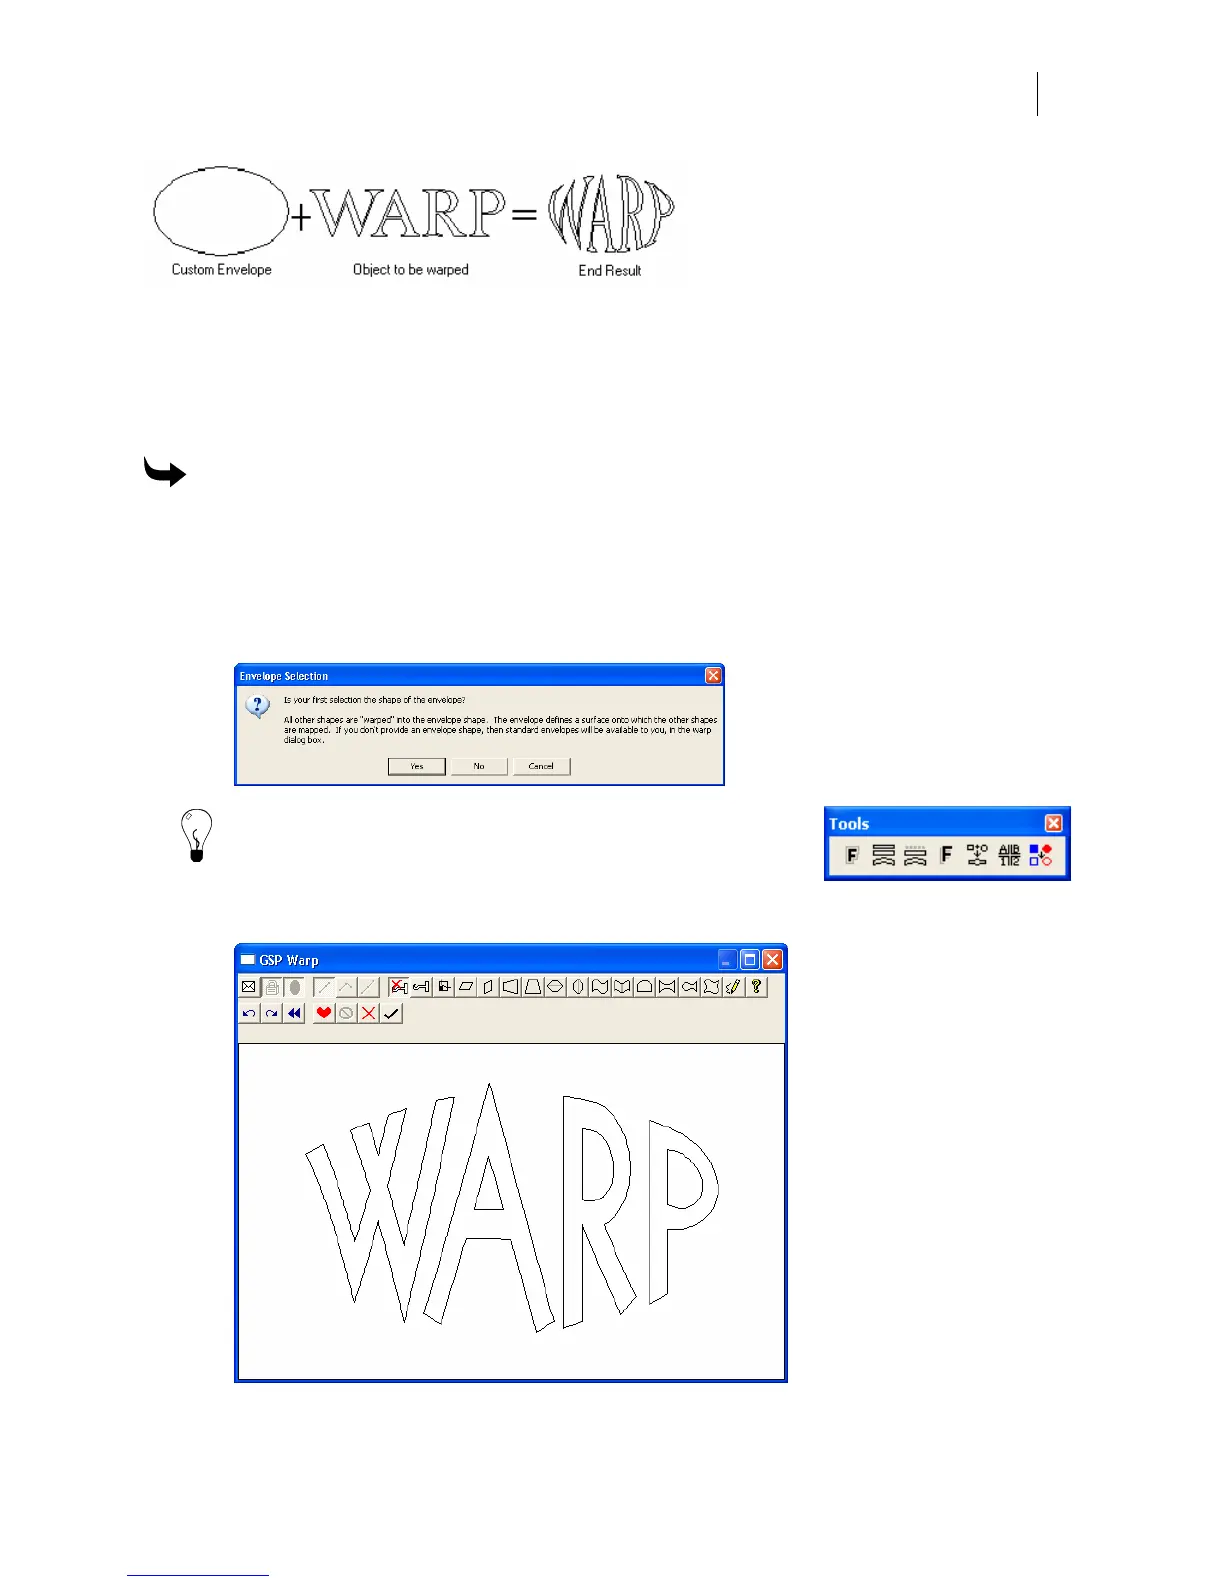
To use a custom envelope
1 Create the warp envelope.
2 Create the object to be warped.
3 Press and hold Shift. Select the envelope first, then the object.
4 Click Tools > Warp to open the Envelope Selection dialog box.
Tip: You can access the Warp command from the Tools menu,
on the Tools toolbar, or by selecting an object and right-clicking
to display the context menu.
5 Choose Yes to open the GSP Warp dialog box.
 Loading...