CHAPTER 6
104
Routine Printer Maintenance
4/29/10 Rev G
move during this procedure. The bottom of the carriage has a shield, hold the shield
in place with your fingers while turning the purge valve set screw. This will keep
the carriage from moving. If it does move, pull it back with your fingers (see photo).
Note: If the carriage is not correctly parked above the waste ink tray, the printer prompts you
to
Move the Carriage to PARK position before Purge. Press ENTER when done. To move to PARK
position, you must grab the carriage by the shield with your fingers and pull until it stops.
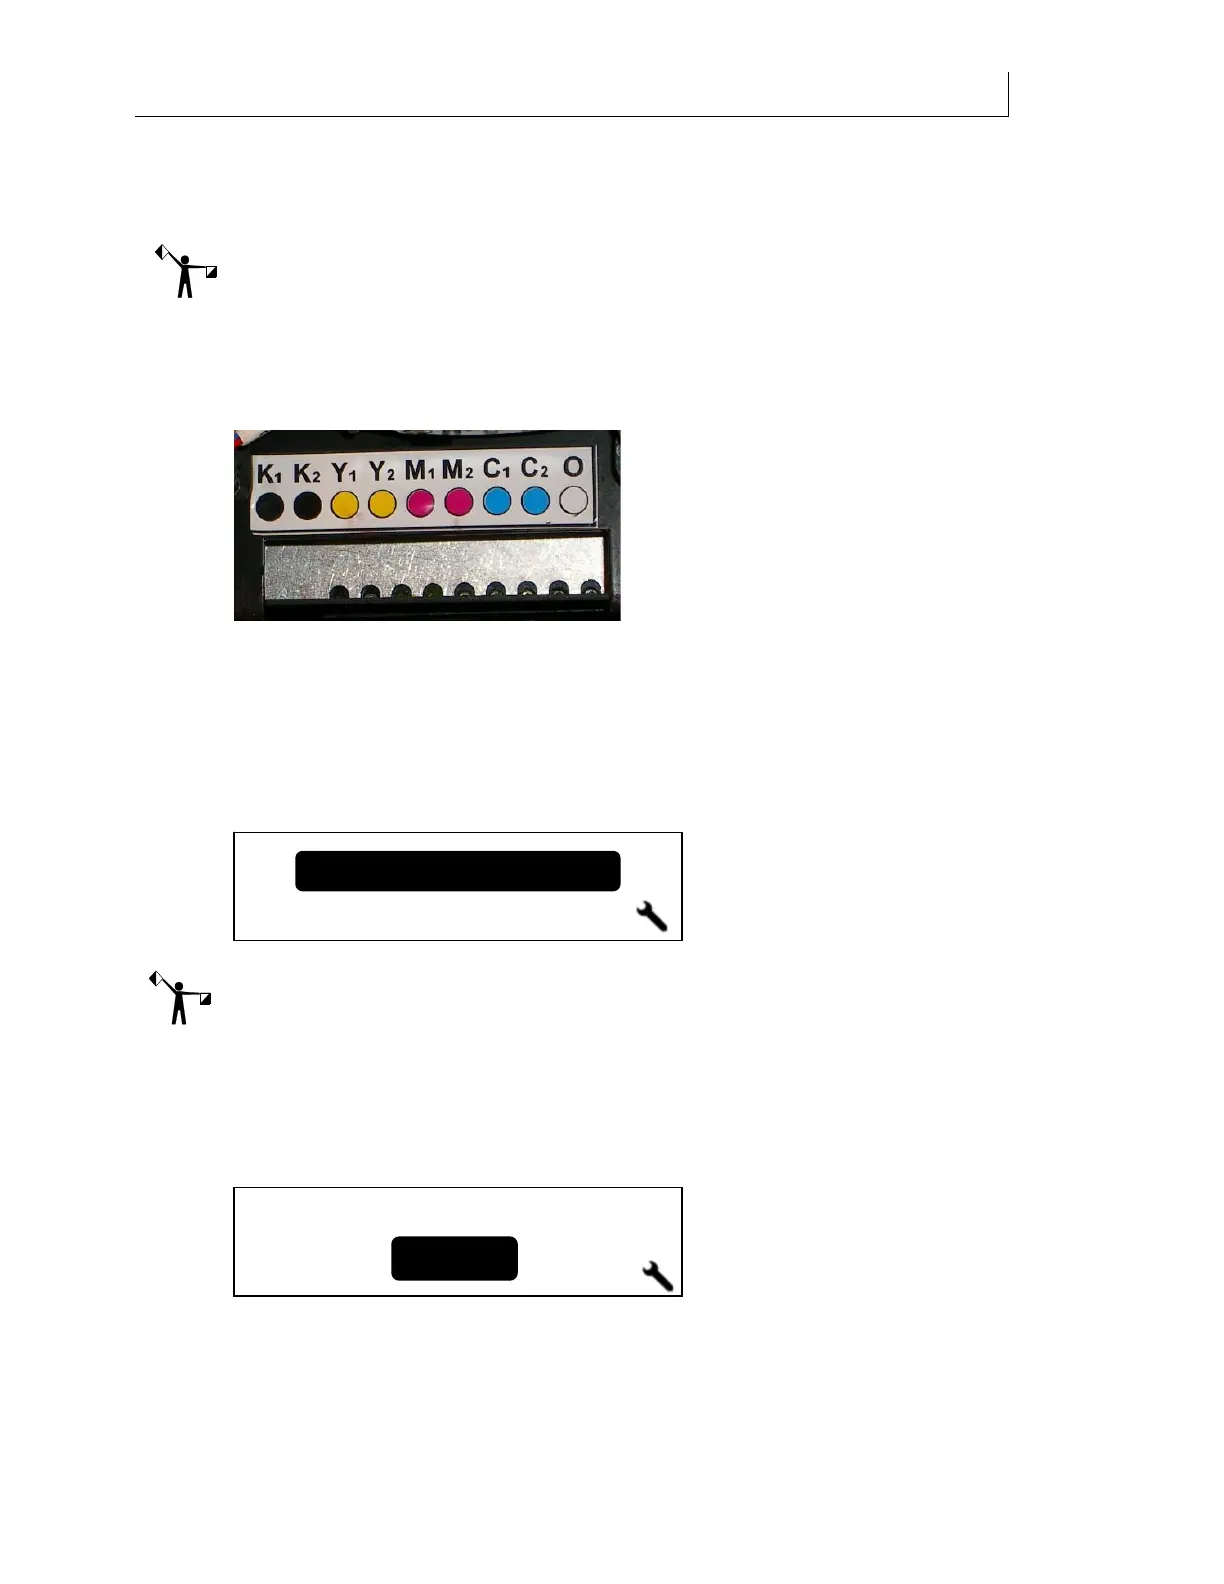
9 Open the first purge valve for the color you wish to purge using the 2mm Allen
wrench. Turn the wrench ¾ to one full turn counterclockwise to open the valve. You
may find a flashlight helpful when locating the valves. Press ENTER when done.
10 The printer displays
Purging… Verify ink flow and a progress bar displays. Observe the
flow of ink coming from the purge ports underside the purge block. It should be a
consistent, rapid flow of drips to a steady stream. If NOT, there may be air in the line
and/or blockage(s) in the purge block. Close the purge valve fully and re-open ¾ to 1
full turn using the Allen wrench. Check the ink flow again. If ink still does not flow in
a steady stream, contact Gerber Service.
11 The printer then prompts you to
Close all purge valves. Press ENTER when done.
Note: The Front Panel may display
Depressurizing, please wait... depending upon how quickly
valves are closed/opened and ENTER is pressed.
12 Using the 2mm Allen wrench, close all purge valves and press ENTER when done.
13 The screen prompts you to select another ink color to purge. If you wish to purge
another ink color, use the arrow keys to select
Yes. The Choose Color screen displays and
you can begin the purge sequence again with a different color. If you are done, select
No to continue.
14 When all purging is complete the system prompts you to
Clean the Purge Block. Press
ENTER when done
. Moisten a swab by applying 1 drop per side of Daily Maintenance
Solution to clean the purge block, which is located directly under the purge valves. Be
sure to swab the entire underside, not just the outer edge. Do this to remove any
Yes
No
Another Color?
Close all purge valves
Press ENTER when done