CHAPTER 6
117
Routine Printer Maintenance
4/29/10 Rev G
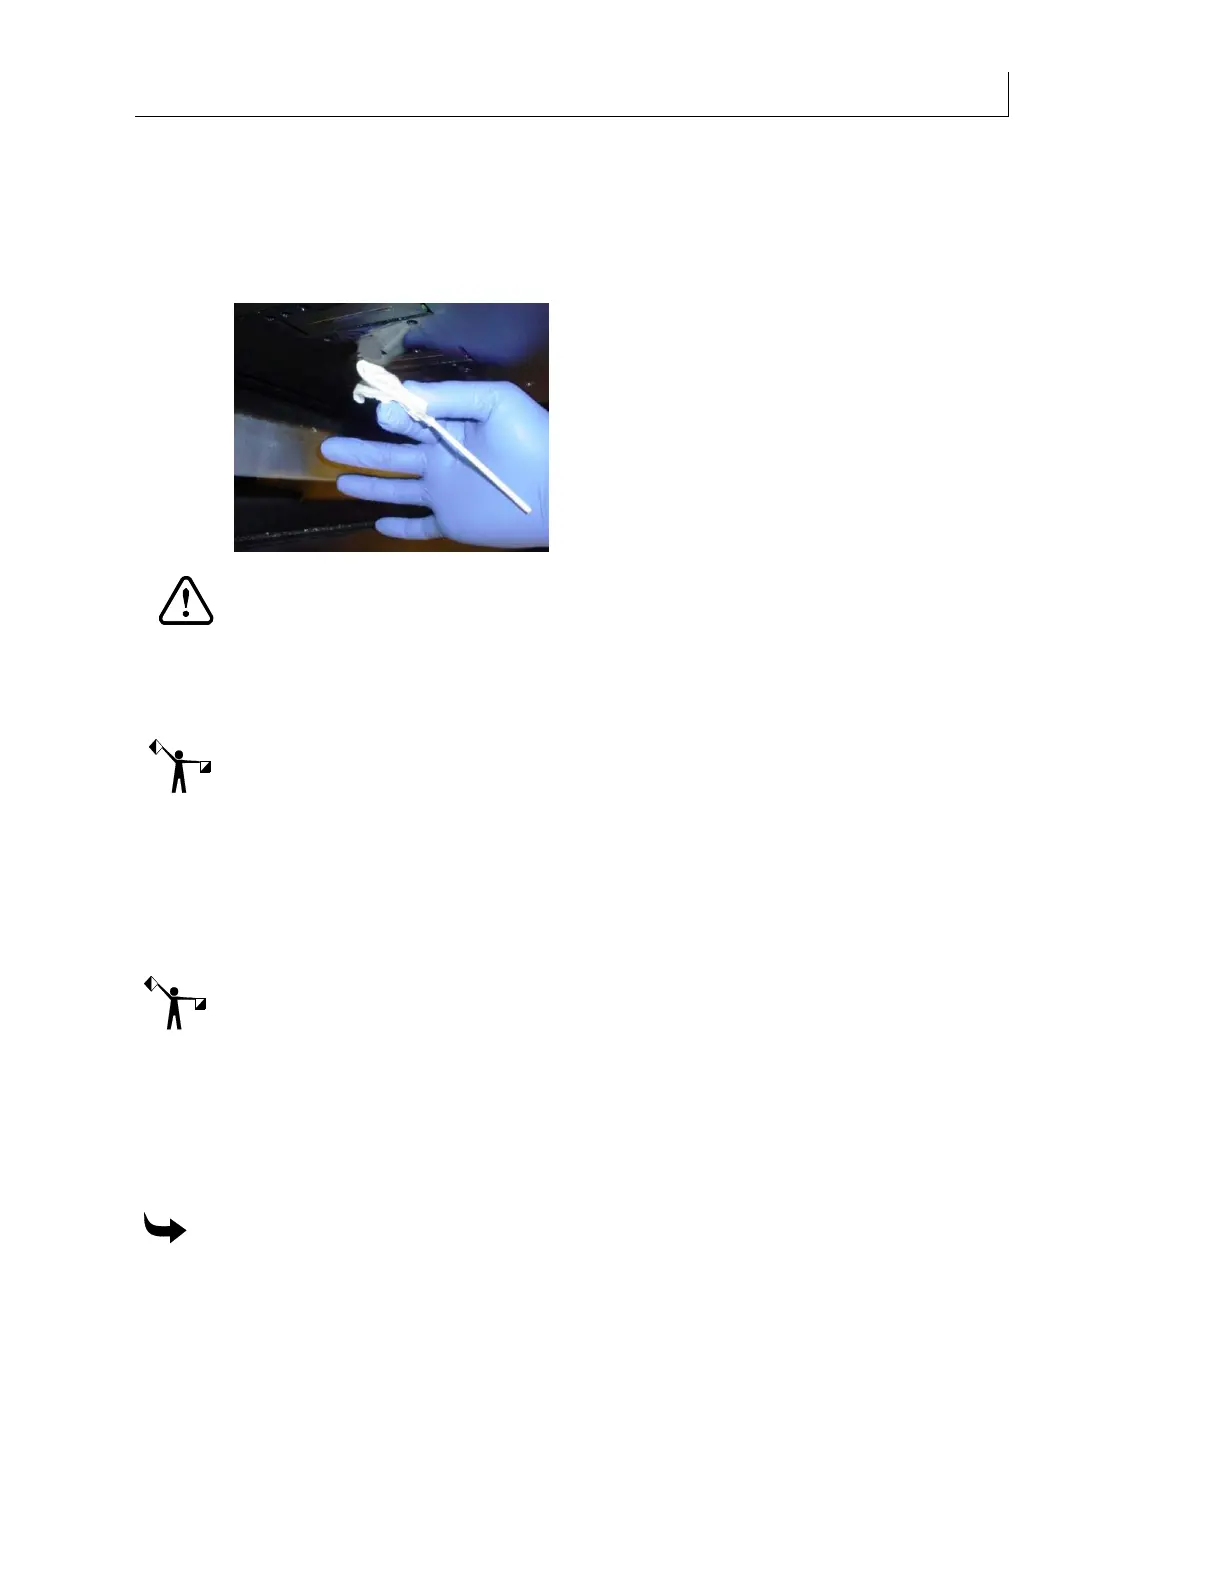
21 Place 3-5 drops of Daily Maintenance Solution onto a new Anticon-covered swab. See
photo above.
22 Wipe the left-most printhead from back to front 2 times at a 45 angle, using light
pressure, by holding the swab in the middle of the stick, between the thumb and index
finger as pictured below.
CAUTION: Never reuse old swabs to clean the printhead. Never use the same
Anticon-covered swab on two different color printheads.
23 Repeat the previous steps for the remaining heads, moving from left to right, and
using a new Anticon-covered swab for each color printhead. The printer prompts you
to
Raise shelf when done.
Note: Prior to raising the Maintenance Shelf, be sure to complete all steps for all printheads
and check the UV shield and side plates for presence of wet and/or cured ink. If PRESENT in
either form, see “Cleaning the sliding UV Shield and side plates” instructions starting on page
88 prior to proceeding.
24 Dispose of s
wabs and wipes according to state and local laws and regulations.
25 Raise the Maintenance Shelf when complete. After raising the maintenance shelf, the
printer returns to the home position. The
Printer Ready screen displays.
Note: A
Nozzle Out recommended message may appear which suggests that the ink reservoir
might have been exhausted during the recent procedure(s). This should be ignored as it is only
occurring because it resides in firmware and serves as a precautionary function under normal
operating conditions.
Filling with GerberCAT Flush
Use the Fill Ink Line command in the Maintenance section
of the printer’s menu to load
GerberCAT Flush into the printer.
To fill with GerberCAT Flush
1 Insert a GerberCAT Flush pouch in all the ink drawers. Close the drawers.
2 From the main control panel press the MENU key. The
Status screen displays.
3 Press the or key until the
Maintenance screen displays. Press ENTER.
4 The
End of Day Clean screen displays.
 Loading...


