MAN0923_Issue 3_04/15 Touchpoint Pro
Operating Instructions
42
3. Mechanical Installation
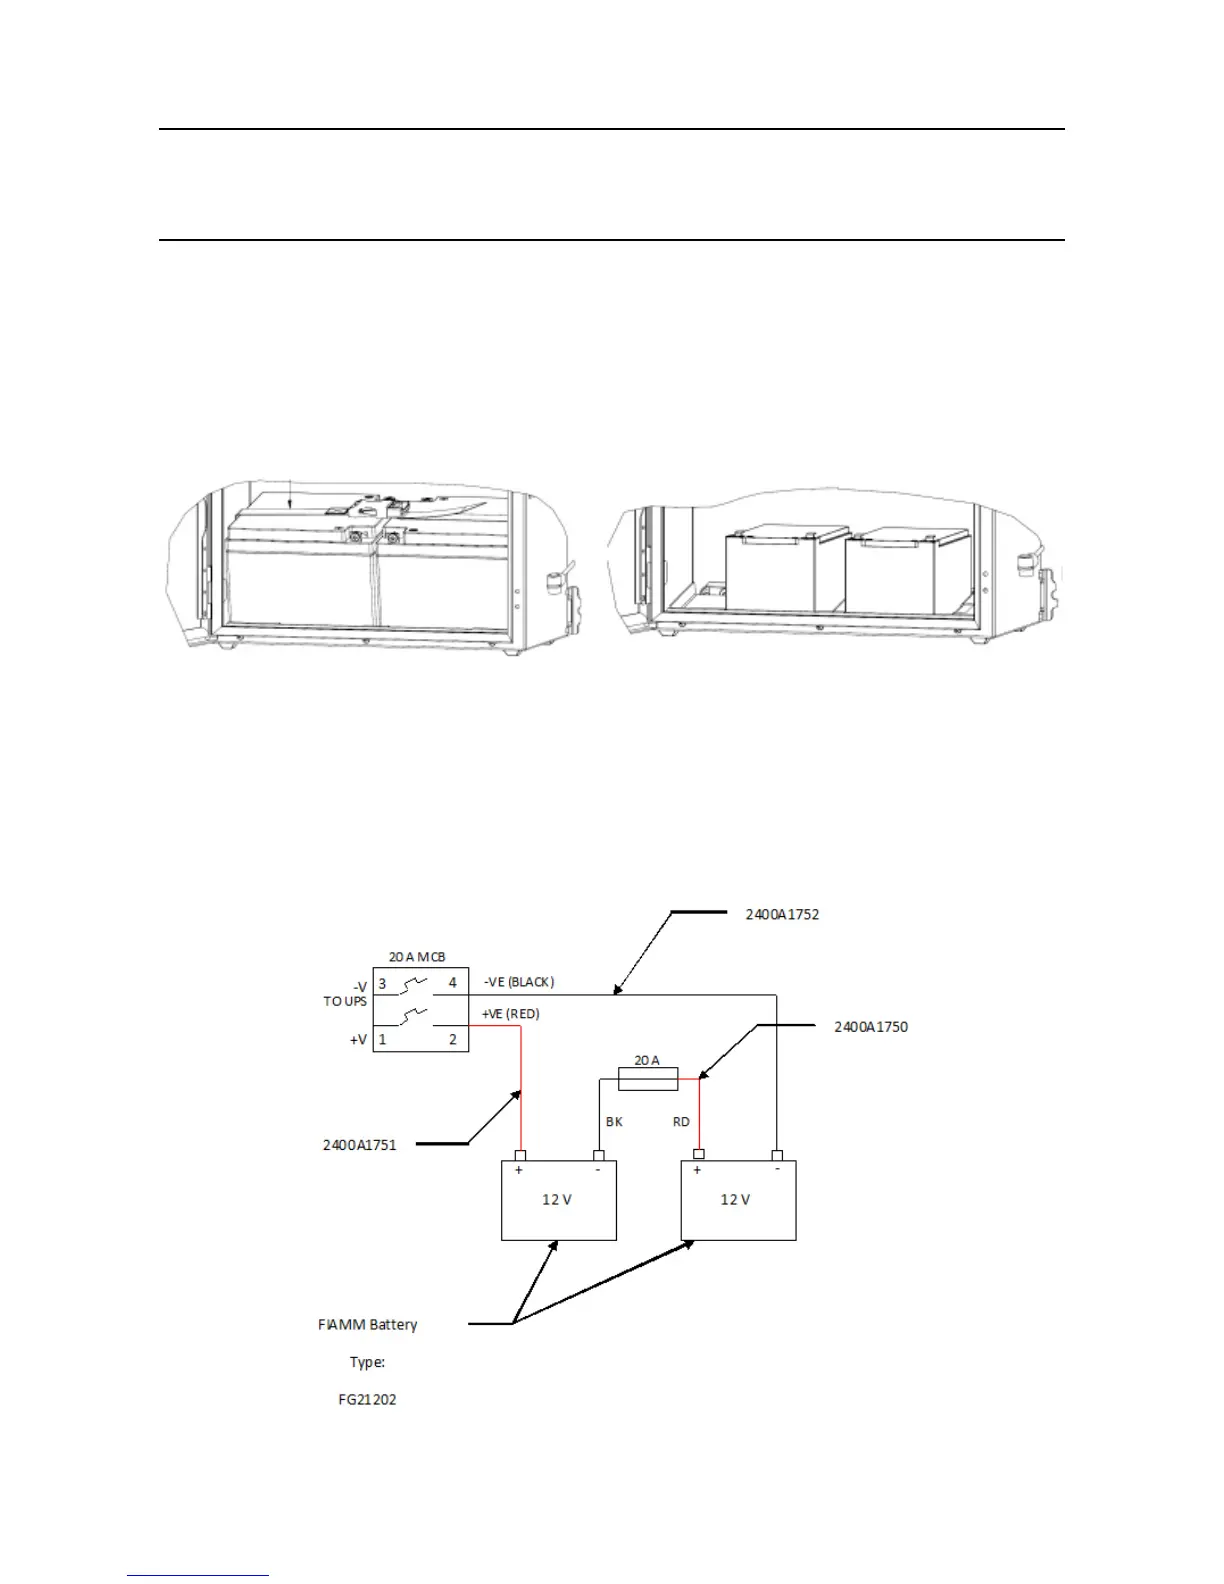
3. Inserttherstbatteryandslidetotheright.
Note: The battery mounting plate is offset. Fit the right hand battery rst to avoid the second battery being
restricted by the enclosure.
4. Insert the second battery.
Note: Ensure that the batteries are orientated as shown in the diagram, large batteries with the terminals at
the centre of the enclosure, small batteries with the terminals at the front of the enclosure.
5. Place the securing strap around the batteries, connect the buckle and pull it tight.
6. Connect the Red wire from the box terminal to the positive terminal of the left hand battery.
7. Connect the Black wire from the box terminal to the negative terminal of the right hand battery.
8. Connect the cable and fuse assembly between the remaining two battery terminals, red to positive,
black to negative.
9. Identify the required cable entry points. Unscrew and remove the cable gland plate.
 Loading...


