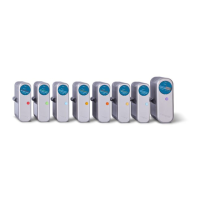
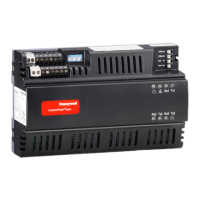
Figure 8.5 Clip the module into place
2. If not already logged in, login with a valid administrator level user name
3. From the Home screen select the Extras icon then System Conguration
4. Re-enter the password and press Login
5. Initialise the Ring Network. The newly inserted module will appear in the System Setup Tree
6. Select the new module and commission it
7. Commission each channel in turn
Note: See the chapter Commissioning for detailed instructions if required
8.6 How to Remove or Decommission an I/O Module
WARNING
If the relays are switching mains voltages, hazardous live terminals may be present within the
Relay Output Module even if the Touchpoint Pro system is isolated.
Caution: When installing or replacing an I/O module, avoid static discharge
Note: Administrator level access is required
1. If not already logged in, login with a valid administrator level user name
2. FromtheSystemStatusscreenselecttheExtrasiconthenSystemConguration
3. Re-enter the password and press Login
4. In the System Setup Tree, highlight the module to be removed and expand to show its channels
 Loading...
