Repair information 4-109
5057-XXX
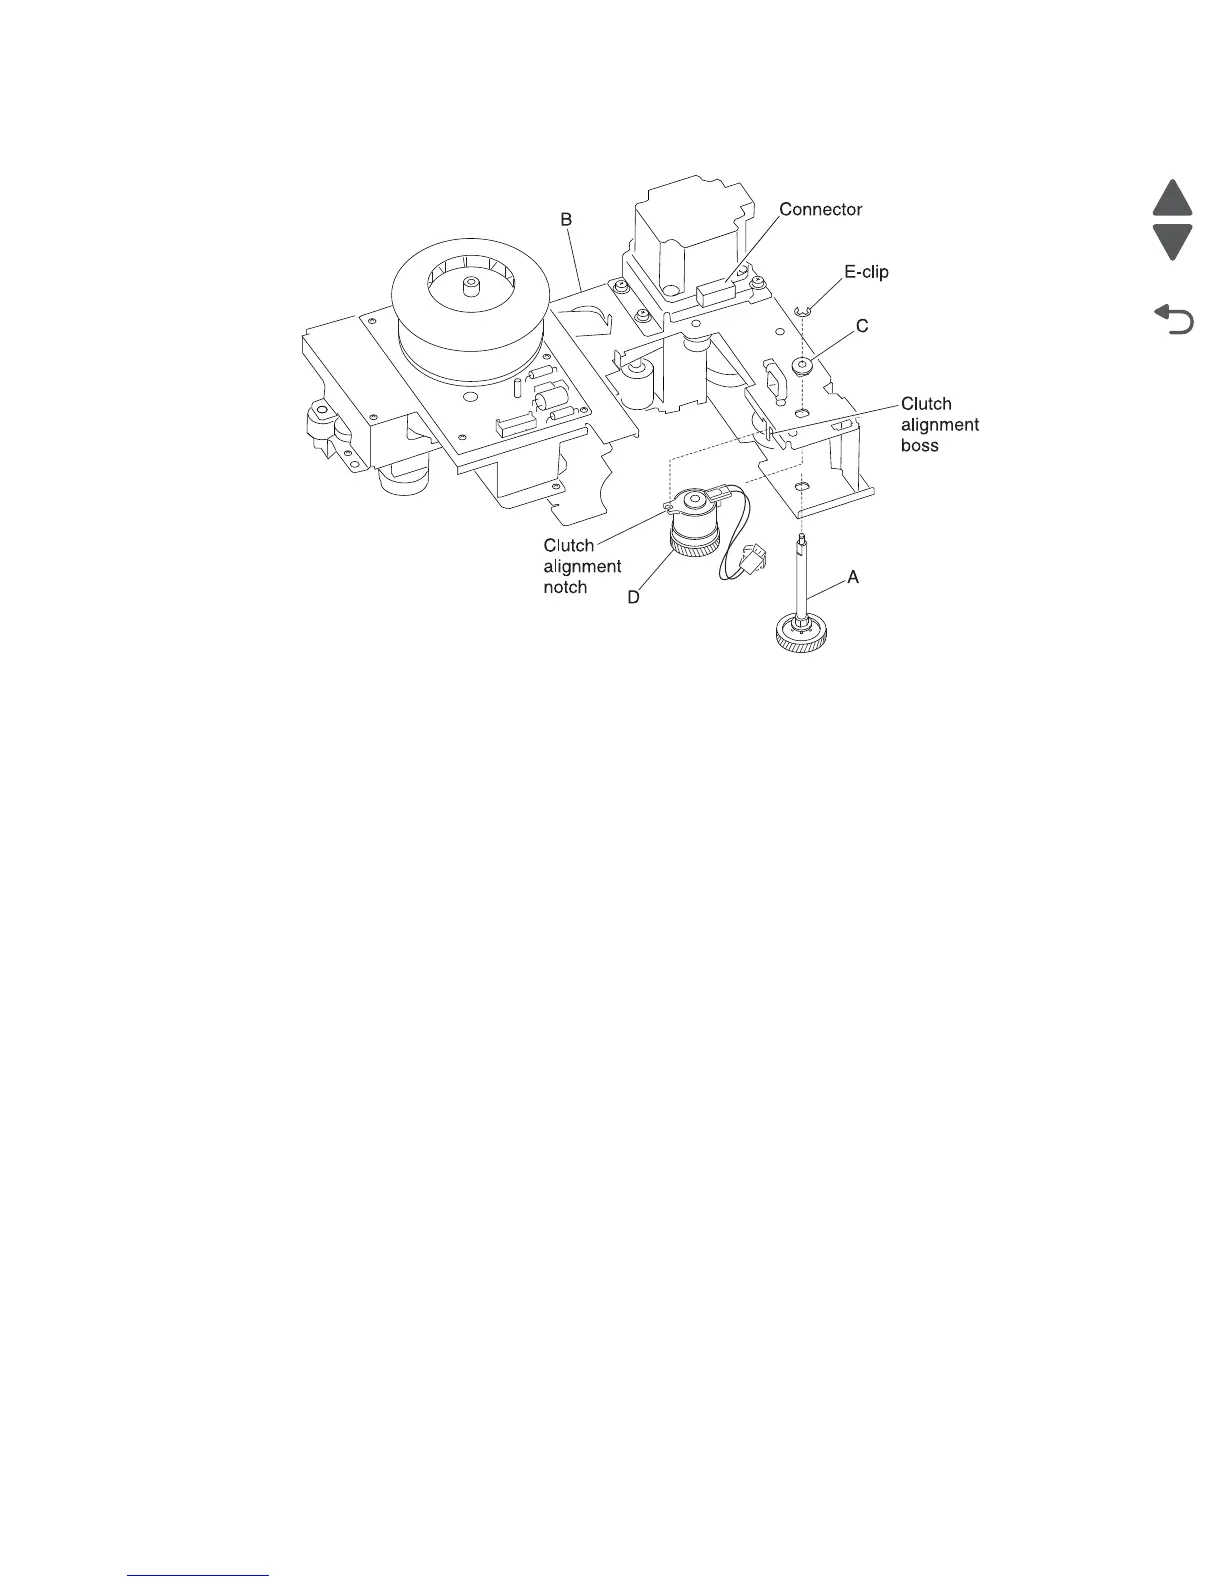
15. Remove the K developer clutch (D).
AC drive card bracket assembly removal
1. Remove the rear cover assembly. See “Rear cover assembly removal” on page 4-5.
2. Remove the rear upper cooling fan bracket assembly. See “Rear upper cooling fan bracket assembly
removal” on page 4-111.
3. Remove the rear left middle cover. See “Rear left middle cover removal” on page 4-6.
4. Remove the developer / transfer roll HVPS card assembly. See “Developer / transfer roll HVPS card
assembly removal” on page 4-112.
5. Remove the 24V LVPS card bracket assembly. See “24V LVPS card bracket assembly removal” on
page 4-96.
6. Remove the CMYK transfer HVPS card assembly. See “CMYK transfer HVPS card assembly removal” on
page 4-104.
7. Remove four screws securing the AC drive card bracket assembly (A) to the machine.
8. Disconnect the six connectors from the AC drive card bracket assembly (A).
9. Remove the five large connectors from the AC drive card bracket assembly (A).
10. Remove the three screws securing the AC drive card bracket assembly (A) to the machine.
11. Release the plastic retainer securing the AC drive card bracket assembly (A) to the machine.