Chapter 2 Basic Operations
34
2
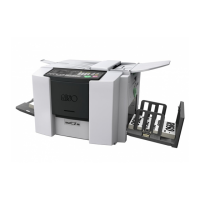
Raise the receiving-tray paper
guides and the paper stopper.
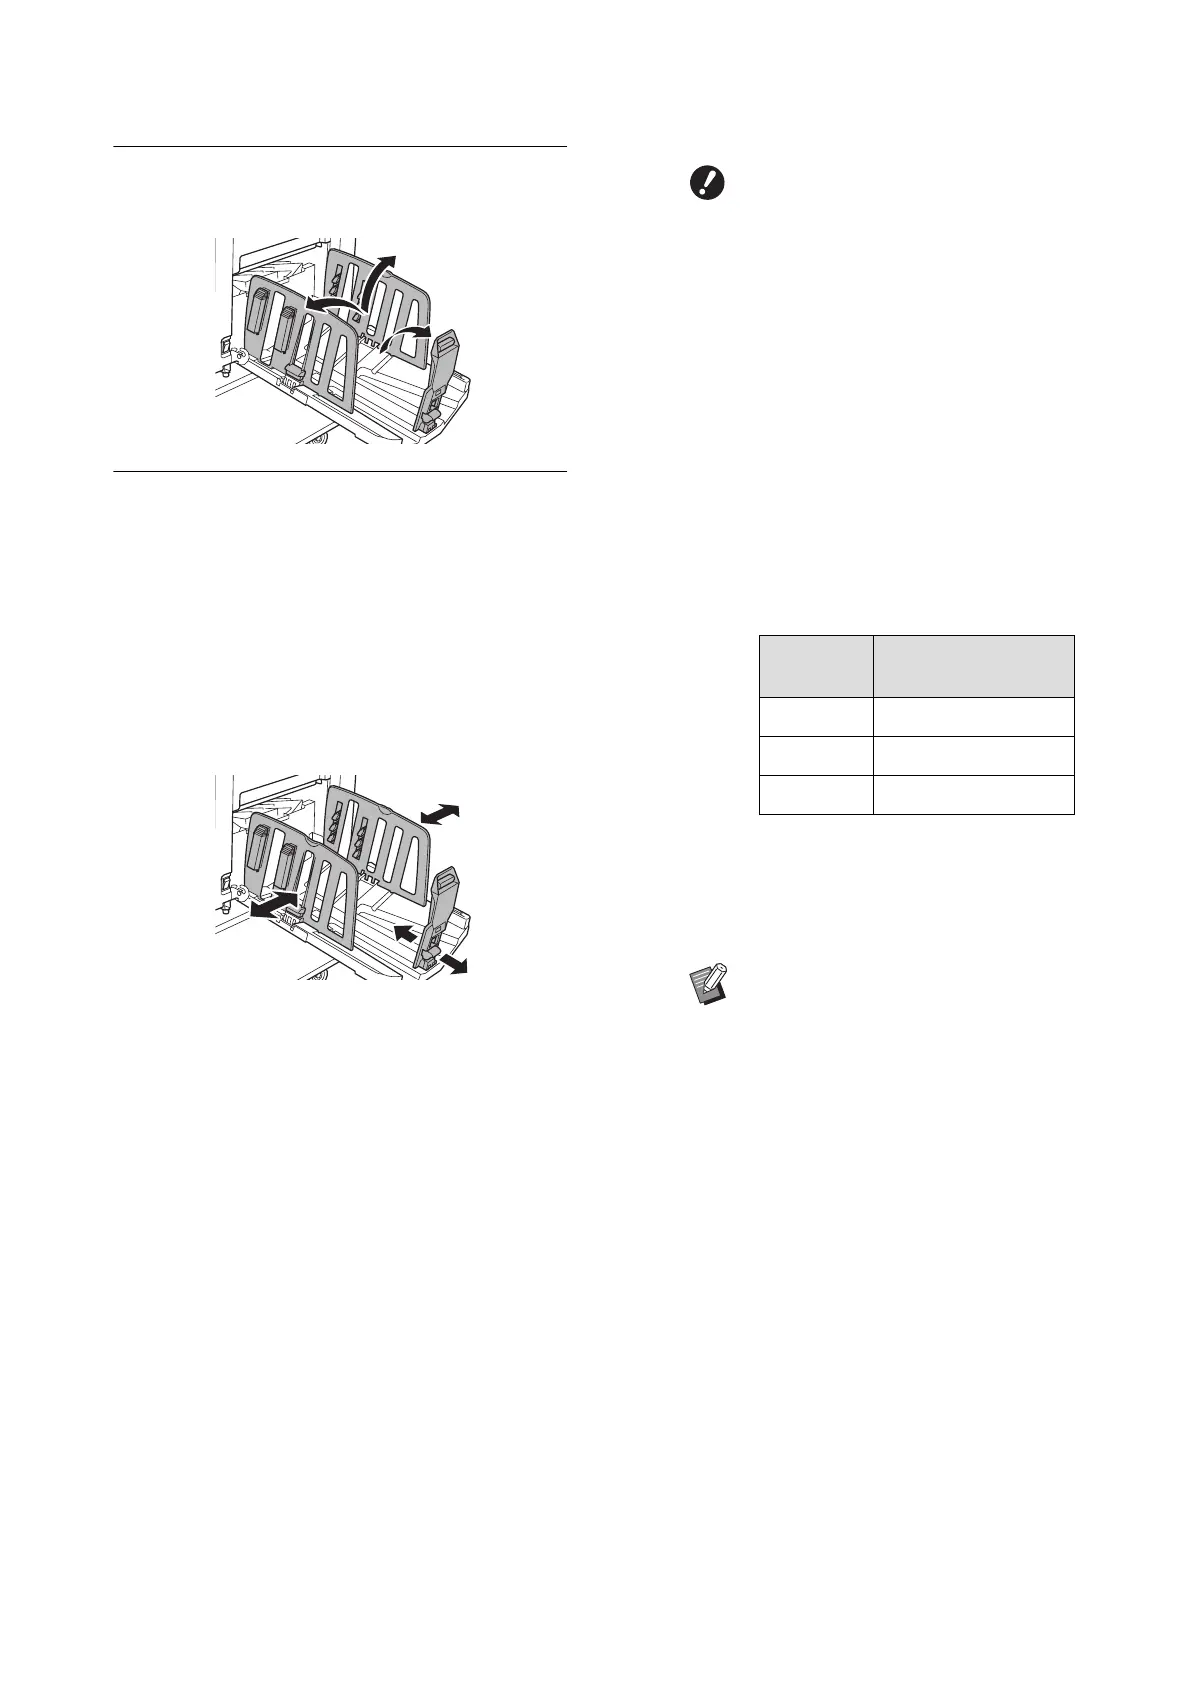
3
Fit the receiving-tray paper guides
and the paper stopper to the paper
size.
Hold the lower parts of the receiving-tray paper
guides and the paper stopper, and then slide
the guides and the stopper.
Adjust each position while referring to the scale
marks on the paper receiving tray.
The paper stopper stops with a click sound at
each position corresponding to the standard
size of a paper type.
BThe optimal position of the
receiving-tray paper guides var-
ies depending on conditions
such as the paper type, print
speed, and operation environ-
ment. Use the scale marks on the
paper receiving tray as a refer-
ence only. Adjust the position of
the receiving-tray paper guides
based on the actual arrangement
of the printed paper.
BWhen using thick paper, set the
receiving-tray paper guides a lit-
tle wider than the actual paper
width.
BWhen setting the print speed to
[160ppm] or [190ppm], set the
paper stopper wider than the
paper size. The reference posi-
tions are as follows.
BWhen using the optional auto-con-
trol stacking tray, the positions of the
receiving-tray paper guides and
paper stopper are adjusted auto-
matically according to the paper size
when starting to make masters or to
print.
*
When using Ledger size paper, we rec-
ommend that you widen the receiving-
tray paper guides to the “A3” position
and close the paper arrangers.
Print paper
size
Paper stopper
A3 Fully open
B4 “A3” position
Ledger
*
Fully open