4-2
This option starts the 4010 with a new configuration. If a configuration already
exists and this option is selected, it clears the current configuration and adds all
currently connected devices to the CFIG.
1. Press <MENU>.
2. Press <NEXT> or <PREVIOUS> until [Quick CFIG] is displayed and
then press <ENTER>. A warning appears, indicating that the 4010 is no
longer in the Fire Alarm Operation mode.
3. Press <ENTER> to continue with the Quick-CFIG option.
4. Press <NEXT> or <PREVIOUS> until <RECONFIGURE ALL
HARDWARE> is displayed and then press <ENTER>. A warning
appears, indicating that this will delete the current configuration.
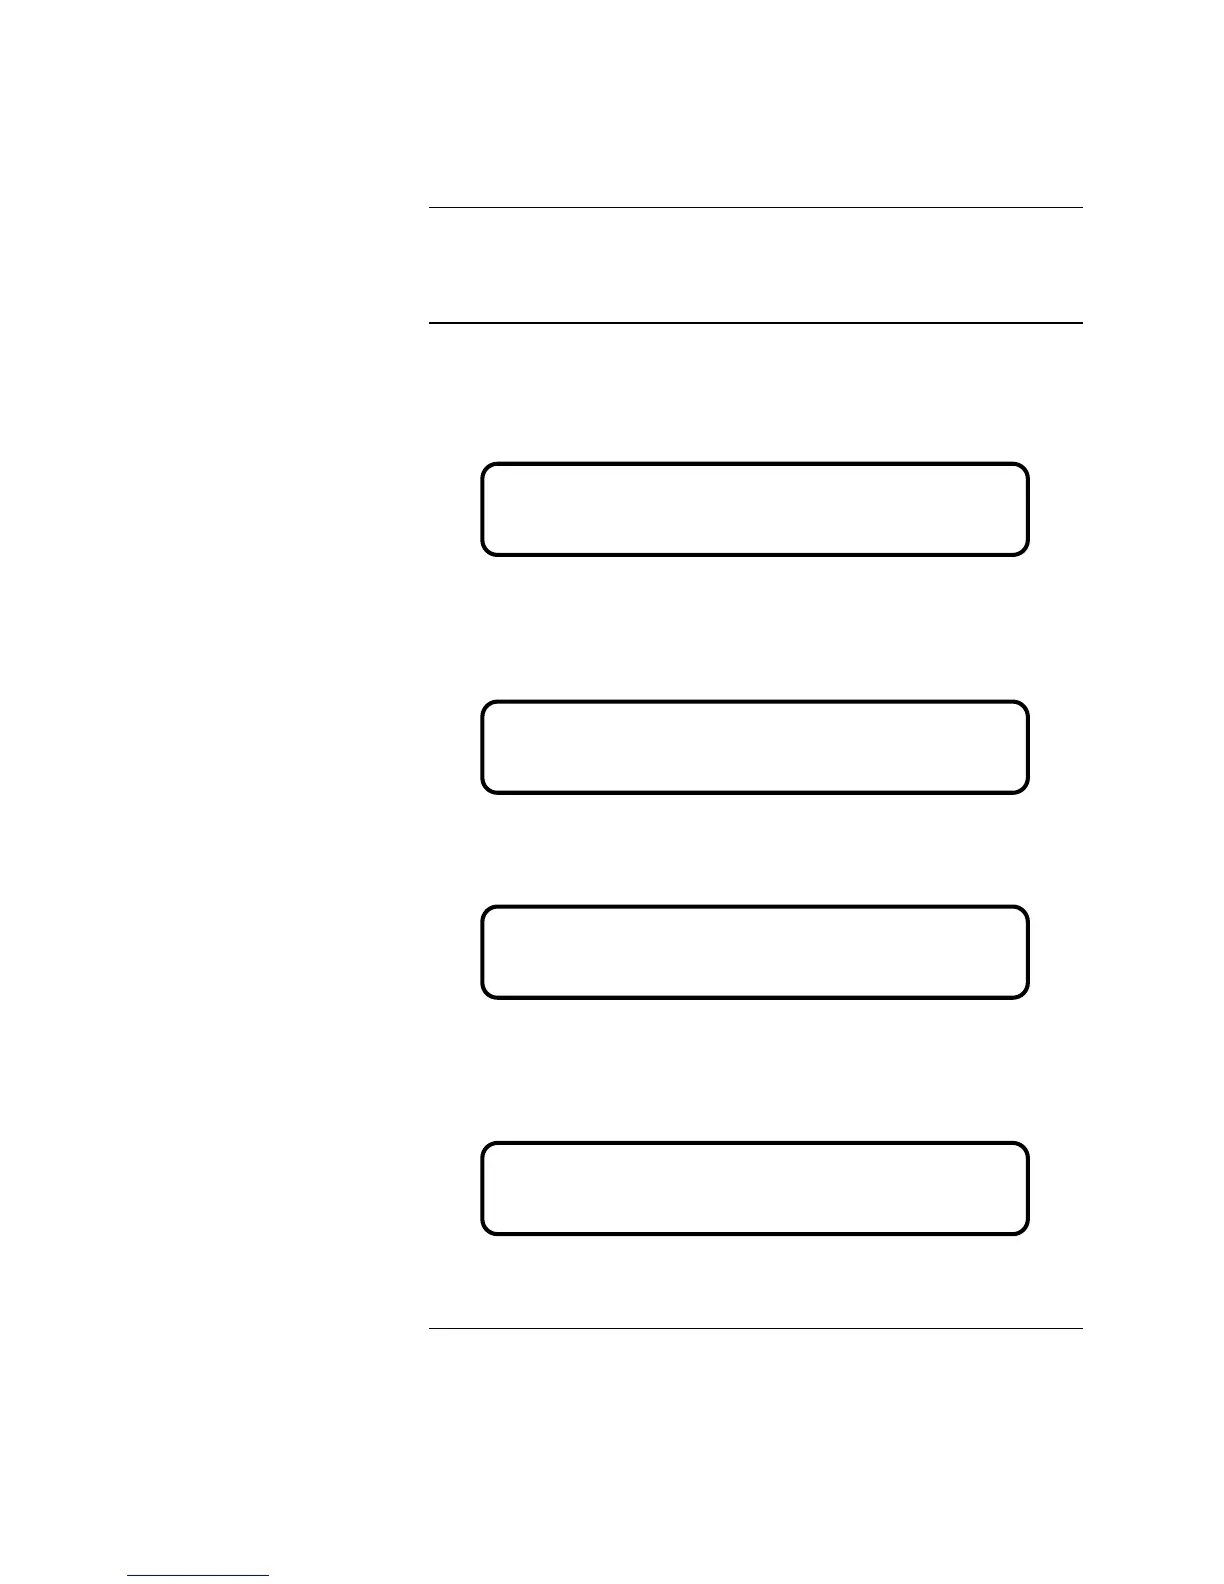
5. Press <ENTER> to continue. Another warning appears, indicating that you
need to press <ENTER> to confirm the deletion.
A message appears indicating that Quick CFIG is reconfiguring the hardware.
This message is followed by another, which indicates that Quick CFIG is
scanning for IDNET devices. The Reconfigure ALL Hardware function is
complete when a message similar to the following appears.
Refer to “Save CFIG Option” at the end of this chapter for information on saving
the CFIG once you have reconfigured the hardware.
Reconfigure ALL Hardware
Overview
Procedure
Please Wait . . .
Fire Alarm Operation Suspended
WARNING <Enter> to Continue WARNING
This will DELETE current configuration
WARNING <Enter> to Continue WARNING
Press <Enter> to confirm deletion
** Automatic Hardware Detection Completed **
Total IDNet Devices Added: 128
Technical Manuals Online! - http://www.tech-man.com