11-14
Use Steps 1 through 5 and Figures 11-6 to set the time and date.
An accurate time and date setting is essential to the proper operation of the 4010
system. The time and date should be checked at least once a month and reset, as
described below, if necessary.
1. From the High-Level Status screen, press <MENU>.
2. Press <NEXT> or <PREVIOUS> until [Set Time/Date] is displayed and
then press <ENTER>.
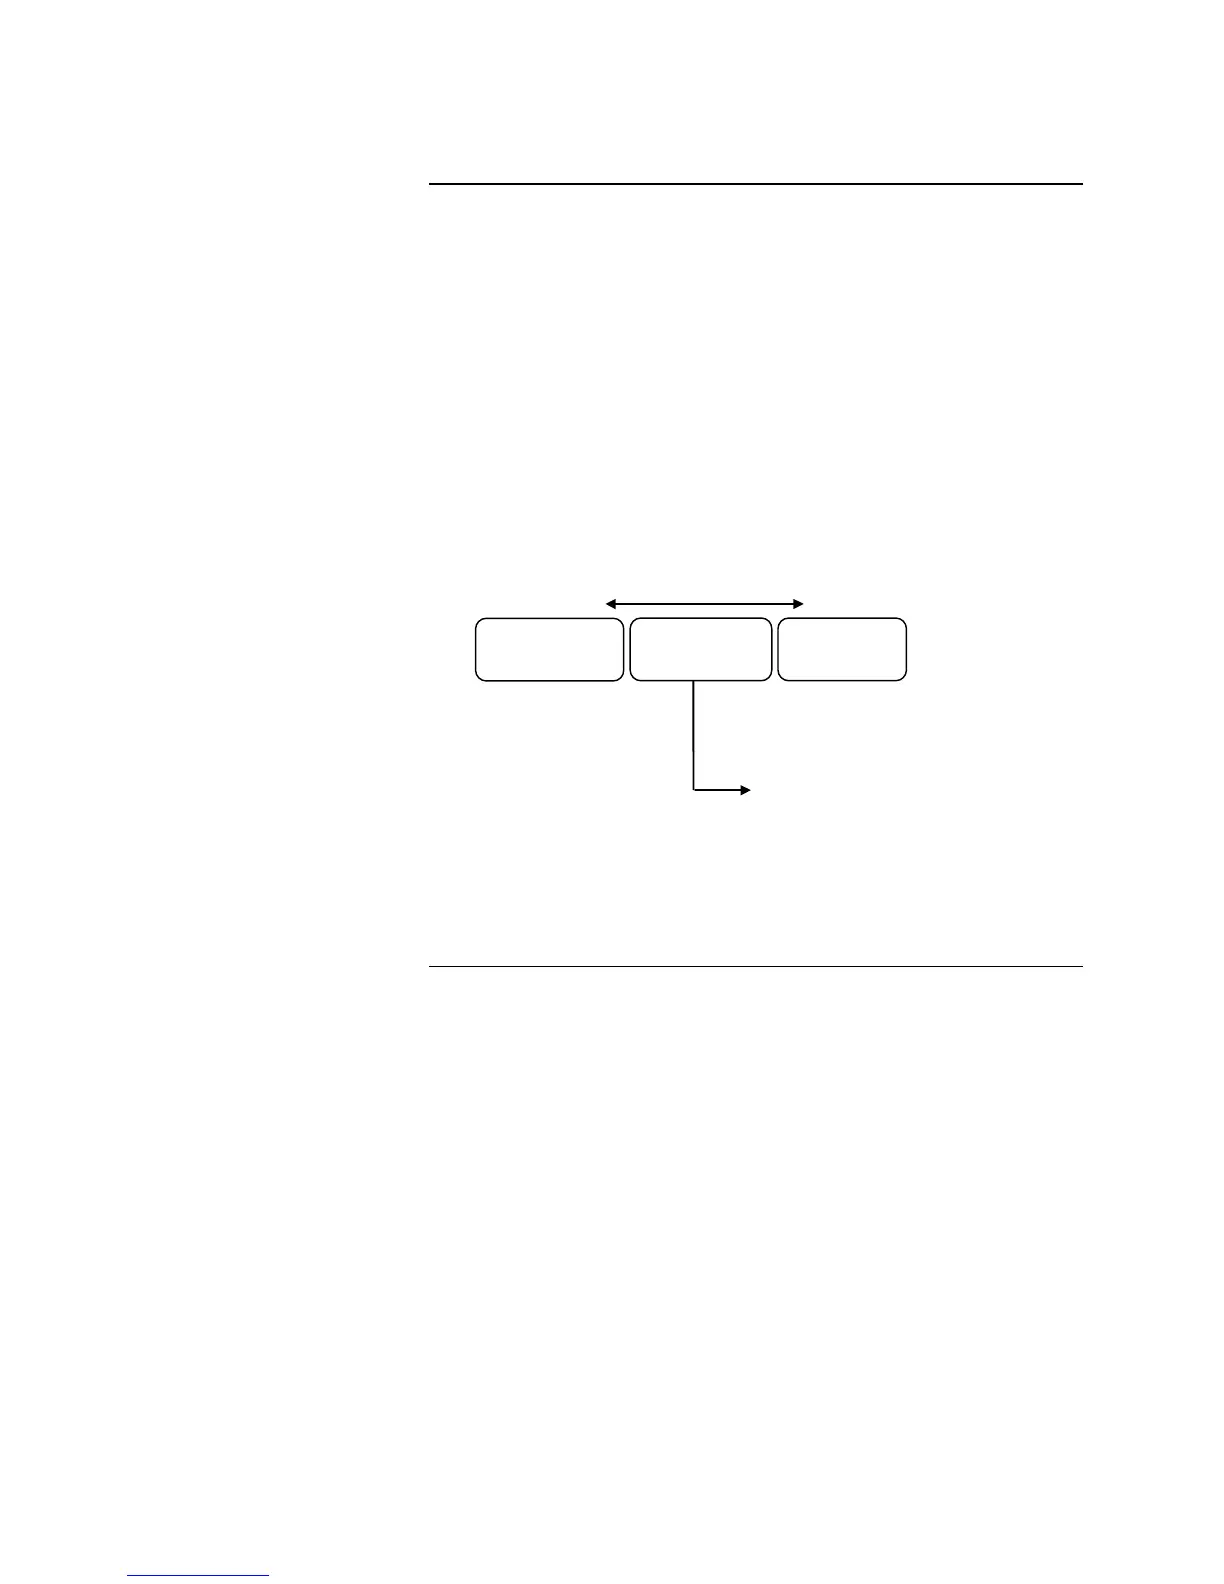
3. Press <ì> or <ö> to move the focus brackets to the desired field (hours,
minutes, date, month, year).
4. Press <NEXT> or <PREVIOUS> until the desired value is displayed.
5. Once all fields are set, press <ENTER> to set the time and date.
Figure 11-7. Set Date/Time
Setting the Time and Date
Diagnostics
• Hours
• Minutes
• Date
• Month
• Year
Top Level Menus
Set
Time/Date
Walk Test
Technical Manuals Online! - http://www.tech-man.com