User’s Manual
50 Software Configuration
Moving fixtures around in the layout - By default the Magic Sheet view is in control mode meaning it is expecting
the user wants to control and modify the fixtures output. When you click on a fixture it will highlight it exactly as it
does in the grid display. To move fixtures around and change the position you must turn on the option "Edit Mode".
When this option is turned on you cannot select fixtures for control as your mouse is now used to move the fixture
where you want.
Click and while holding the mouse button down move the fixture to the desired location. Release the mouse button
once you have placed the fixture where you want it.
Fader View - The fader view is a simple view designed for small installations where only a few fixtures are being
controlled. Each fixture is shown as a fader.
To change the intensity levels for any channel simply drag the bar up and down the control. If the fixture supports pan
and tilt control you can click anywhere in the fixture image to set its position. Likewise you can also select the color
from the palette shown below the image.
Click on the "Open Control Window" to open the standard fixture control window for all other attributes.
At the bottom of this view is a page up and page down control to set the page of faders that are shown. In the view
menu is an option to set the number of faders shown on each page.
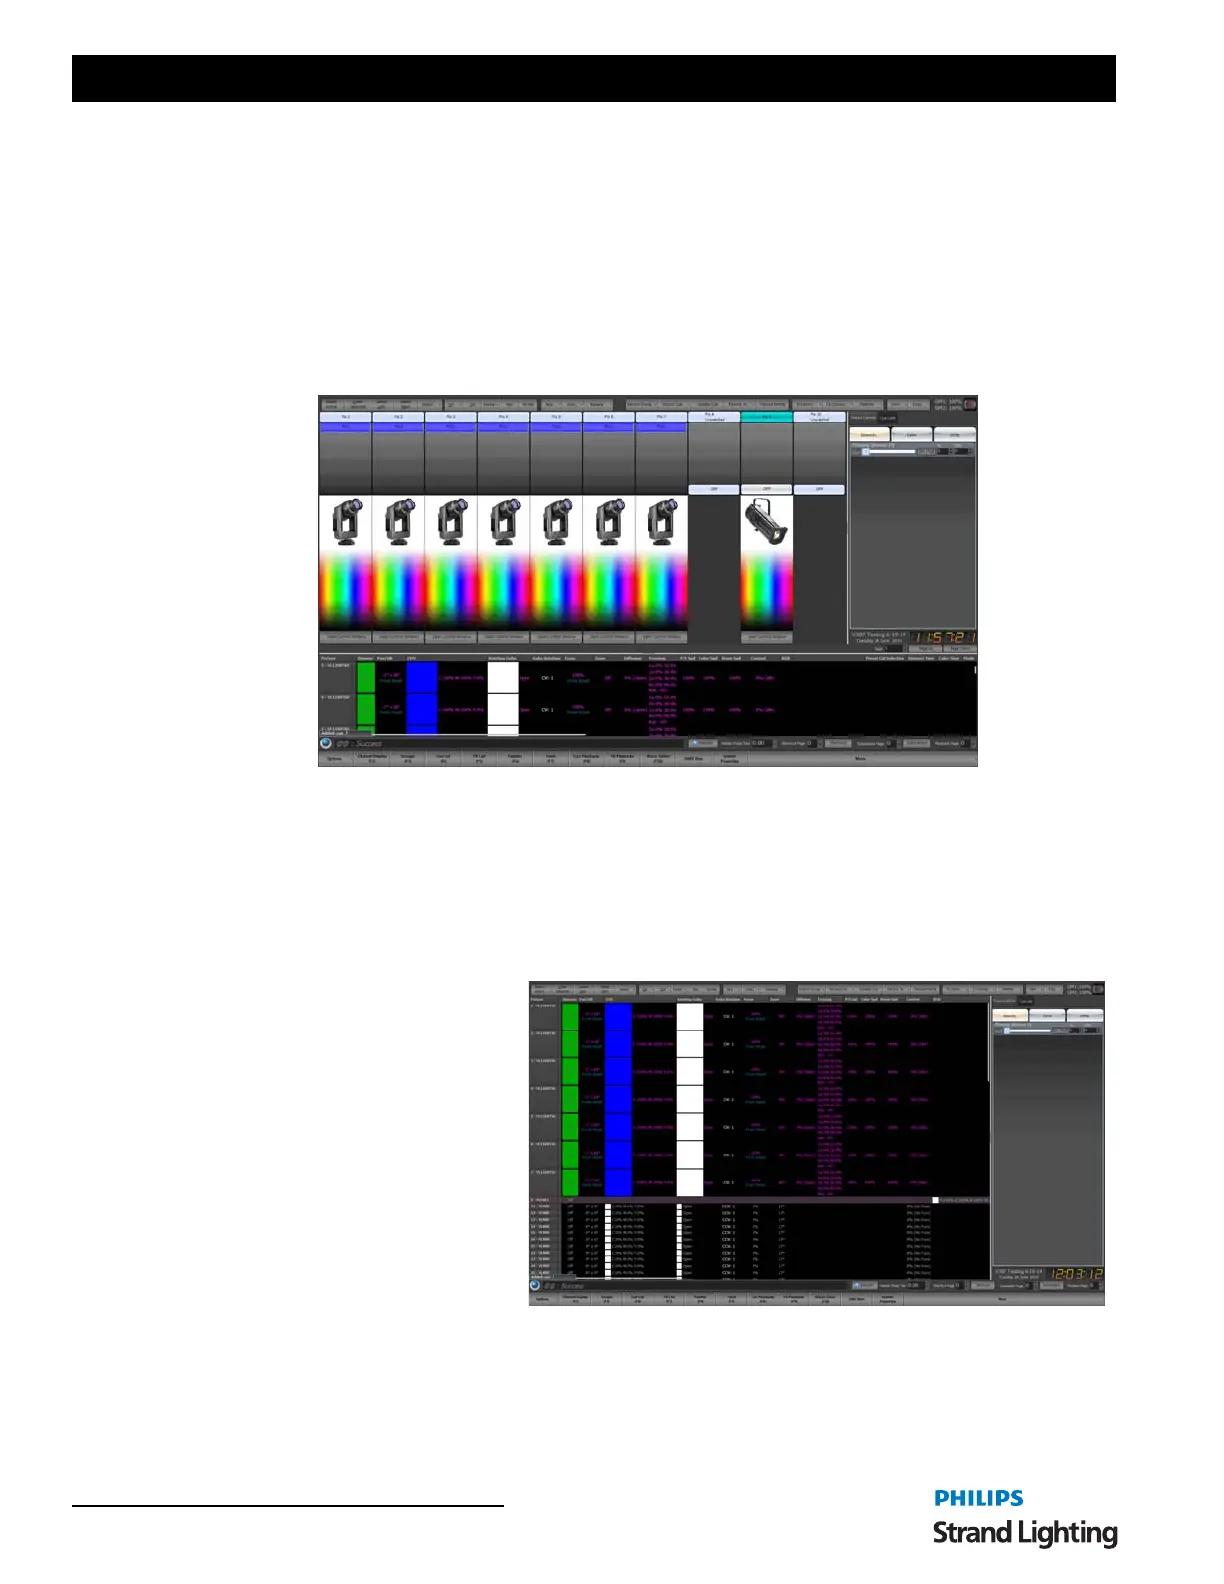
Intelligent View (ML) - The Intelligent
view (sometimes called the ML View) is
specifically designed to work with
intelligent fixtures (moving lights) and
groups fixtures by their type. Each
fixture is listed vertically with the
attributes shown horizontally. Each
fixture type is separated by a header that
displays the fixture name. Double click
on the header to collapse the grid below
it. This helps you manage what you are
viewing by hiding fixtures you do not
require.
Any of the attributes shown in this view
can be directly edited by double clicking
on the cell. An appropriate popup control will appear.
If a palette is in control of the attribute its will be shown in red under the attribute value.
To set the default row height for this view use the view menu option "Set default row height".
 Loading...