7: PATHPILOT TOOLS AND FEATURES
5. Slowly jog the Z-axis down (-Z) until it is 0.04 in. (1 mm)
from the reference surface.
6. Continue to slowly jog the Z-axis while slowly moving
the piece of paper back-and-forth on the reference
surface.
7. Stop jogging the Z-axis when you feel a light pull on the
piece of paper, which indicates that it is in contact with
the tool.
8. From the PathPilot interface, on the Offsets tab, in the
Tool Table, select the tool for which you previously wrote
a description.
9. In the Touch ZDROfield, type the thickness of the piece
of paper.Then select the Enter key.
Figure 7-70: Touch Z DROfield and button.
10. Select Touch Z.
The length of the tool is stored in the Tool Table
window.
11. From the Tool Table window, in the Length column,
verify that the length of the tool is correct.
12. In the Diameter column, type the diameter of the tool.
Then select the Enter key.
13. Jog the Z-axis up (+Z).
You've completed the procedure to measure a tool
offset. Repeat this procedure for any remaining tooling
you have. Once you're done adding tool length offsets,
switch back to your work coordinate system.
Use an ElectronicTool Setter (ETS) to Measure Tools
An Electronic Tool Setter (PN31875) is a device used to
measure the length of a cutting tool.
To use an ETS to measure tools:
1. Plug in the ETS to the Accessory 2 port.
2. Put the ETS on the known reference surface below the
spindle.
3. From the PathPilot interface, on the Offsets tab, in the
ToolTable window, in the Description column, type a
description for the tool.
4. In the Diameter column, type the diameter of the tool.
Then select the Enter key.
5. Put a tool holder into the spindle.
6. From the PathPilot interface, type the tool number in the
Tool DROfield. Then select the Enter key.
Figure 7-71: Tool DRO field.
7. Jog the Z-axis down (-Z) until it is above the ETS.
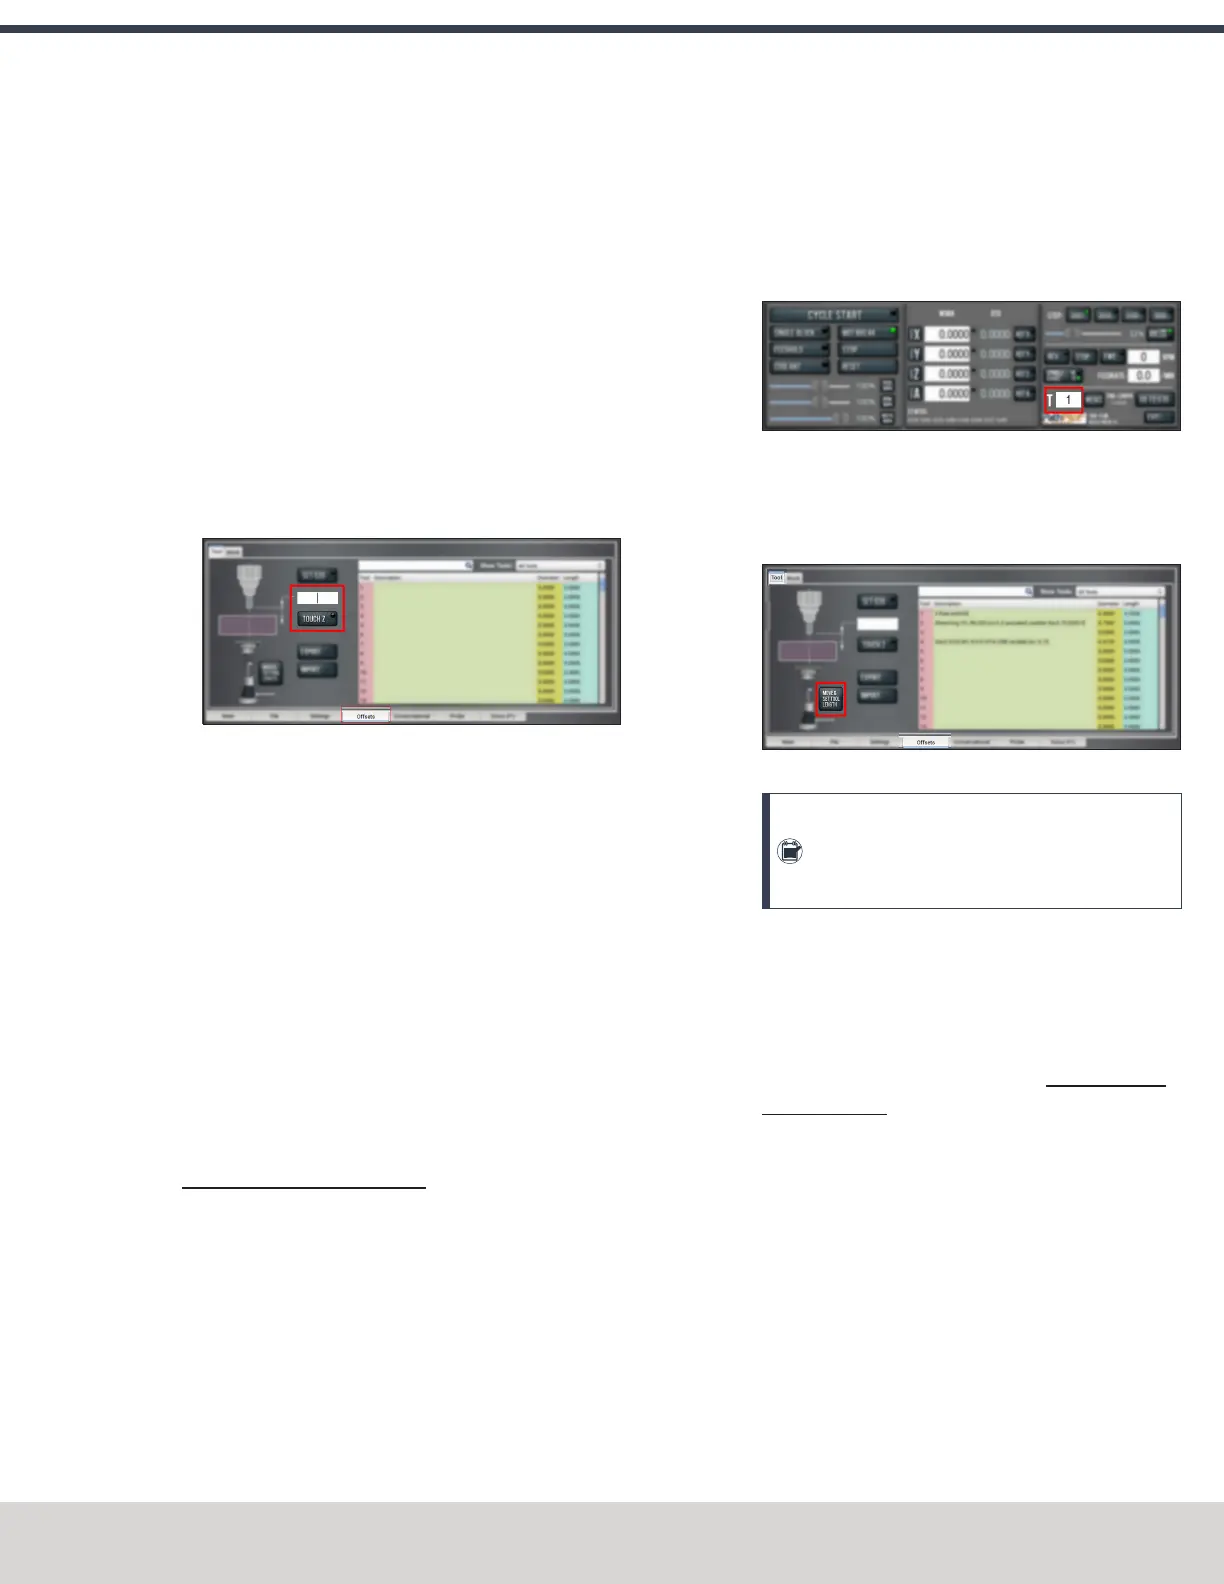
8. From the Offsets tab, on the Tool tab, select Move and
Set Tool Length.
Figure 7-72: Tool tab on the Offsets tab.
Note: Regardless of the initial feed rate, the
final touch off feed rate while using an ETS is
2-1/2 in. per minute (IPM).
9. From the Tool Table window, in the Length column,
verify that the length of the tool is correct.
Use a Height Gauge to Measure Tools
1. Before measuring a tool, you must first zero the height
gauge using a precision surface, like a Granite Surface
Plate (PN 31713): Move the height gauge to the top of
the Granite Surface Plate.
2. Press the Zero button on the touch trigger.
The height gauge is zeroed.
3. Insert a tool holder into the Granite Surface Plate.
4. From the PathPilot interface, on the Offsets tab, select
the Tool tab.
5. In the Tool Table window, type a description for the tool.
6. Move the height gauge on the Tormach Tool Assistant
Set to the end of the tool's cutting edge.
©Tormach® 2023
Specifications subject to change without notice.
Page 155 Tormach 1100M® Operator's Manual (Version 1223A)
For the most recent version, see tormach.com/support

 Loading...

