6. Mount the Y-axis motor onto the Y-axis motor mount
with the four M5 cap head screws, lock washers, and
washers that you removed in Step 3. Verify that the
motor and motor mount faces are flush.
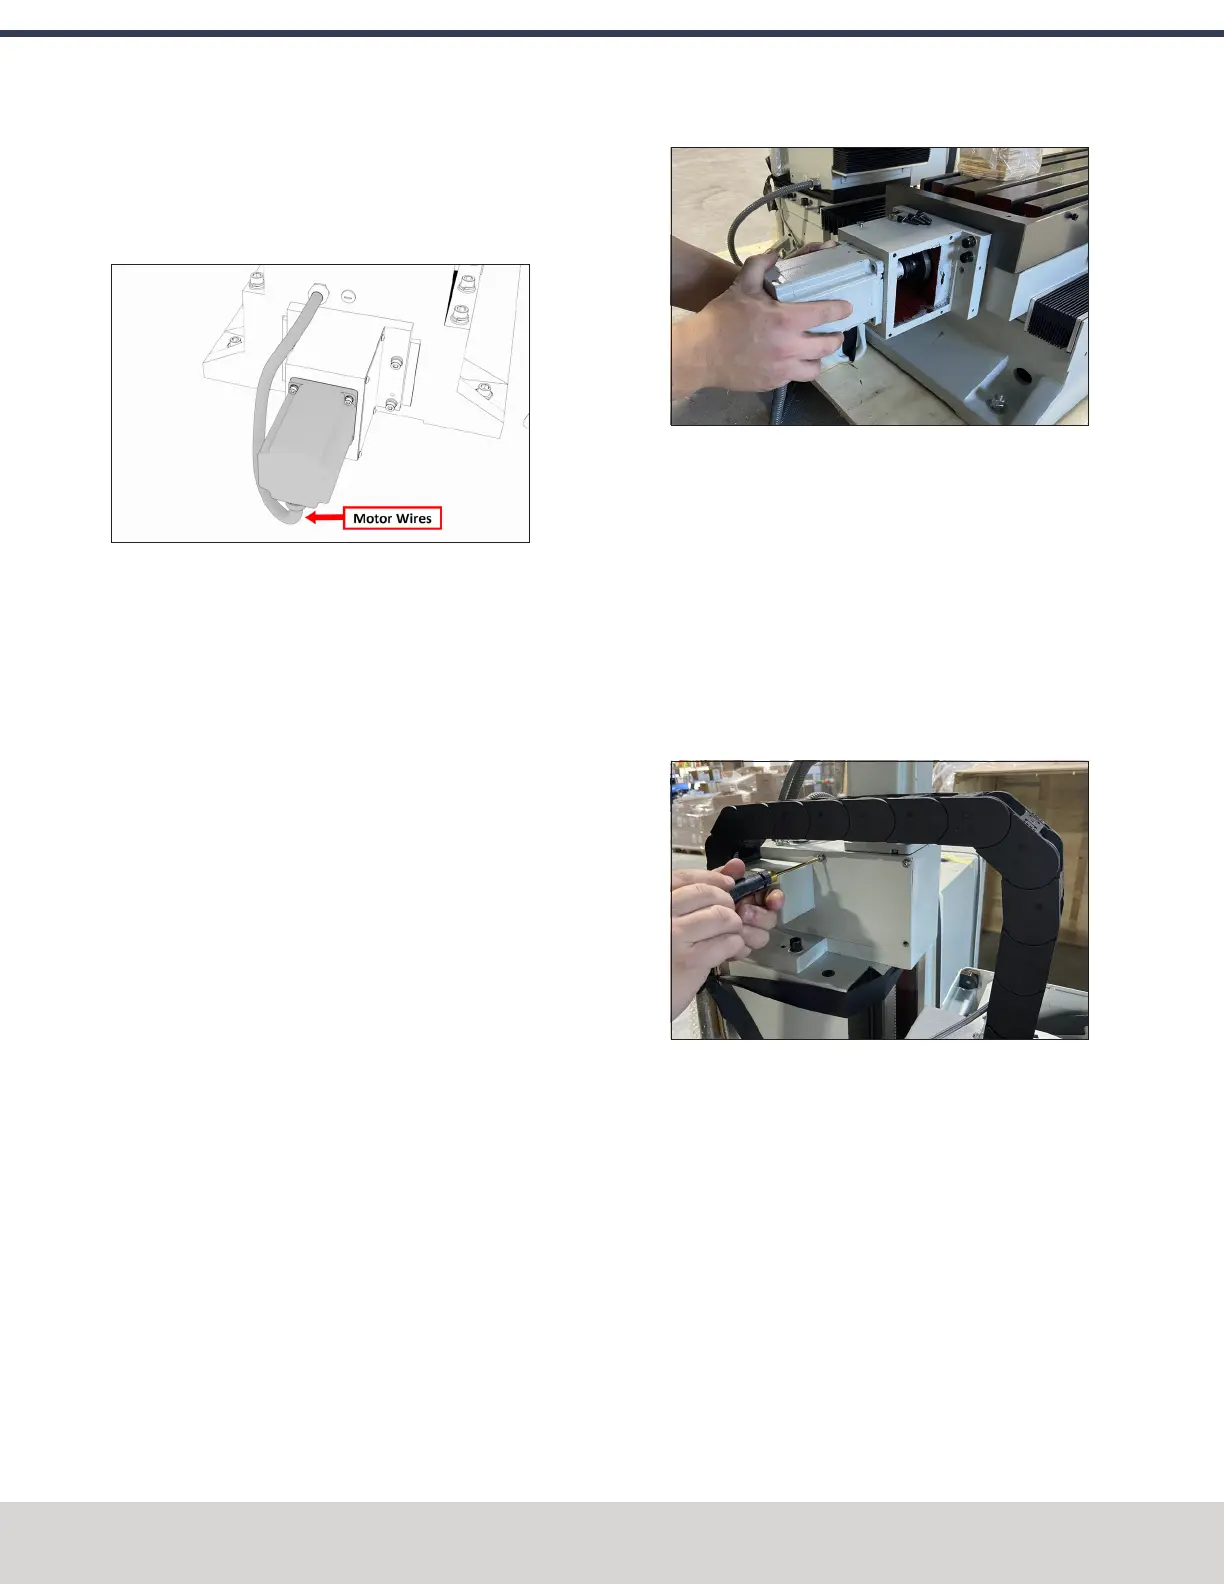
Figure 4-12: Flex conduit on the Y-axis motor facing
the floor.
7. Securely tighten all four M5 cap head screws.
8. Position the coupling so that it's centered between the
motor shaft and machined end of the ball screw, and
then tighten the cap screws on the coupling.
9. Replace the motor mount cover that you removed in
Step 1.
X-Axis Motor
1. Remove the screws securing the motor mount cover
with a 3 mm hex wrench. Set the screws and cover
aside.
2. Loosen the two motor shaft coupling screws with a 3
mm hex wrench.
3. Remove the four M5 cap head screws, lock washers, and
washers from the motor mount with a 4 mm hex
wrench. Set all aside.
4. Remove any paint bleed from the face and bore of the
motor mount with a mild abrasive.
5. Remove the X-axis motor from the pallet and/or the
machine, and discard the shipping materials.
6. Mount the X-axis motor onto the X-axis motor mount
with the four M5 cap head screws, lock washers, and
washers that you removed in Step 3. Verify that the
motor and motor mount faces are flush.
7. Securely tighten all four M5 cap head screws.
8. Position the coupling so that it's centered between the
motor shaft and machined end of the ball screw, and
then tighten the cap screws on the coupling.
9. Replace the motor mount cover that you removed in
Step 1.
Z-Axis Motor
1. Remove the screws securing the motor mount cover
with a 3 mm hex wrench. Set the screws and cover
aside.
2. Loosen the two motor shaft coupling screws with a 3
mm hex wrench.
3. Remove the four M5 cap head screws, lock washers, and
washers from the motor mount with a 4 mm hex
wrench. Set all aside.
4. Remove any paint bleed from the face and bore of the
motor mount with a mild abrasive.
5. Remove the motor from the pallet and/or the machine,
and discard the shipping materials.
©Tormach® 2023
Specifications subject to change without notice.
Page 44 Tormach 1100M® Operator's Manual (Version 1223A)
For the most recent version, see tormach.com/support
4: INSTALLATION