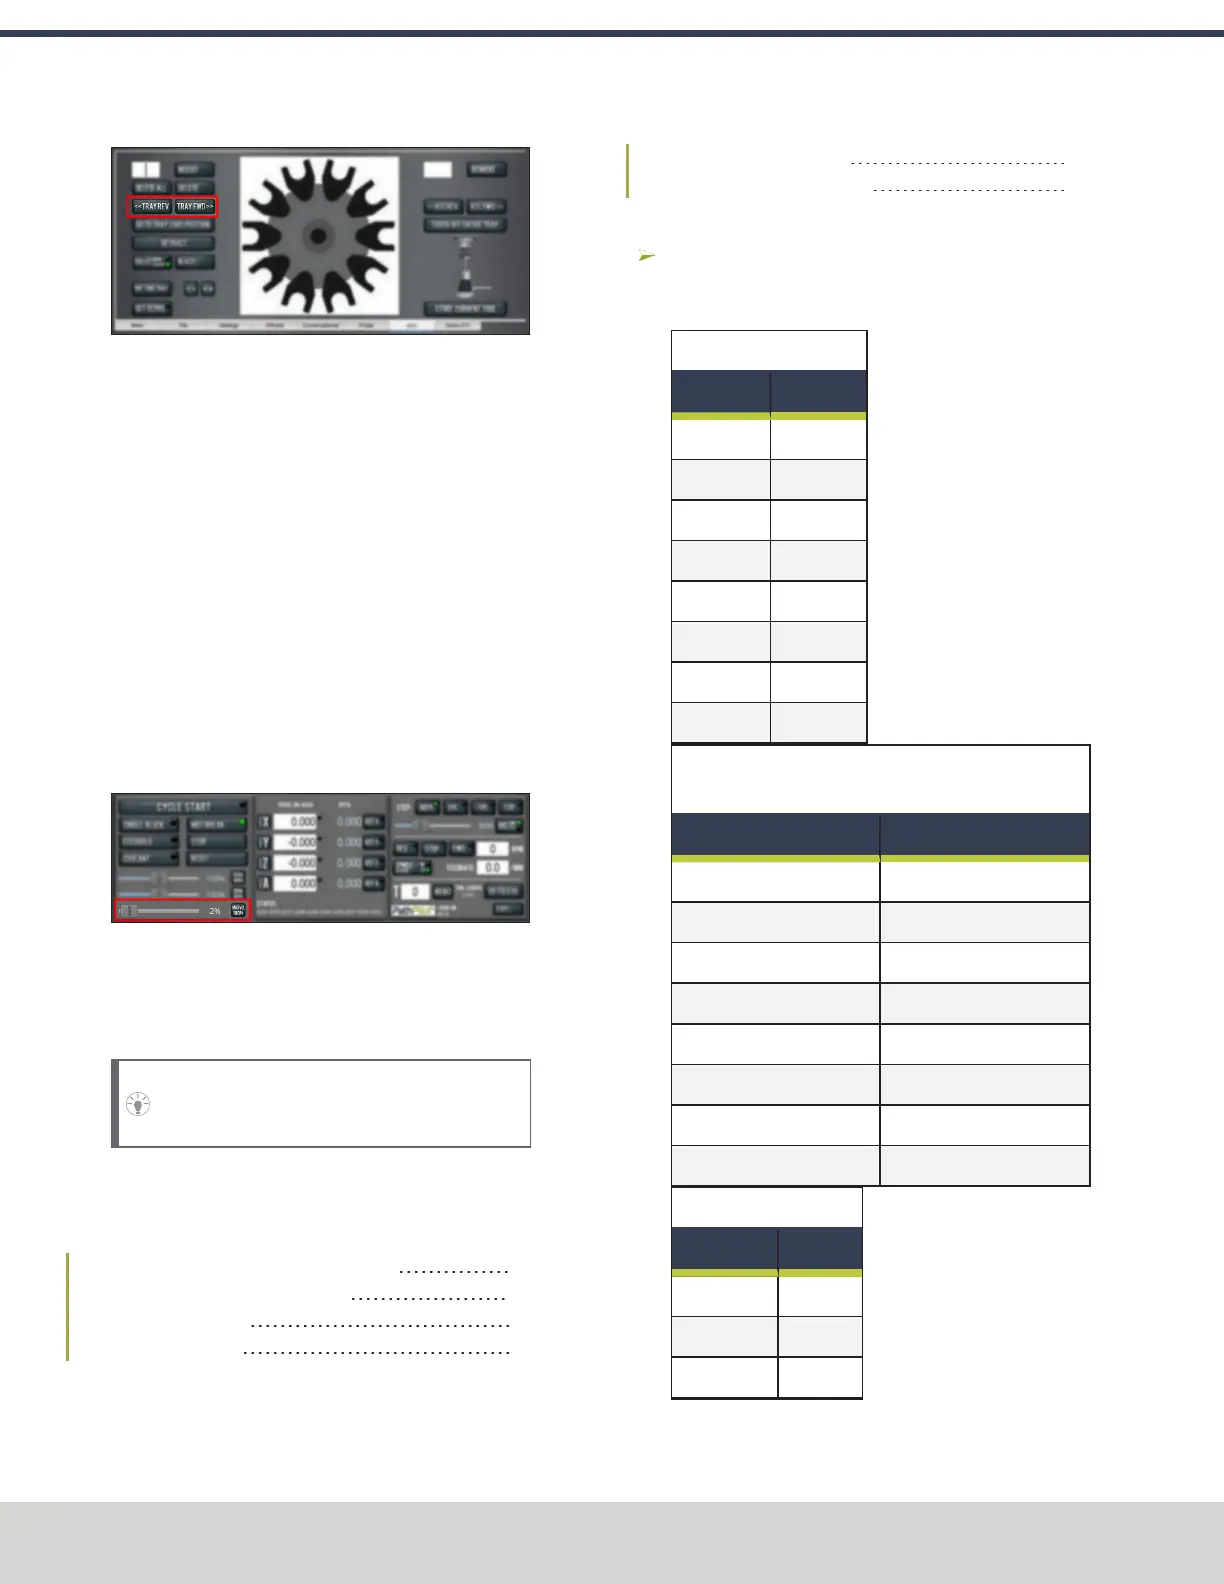
Figure 4-102: Tray FWDand Tray REVbuttons on the
ATCtab.
2. Select Tray Rev to rotate the tray counterclockwise
(backward) one full tool slot.
3. Verify that the tool’s shank is aligned with the collet in
the spindle.
4. Depending on the alignment, do one of the following:
l
Aligned You have completed aligning the ATC.
Remove the tool from the fork. Go to Step 5.
l
Not Aligned You must readjust the tool tray
rotation. Go to "Adjust the Tool Tray Load Position"
(page76).
5. From the PathPilot interface, on the Main tab, drag the
Maxvel Override slider to the left. This reduces the
maximum velocity by the percentage shown.
Figure 4-103: Maxvel Override slider on the Main tab.
6. Do a test tool change. Because the maximum velocity is
reduced, it's easier to verify the alignment of the ATC
and stop the machine if further adjustment is required.
Tip! Use the Spacebar key to pause the tool
change, if needed.
4.8.5 Install the 4th Axis
Complete the following steps in the order listed:
Install the M/MX A-Axis Driver (PN38954) 78
Set Up the 6 in. or 8 in. Rotary Table 79
Set Up the microARC 4 82
Verify the Installation 84
Install the M/MX A-Axis Driver (PN38954)
Complete the following steps in the order listed:
Set the Driver DIP Switches 78
Install the A-Axis Motor Driver 79
Set the Driver DIP Switches
Depending on which rotary table you're using, set the DIP
switches on the motor driver as detailed in the following
tables.
6 in. Standard or Tilting
Dip Switch Position
1 On
2 On
3 Off
4 Off
5 Off
6 On
7 On
8 Off
6 in. Super Spacer, or 8 in. Standard, Tilting, or Super
Spacer
Dip Switch Position
1 On
2 Off
3 Off
4 Off
5 Off
6 On
7 On
8 Off
M/MX - microARC 4
Dip Switch Position
1 On
2 On
3 Off
©Tormach® 2023
Specifications subject to change without notice.
Page 78 Tormach 1100M® Operator's Manual (Version 1223A)
For the most recent version, see tormach.com/support
4: INSTALLATION

 Loading...

