4: INSTALLATION
4 On
5 On
6 On
7 On
8 Off
Install the A-Axis Motor Driver
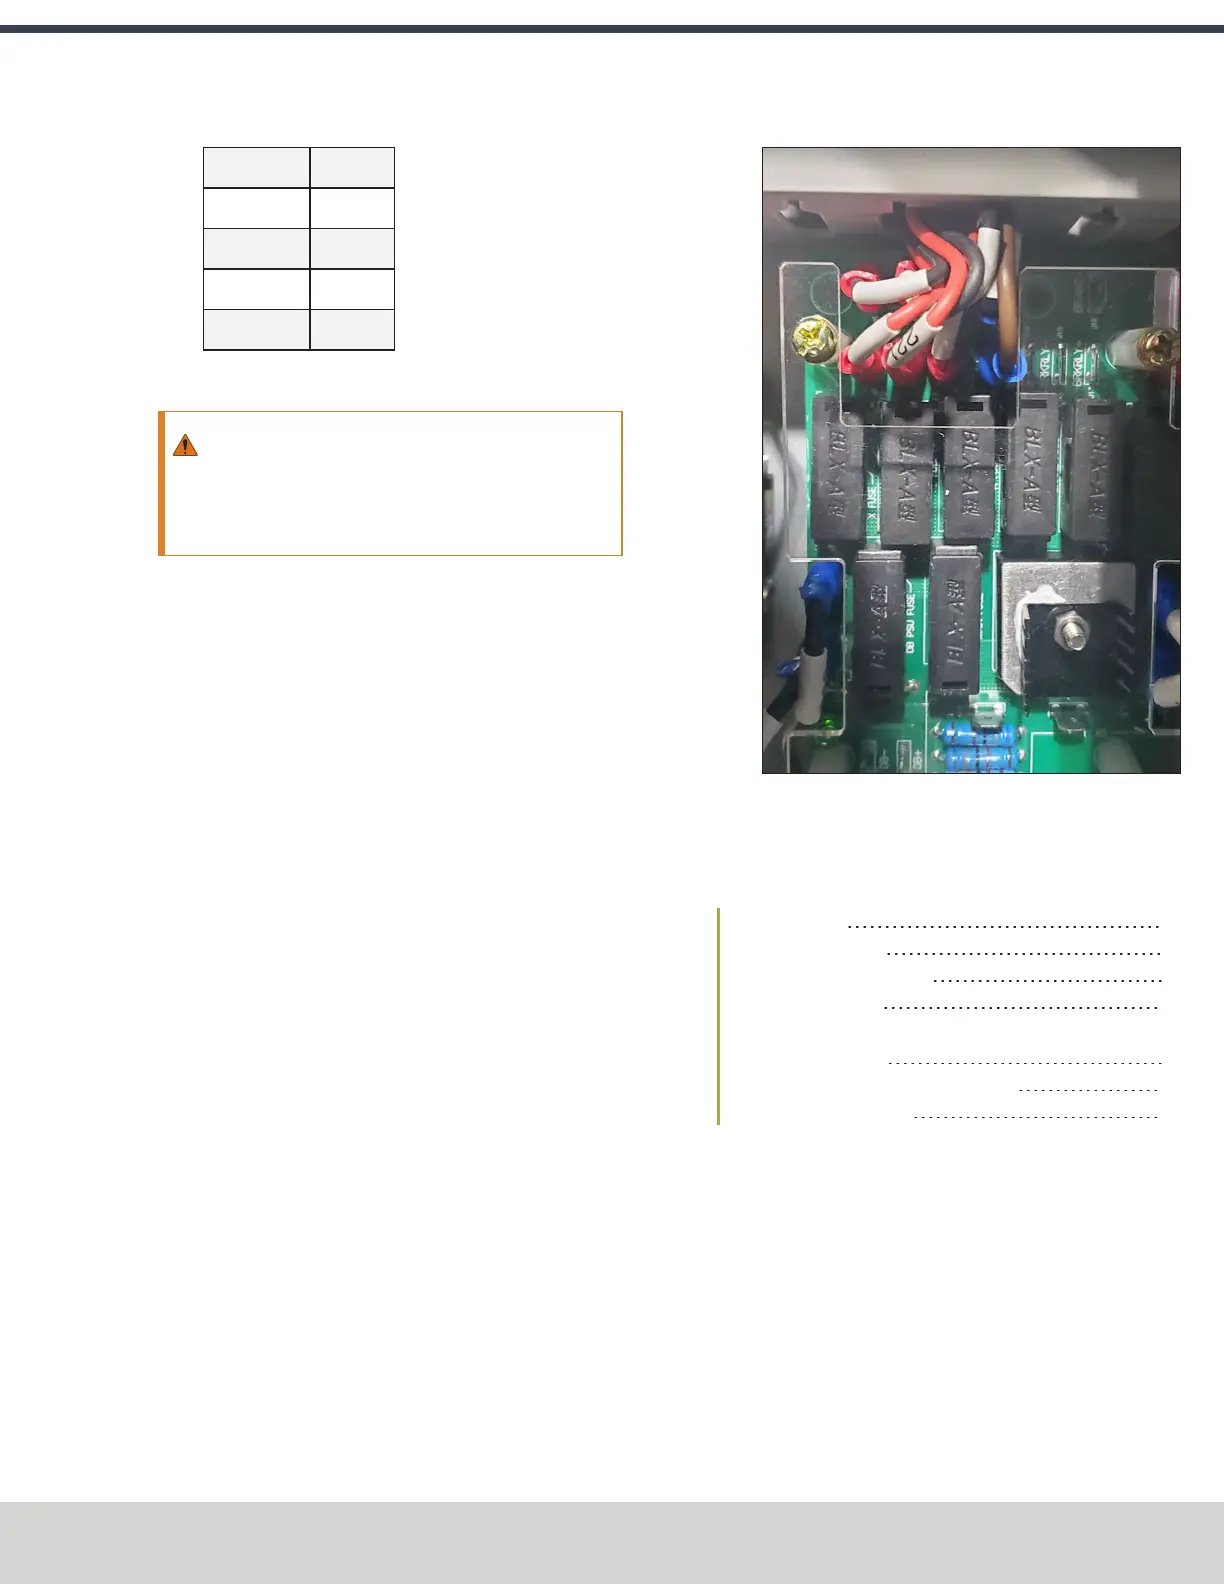
WARNING! Electrical Shock Hazard: You must power
off the machine before making any electrical
connections. If you don't, there's a risk of
electrocution or shock.
1. Power off the machine and the PathPilot controller.
a. Push in the machine's red Emergency Stop button,
which removes power to motion control.
b. From the PathPilot interface, select Exit.
c. Turn the Main Disconnect switch to OFF on the side
of the electrical cabinet.
2. Verify that you've correctly set the DIP switches on your
stepper driver.
3. Remove the top, right, and middle (above the DC-BUS
board) wire trough covers in the electrical cabinet.
4. Find the ribbon cable (labeled 423.4) in the top wire
trough.
5. Find the green connector and wires in the right wire
trough.
6. Install the motor driver in the electrical cabinet with a #2
Phillips screwdriver.
7. Connect the ribbon cable to the motor driver.
8. Apply dielectric grease to the power connector, and then
connect it to the motor driver.
9. From the green connector, follow wire 240 (blue) and
wire 241 (brown) to where they end in the wire trough
and pull them out.
10. Connect the loose end of wire 241 (brown) to the A+
terminal on the DC bus board and connect wire 240
(blue) to the A- terminal of the DC bus board.
11. Put back the wire trough covers.
Set Up the 6 in. or 8 in. Rotary Table
Complete the following steps in the order listed:
Required Tools 79
Unpack the 4th Axis 80
Lubricate the Rotary Table 80
Adjust the Backlash 80
To Set the Backlash by Positioning the Backlash
Adjustment Screw 81
To Set the Backlash by the Numbers 81
Mount the Rotary Table 81
Required Tools
This procedure requires the following tools. Collect them
before you begin.
l #2 Phillips screwdriver
l Dead-blow hammer (or similar)
l Magnetic dial indicator
l Newspaper (or similar)
©Tormach® 2023
Specifications subject to change without notice.
Page 79 Tormach 1100M® Operator's Manual (Version 1223A)
For the most recent version, see tormach.com/support