4: INSTALLATION
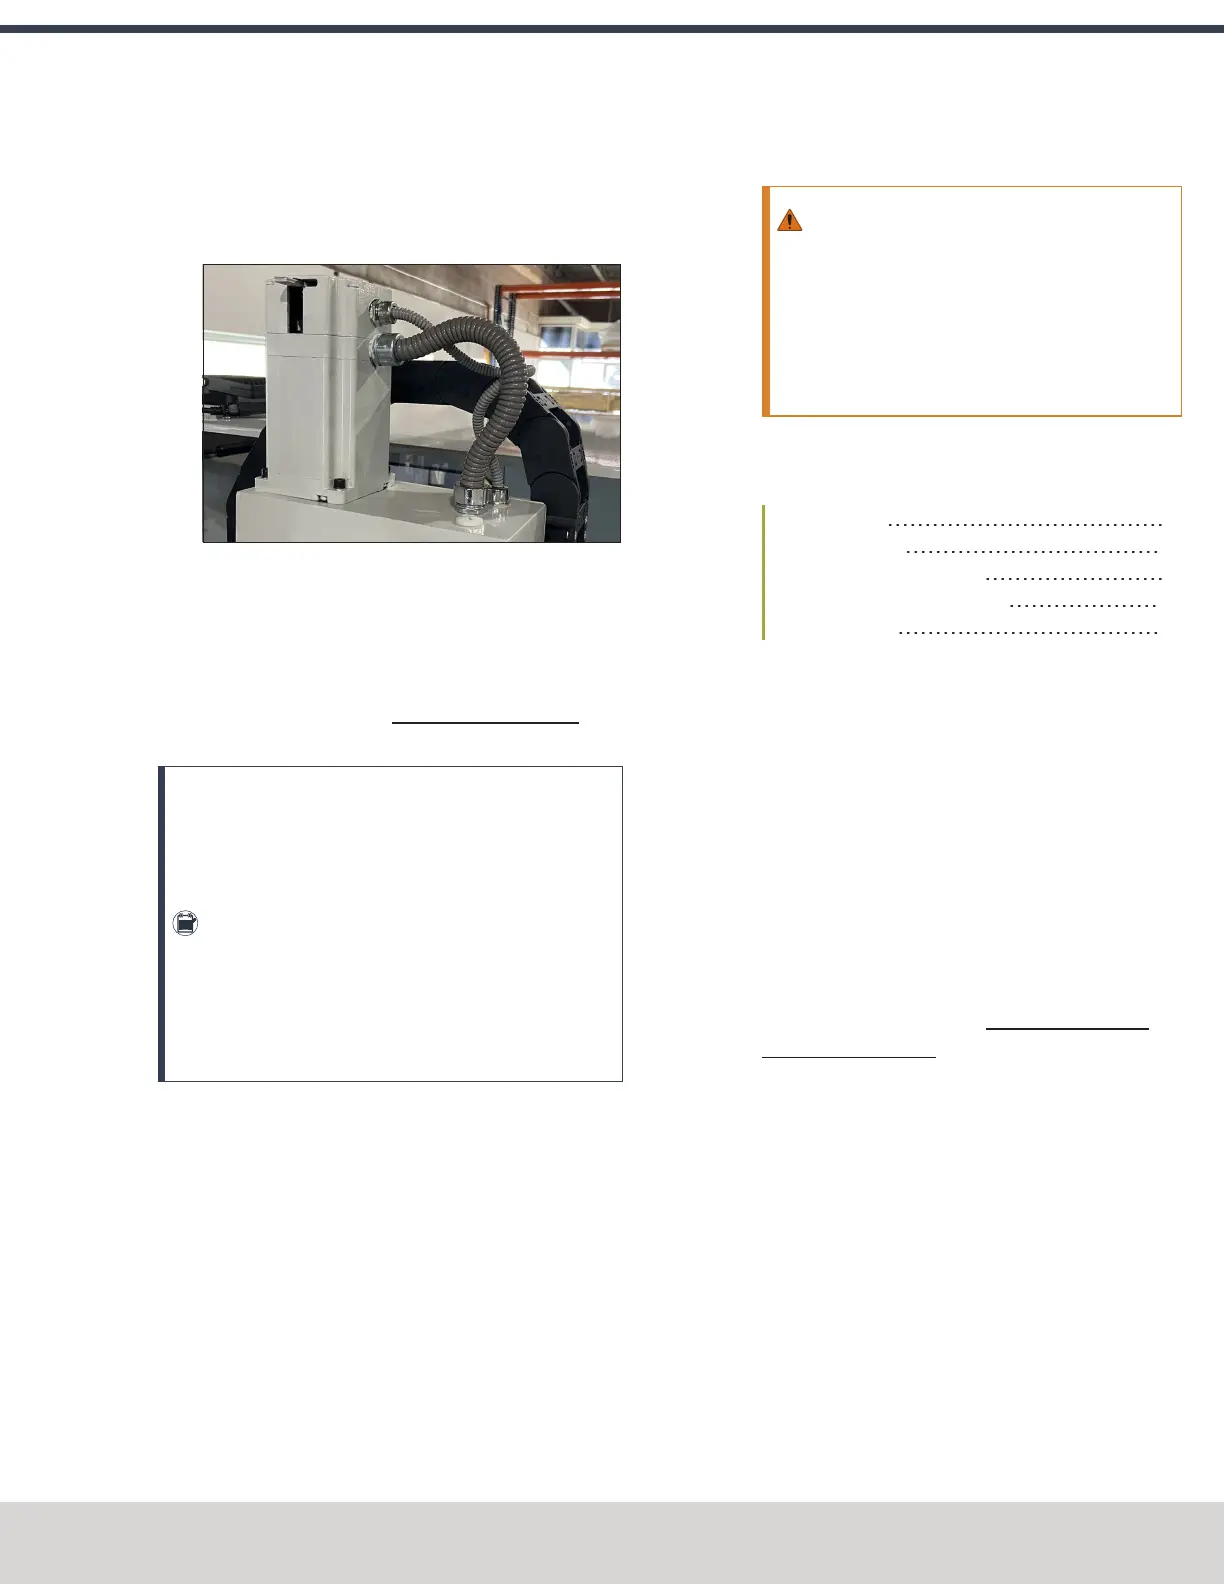
6. Mount the motor onto the motor mount with the four
M5 cap head screws, lock washers, and washers that you
removed in Step 3. Verify that the motor and motor
mount faces are flush.
7. Securely tighten all four M5 cap head screws.
8. Replace the motor mount cover that you removed in
Step 1.
4.7.3 Lift and Move the Machine
For safety and security, use the Lifting Bar Kit (PN31446) to
lift the machine from above.
Note: It's possible to lift the machine from below
with two steel bars — one in either 7/8-in. (22 mm)
diameter hole on the machine base. The bars must be
made of steel, at least 32 in. (813 mm) long, and
must not be hollow. You must make sure that the
machine is properly secured before lifting so that it
does not roll or shift in the process. For maximum
safety and security, we strongly recommend that you
lift the machine from above, as outlined in this
section.
1. Move the machine's pallet and stand as close as possible
to the desired location with a pallet jack. The machine
stand must be positioned behind the machine.
2. Remove any excess shipping grease on the machine with
a mild degreaser (like WD40® or similar).
3. To allow room to position the engine hoist, you must
first trim the pallet:cut the machine's pallet along the
sides of the machine's base casting with a reciprocating
saw (or similar).
4. Remove the nuts from the four studs that hold the
machine to the pallet with a 19 mm wrench. Discard the
nuts.
WARNING! Transportation and Lift Hazard:
Before moving the machine, you must confirm
that all persons are clear of the area below the
machine. Qualified professionals must
transport, lift, and move the machine. Moving
parts can entangle, pinch, or cut you, causing
death or serious injury.
5. Lift the machine from above. Complete the following
steps in the order listed:
Required Tools 45
Before You Begin 45
Assemble the Lifting Bar Kit 45
Connect the Machine for Lifting 46
Lift the Machine 46
Required Tools
This procedure requires the following tools. Collect them
before you begin.
l Adjustable wrench
l Clean cloth
l Engine hoist
Before You Begin
1. Inspect the lifting chain for any broken links, and all
other parts to make sure that there are no breaks or
imperfections. If you find any broken links or
imperfections, we can help. Create a support ticket with
Tormach Technical Support at tormach.com/how-to-
submit-a-support-ticket for guidance on how to proceed.
2. Use a clean rag to remove any shipping grease from all
components in the Lifting Bar Kit and from the surface of
the machine table.
Assemble the Lifting Bar Kit
1. Find and identify the correct Lifting Bar Kit mounting
holes specific to your machine:
l On each end of the Lifting Bar Kit are the front and
rear mounting holes: the front connects the lifting
chain to the machine table, and the rear connects to
the machine column itself.
©Tormach® 2023
Specifications subject to change without notice.
Page 45 Tormach 1100M® Operator's Manual (Version 1223A)
For the most recent version, see tormach.com/support