4. Loosely attach the lock key bracket assembly to the left
enclosure door with a 3 mm hex wrench and two M5 ×
0.8-10 flanged button head screws. You'll make further
adjustments later in this procedure.
Figure 4-159: Attaching the lock key bracket
assembly to the left side of the enclosure.
Figure 4-160: Lock key bracket attached. (Viewed
from inside the enclosure.)
5. Identify the door lock override switch, as shown in the
following image.
Figure 4-161: Door lock override switch.
6. Remove the screw that secures the door lock override
switch with a Phillips screwdriver, and then set it aside.
7. Turn the door lock override switch to the unlocked
position with a flat-blade screwdriver.
8. Open and close the enclosure doors to align the door
switch and the lock key. Make sure that the lock key
freely engages and disengages the door switch.
9. Tighten all four M5 × 0.8-10 flanged button head screws
on the lock key assembly.
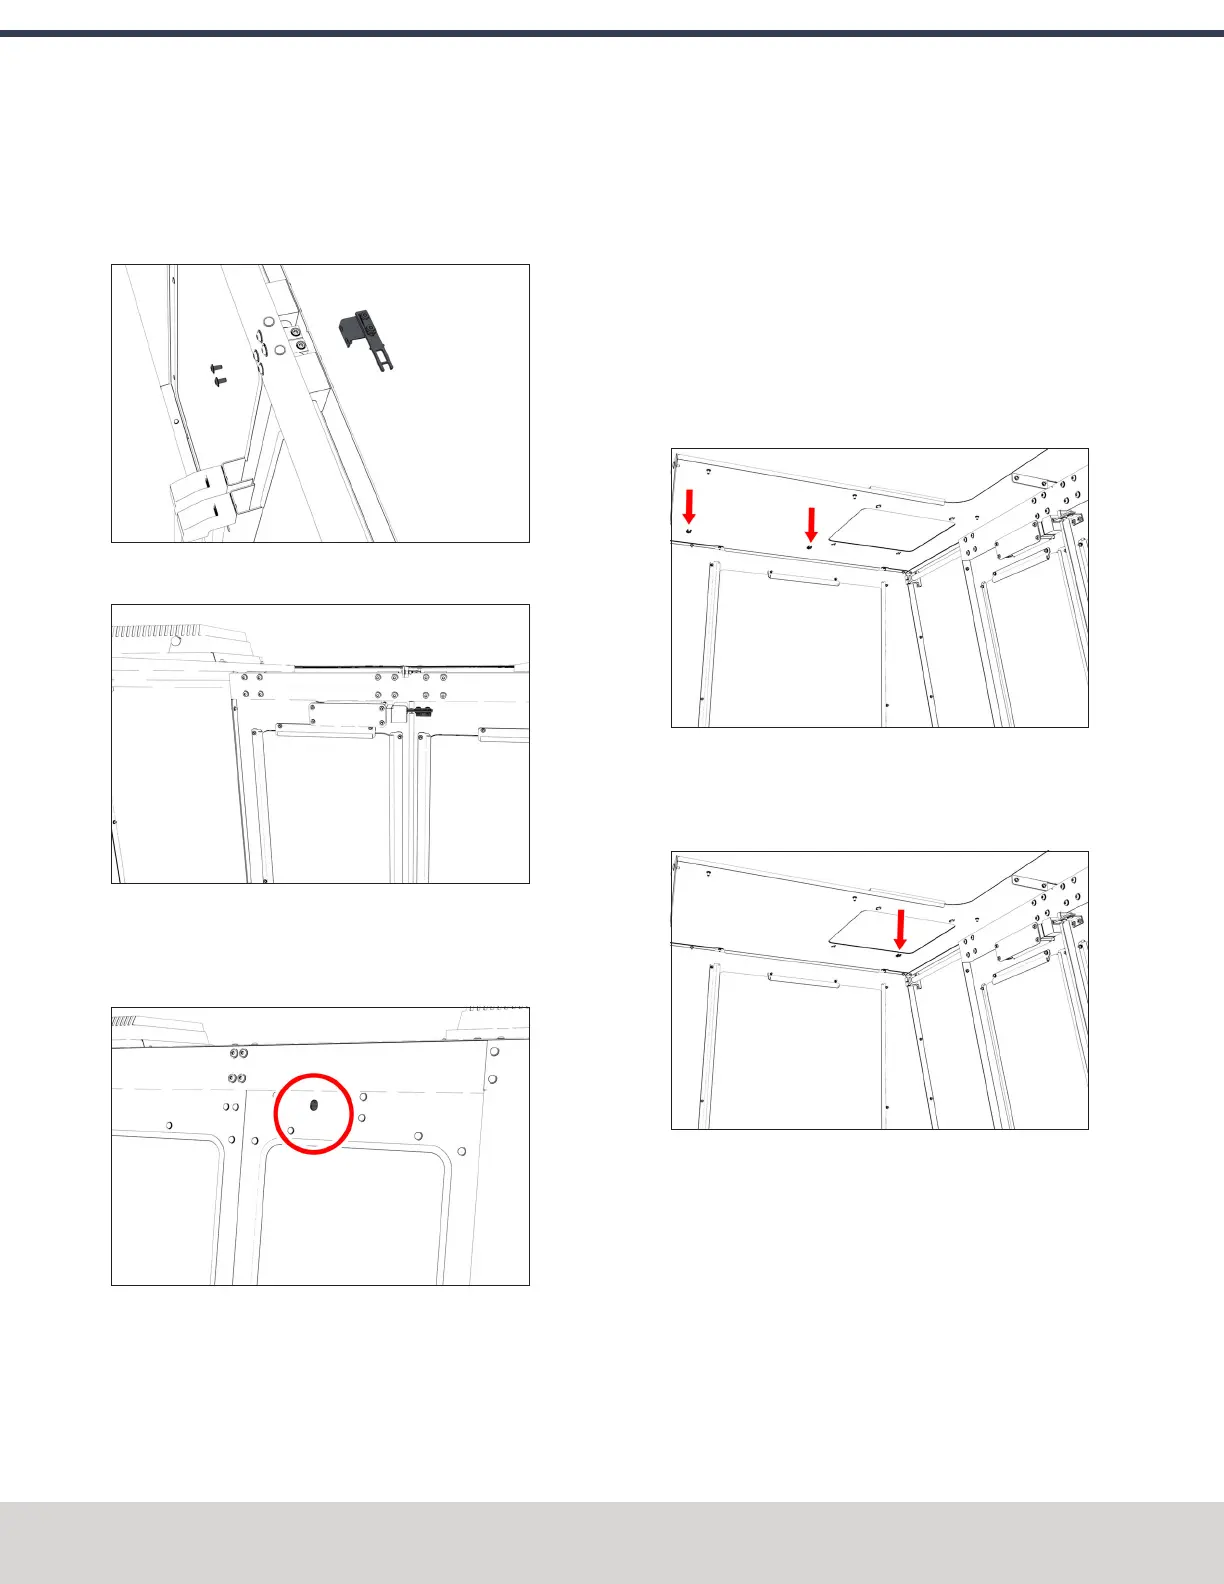
10. Attach two cable tie anchors to the right top panel on
the enclosure with a 3 mm hex wrench and three M5 ×
0.8-10 flanged button head screws.
Figure 4-162: Cable tie anchors installed inside the
right side of the enclosure.
11. Attach the remaining cable tie anchor to the enclosure
light's screw, as shown in the following image.
Figure 4-163: Cable tie anchor installed on the
enclosure light's screw.
12. Route the loose end of the door switch cable to the
electrical cabinet, and connect it to the Enclosure Door
Switch outlet.
©Tormach® 2023
Specifications subject to change without notice.
Page 98 Tormach 1100M® Operator's Manual (Version 1223A)
For the most recent version, see tormach.com/support
4: INSTALLATION