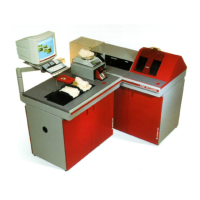
USTER®
HVI 900
Instruction Manual
Uster Technologies, Inc.
Chapter 13
Version 4.0 (1.99) Fibrosampler - Page 13-11
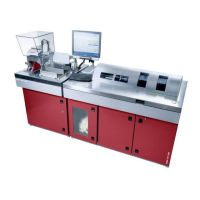
5.4.3 Height Adjustment
There are six sockets on the support column that control the height of the
Fibrosampler. To change the height location, follow these steps.
• Remove the M6 socket head cap screw.
• Relocate the Fibrosampler to a new height.
• Replace the screw and tighten it securely.
5.4.4 Check the Sample Plate Clearance
The Fibrosampler may be operated on any firm horizontal floor. The
clearance between the comb and the sample plate and card cloth
should be carefully maintained. It is recommended that it be checked
during installation and on a monthly basis thereafter.
A check of this clearance is accomplished by first placing the Fibrocomb
in the comb holder with the teeth uppermost and the handle pointing
down. Holding the comb clearance gauge in your left hand and the
Fibrosampler operating handle in your right, rotate the comb until it is
opposite the first section of the sample plate.
Slide the gauge between the sample plate and comb moving it back
and forth along the length of the comb. The gauge should just touch
both the comb face and sample plate. The gauge should not be forced
(too tight) or be able to rotate (to loose). Repeat this at selected points
around the sample plate checking the clearance as illustrated.