February, 2008
4-238
WorkCentre 5225, 5230
ADJ 15.1.4
Launch Version
Repairs and Adjustments
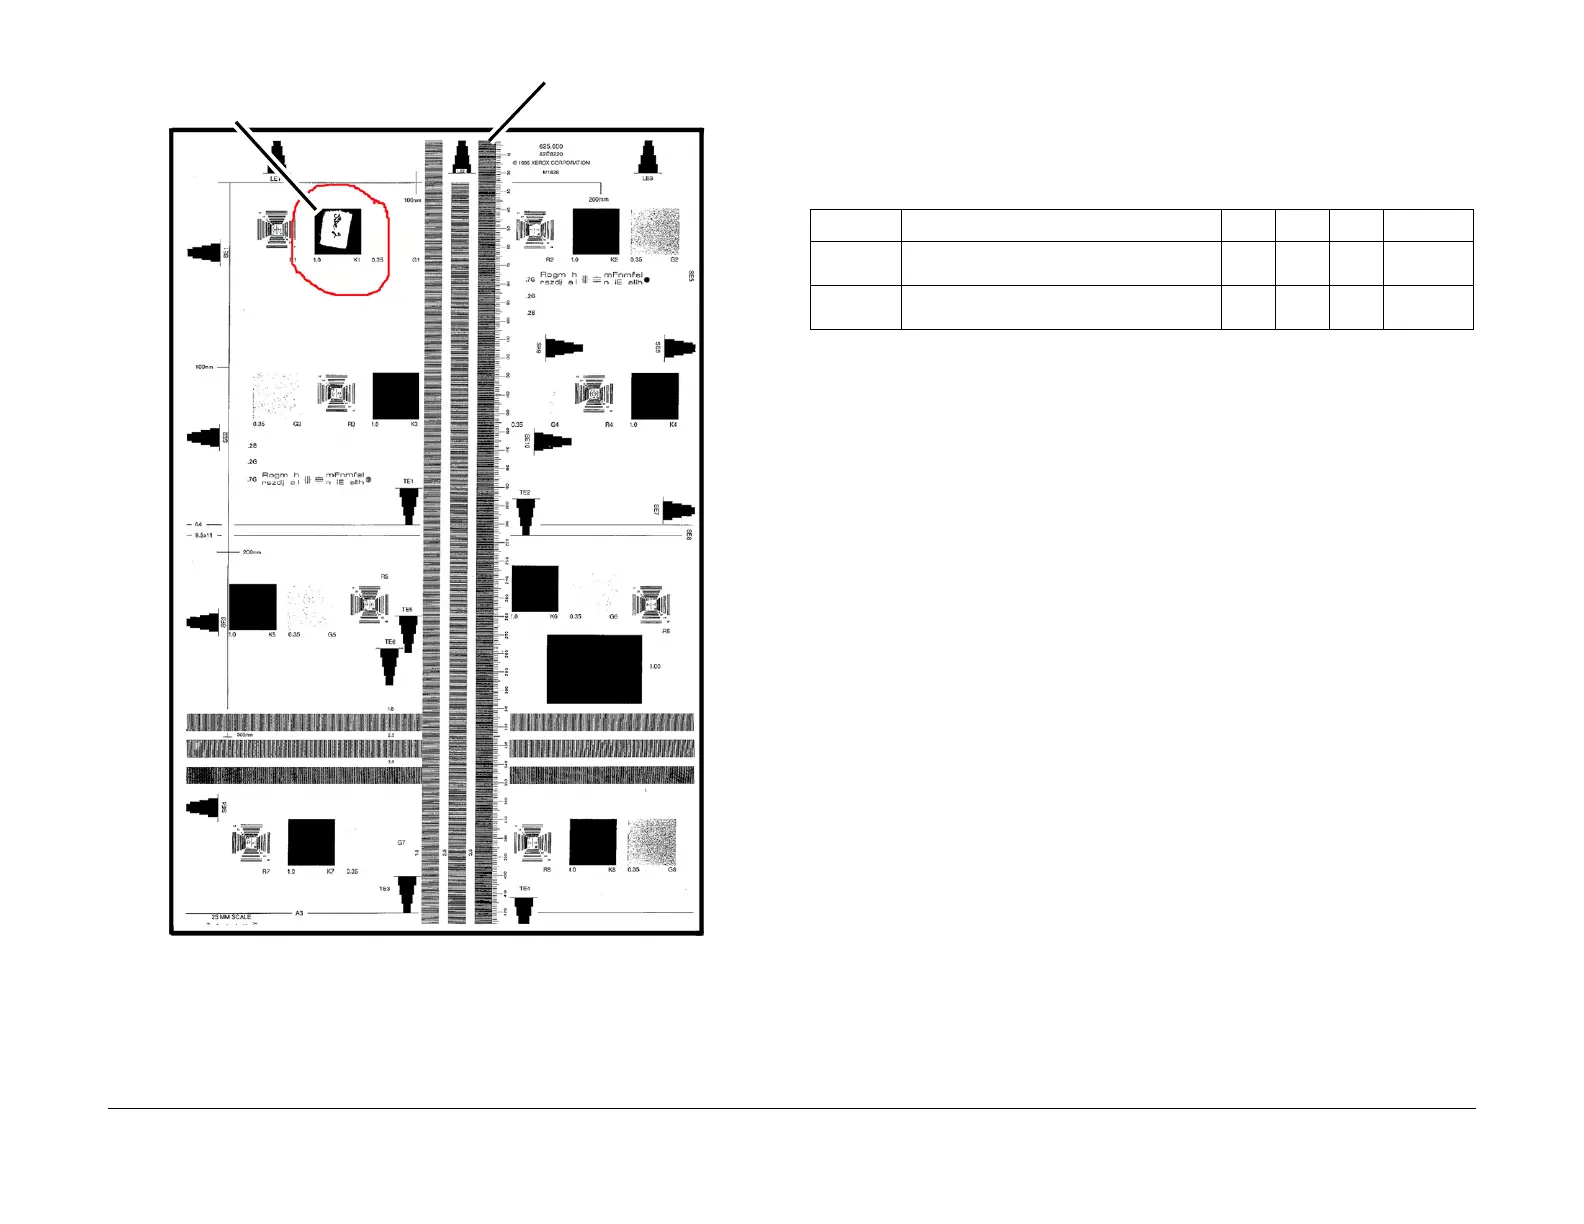
Figure 1 Identifying side 2
Adjustment
1. Enter UI Diagnostic Mode.
2. Select NVM Read/Write.
3. Adjust the Lead Edge using the following NVM so that the measured value falls within
specifications.
If the measured value is short: Set a smaller value.
If the measured value is long: Set a larger value.
4. After adjustment is complete, perform the check following the steps in the Check proce-
dure.
5. Repeat the procedure until the measured value of the Lead Edge falls within the specifi-
cations.
Piece of paper to
identify side 2
The 10 mm line is located
on this scale
Table 2 NVM List
Chain Link Name Min. Initial Max Increment
711-140 DADF Lead Reg. Adjustment (Side 1)
Replace All
80 129 230 0.458mm
711-141 DADF Lead Reg. Adjustment (Side 2)
Replace All
80 129 230 0.458mm

 Loading...