Chapter 5 119
Setting Measurement Conditions
Sweeping Multiple Sweep Ranges with Different Conditions in a Single
Action (List Sweep)
5. Setting Measurement
Conditions
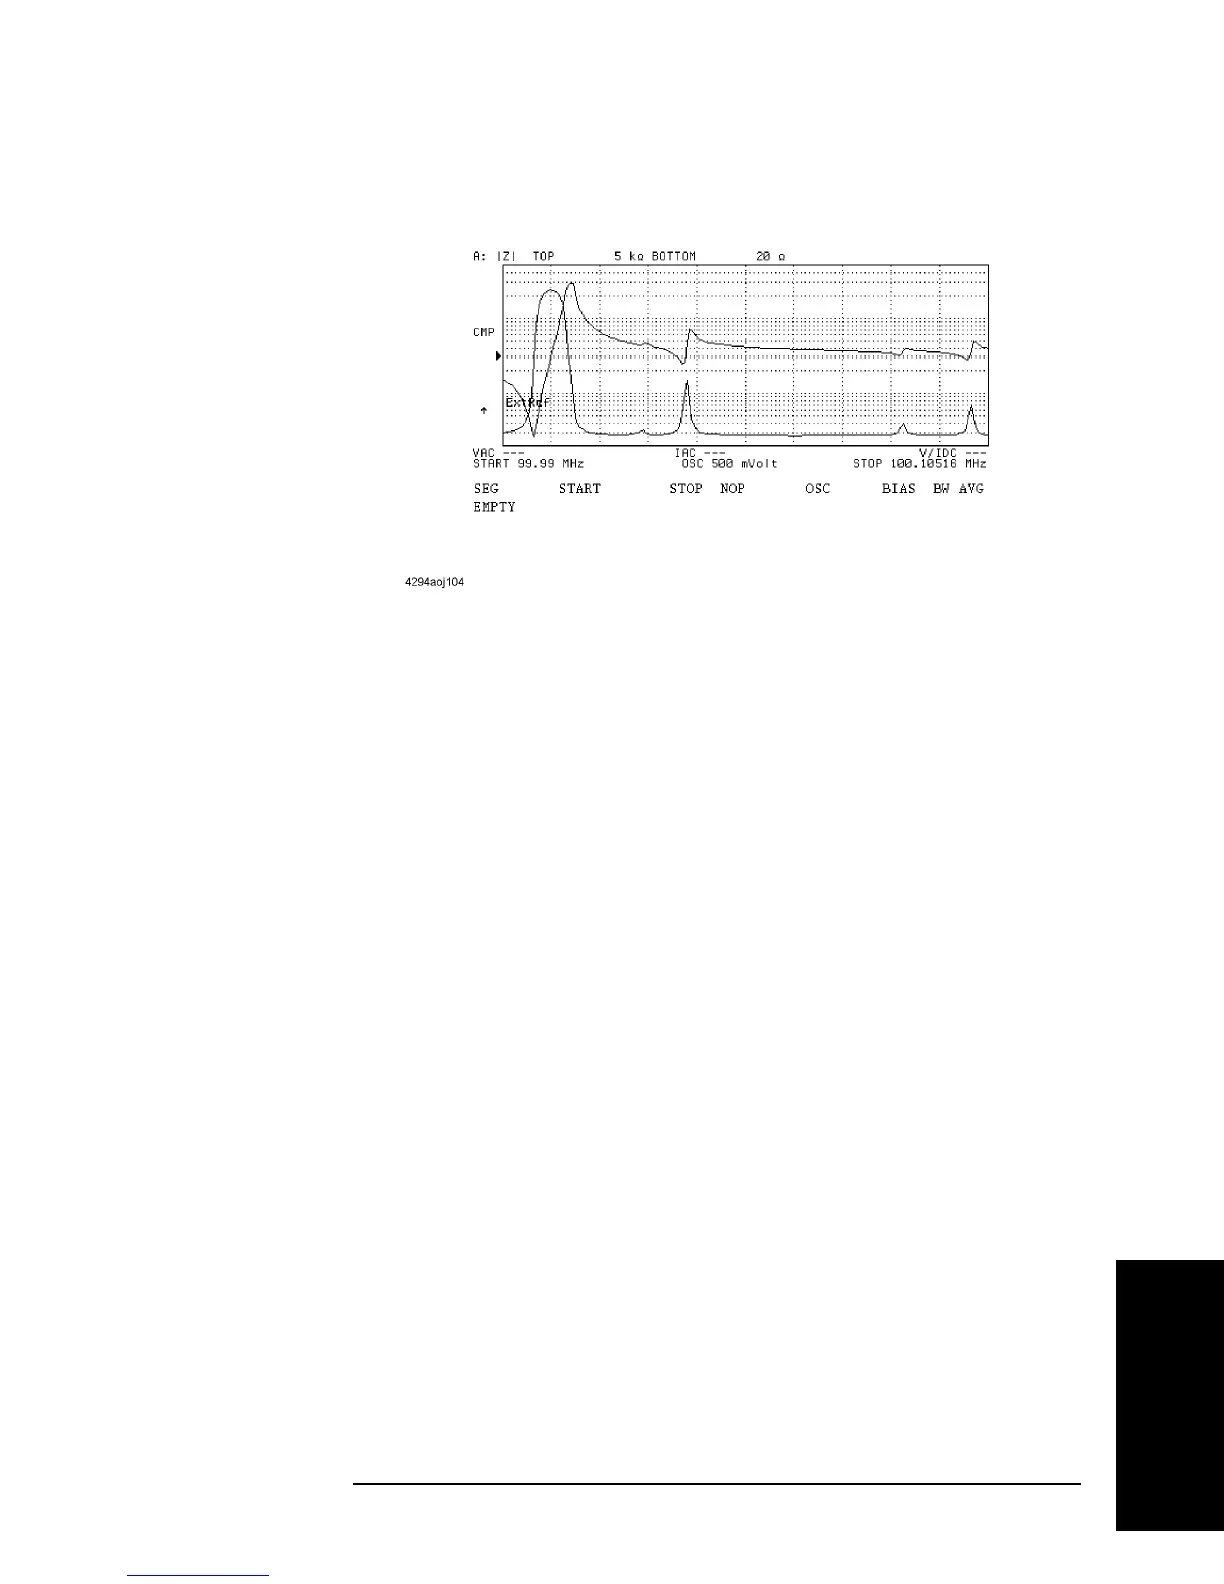
Figure 5-18
Step 3. Press the
ADD key to add a new segment to the list sweep table. This operation also
displays the segment edit menu (1/3). The segment added to the list sweep table contains
predefined initial values.
Step 4. Press the
START key or the CENTER key. This will display the current setting for start
frequency or sweep center frequency in the parameter settings located in the upper left area
of the screen.
Step 5. Use the keys or rotary knob of the ENTRY block in one of the following ways to specify a
value for the sweep start frequency or sweep center frequency.
• Enter the desired value with the numeric keys (
[0] to [9], [.], and [-]) and then press the
unit key (
[G/n], [M/m], [k/m], or [´1]).
• Turn the rotary knob (m
mm
m) until the desired value is set.
• Press the step keys ([][¯]) to set the desired value.
The above setting will add a new value for the sweep start or center frequency to the cell in
the segment row and the sweep start/center frequency column (START or CENTER) of the
list sweep table in editing mode.
Step 6. Press the
STOP key if the sweep start frequency is initially set or the SPAN key if the
sweep center frequency is initially set. This will display the current setting for the sweep
stop frequency or sweep span frequency for the segment in the parameter settings located
in the upper left area of the screen.
Step 7. Use the keys or rotary knob of the ENTRY block in one of the following ways to specify a
value for the sweep stop frequency or sweep span frequency.
• Enter a desired value with the numeric keys (
[0] to [9], [.], and [-]), then press the unit
key (
[G/n], [M/m], [k/m], or [´1]).
• Turn the rotary knob (
m
mm
m) until a desired value is set.
• Press the step keys ([][¯]) to set a desired value.