Rockwell Automation Publication 2198-UM001I-EN-P - May 2019 165
Chapter 8
Remove and Replace Servo Drives
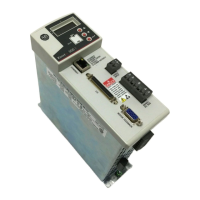
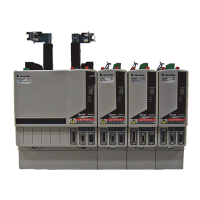
This chapter provides remove and replace procedures for Kinetix® 5500 drives.
Before You Begin
When each drive is installed, network settings are configured from the setup
screens. Before removing the drive, revisit the Network menu and make note of
the static IP or DHCP settings. Refer to Configure the Drive
on page 113 to
access those settings.
You also need these tools available before you begin removal and replacement
procedures:
• Screwdrivers (to loosen/remove screws)
• Voltmeter (to make sure no voltage exists on drive connectors)
• Non-conductive probe for removing DC bus T-connectors
Topic Page
Before You Begin 165
Remove and Replace Kinetix 5500 Servo Drives 166
Start and Configure the Drive 168
ATTENTION: This drive contains electrostatic discharge (ESD) sensitive parts
and assemblies. You are required to follow static-control precautions when
you install, test, service, or repair this assembly. If you do not follow ESD
control procedures, components can be damaged. If you are not familiar with
static control procedures, refer to Guarding Against Electrostatic Damage,
publication 8000-4.5.2
, or any other applicable ESD awareness handbook.
IMPORTANT If you intend to use the same Logix Designer application after replacing
your drive, the new drive must be the same catalog number as the old
drive.

 Loading...