6.9 Measuring Waveform
6-109
6
How to Operate Sampling Scope
17. Click the Measurement Edge Type button to set the edge for jitter
measurement.
All: Rising edge and falling edge
Falling: Only falling edge
Rising: Only rising edge
18. Click Advanced tab.
19. Click the TJ Measurement BER button to specify the BER to
measure the eye aperture with the Bathtub graph.
Set the following items as needed.
Fixed RJ, RJ Value, Correction Factor, DJ (Scale), RJ (Scale),
RJ (rms), Define Threshold, Manual Crossing
20. Click Sampling to display Sampling Run at the button display.
21. Click Graph on the Result window. Click the button on the scroll bar
to display the jitter graph.
Starting/finishing Analysis
To start the jitter analysis, click Sampling on the Result window. The
button lamp lights green during the analysis.
“Processing” is displayed on the screen until the analysis result is
displayed.
When clicking Sampling during the analysis, the button lamp is lit off and
then the analysis is finished.
For Pattern, Sample, Time, or Waveforms of the Limit Type on General
tab of Setup dialog box, when jitter analysis data reaches to the limitation,
the measurement is finished.
Note:
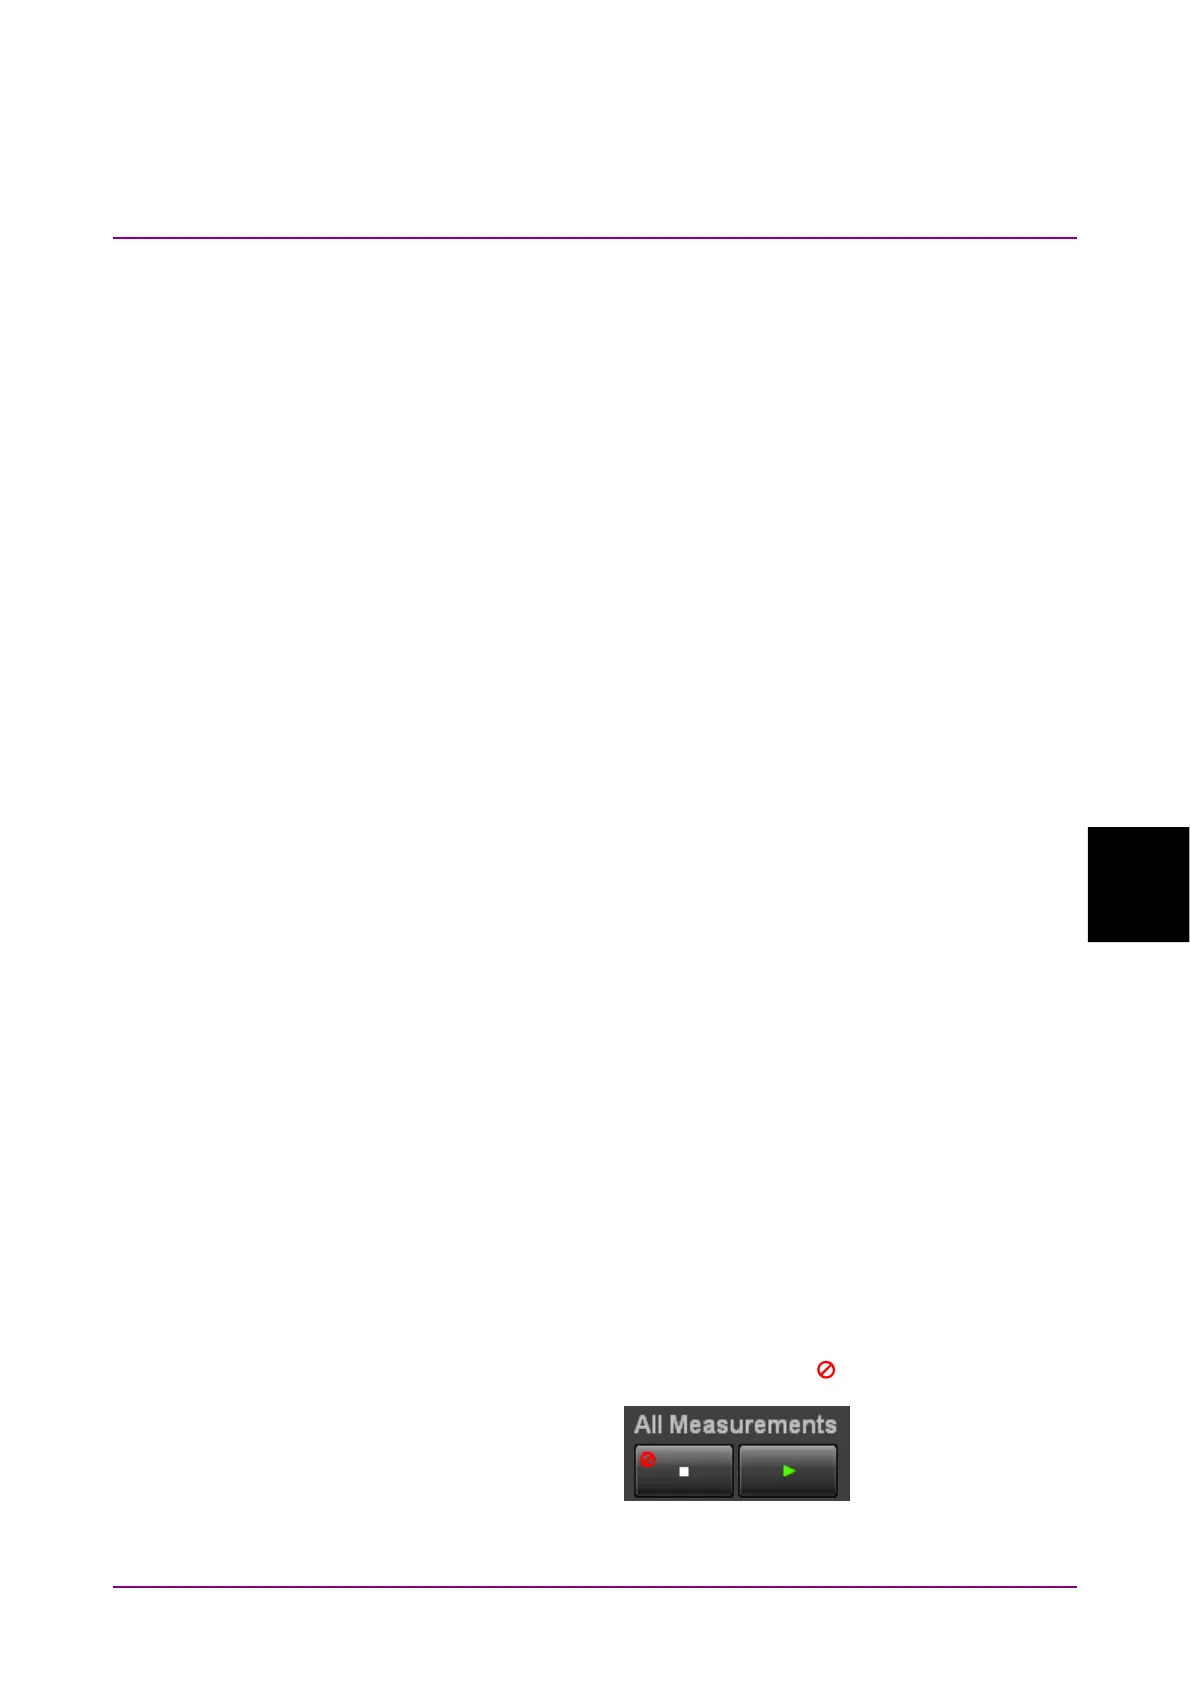
During jitter analysis, the following options and button are
unavailable.
Open system menu
Scope and All Setups for Save system menu
The All Measurements stop button (
is displayed.)
 Loading...