7. Lenses & lens holder
Indication on drawing Function
1, 2 and 3
Scheimp flug adjustment n uts
A, B, C and D Set screws
a, b, c and d lock nuts
1, 2 and 3 are adjustment points.
4 is a locking point and NOT used during Sc heimpflug adjustment.
Necessary tools
• Allenkey3mm
• Nut driver 13 mm
• Nut driver 10 mm
How to adjust
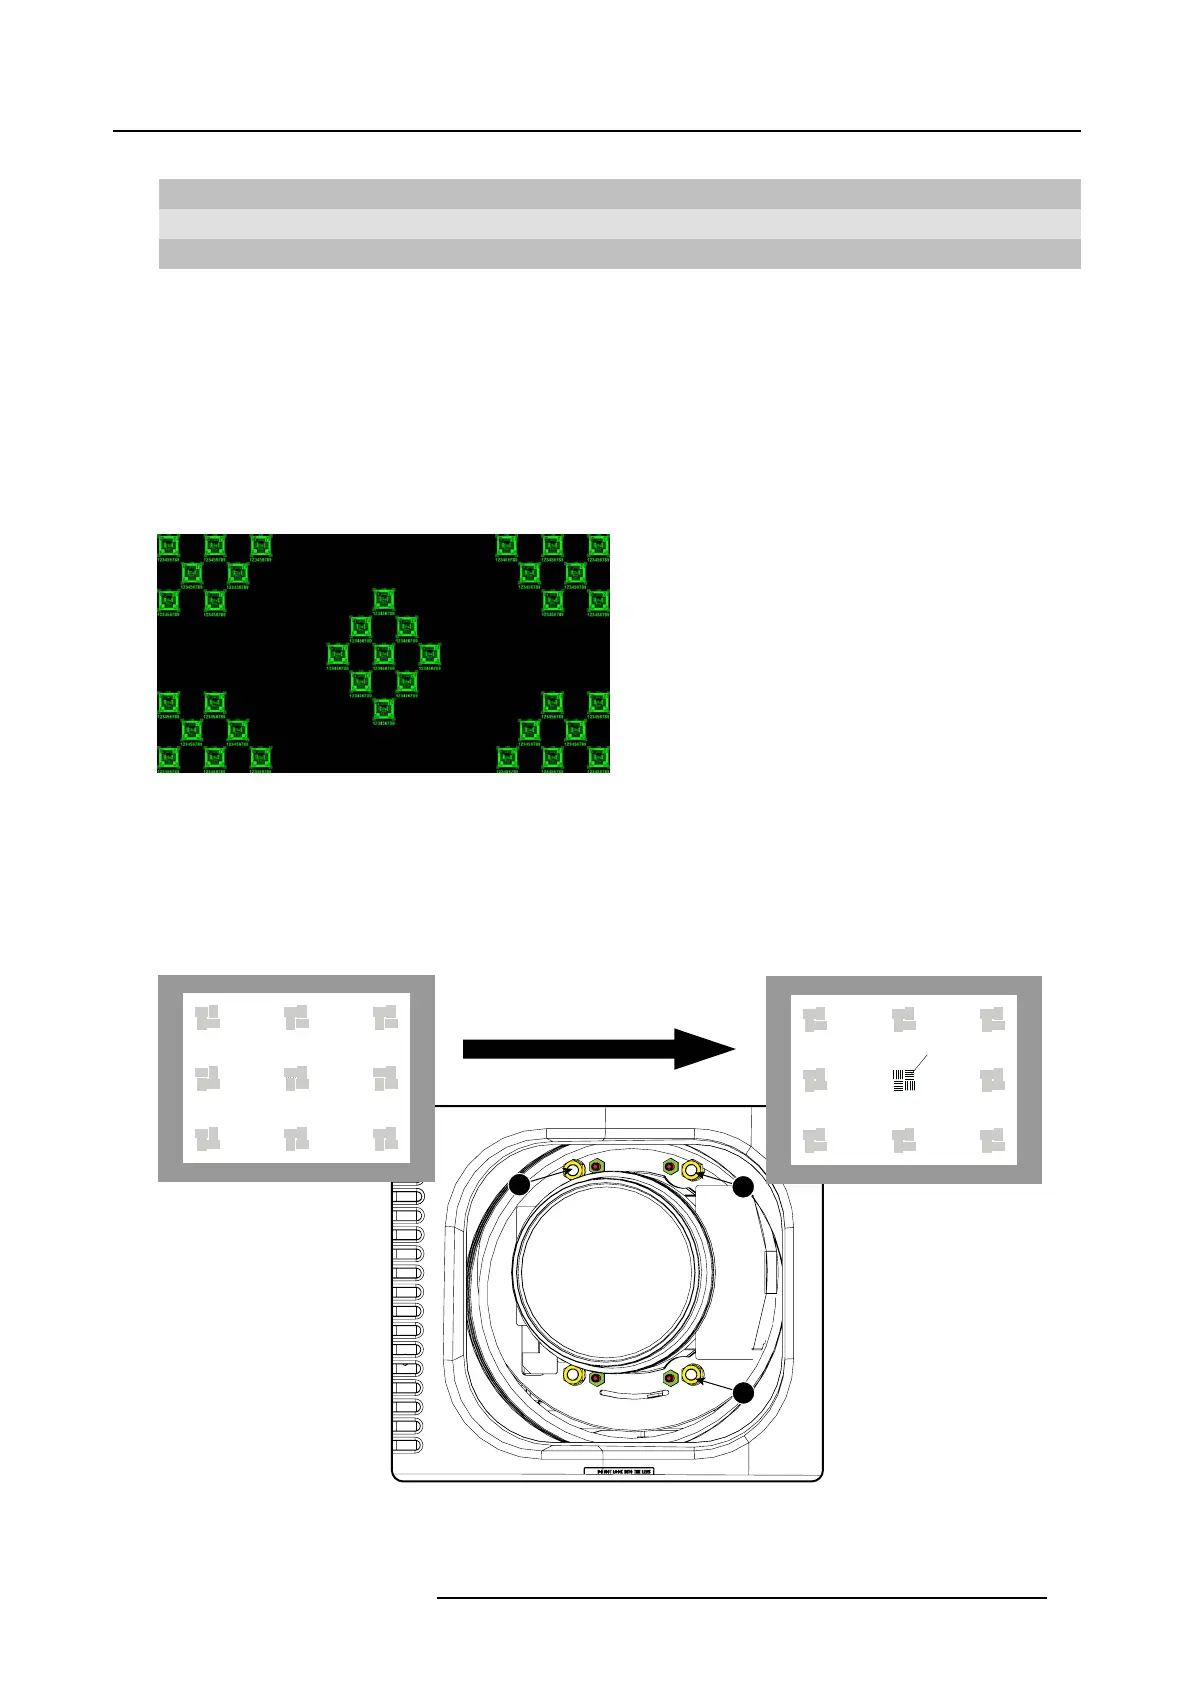
1. P roject a green focus pattern. For a 4K projector, use the 4K test pattern. Otherwise, use the 2K test pattern.
Image 7-31
2. L oosen the lock nuts (a, b, c and d). S ee im age 7-30.
3. L oosen the 4 set screw s (A, B, C and D) by 1 cm . See image 7-30.
4. F ully loosen lock nut 4. See im age 7-30.
5. O ptimize the focus of the projected image as follows:
a) Turn the Scheimpflug adjustment nuts 1, 2 and 3 until the front of the nut is equally aligned with the front of the threaded rod.
b) A djust the focus in the center of the screen (F) using the motorized focus control.
1
2
3
F
Image 7-32
Center focusing
6. S harpen b ottom left corner of the screen by adjusting nut 1.
R5906753 DPXK BLP SERIES 20/11/2017
75