Chapter 1 Installation
Caution
Please read the safety notices carefully before installing and starting up your device.
These are supplied with the device.
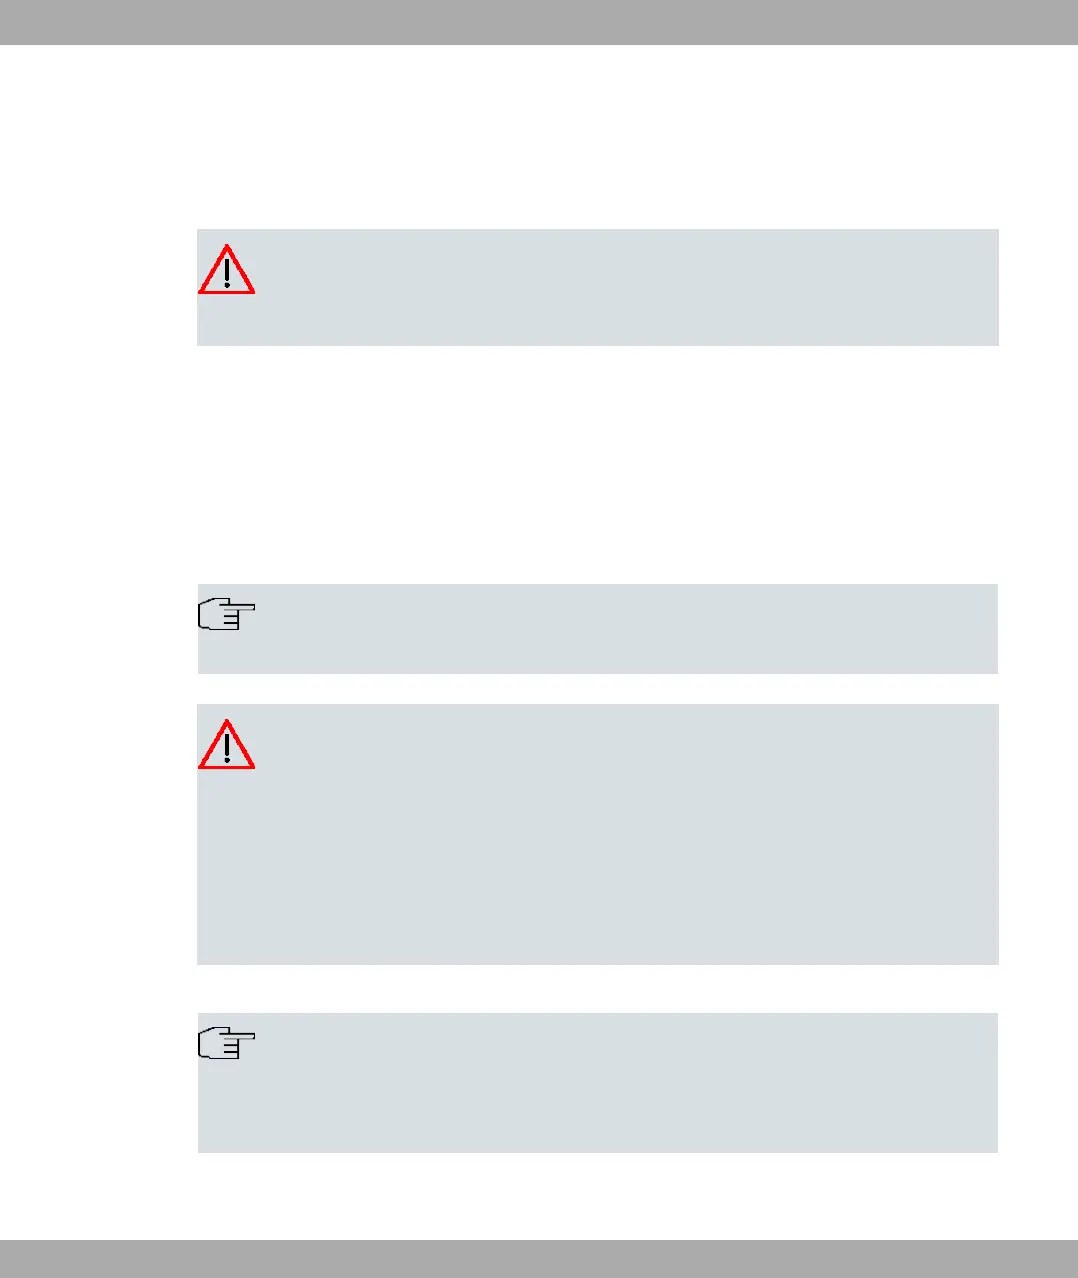
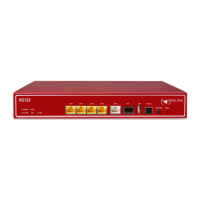
1.1 bintec RS353j, bintec RS353jw and bintec
RS353j-4G
1.1.1 Setting up and connecting
Note
All you need for this are the cables and antennas supplied with the equipment.
Caution
The use of the wrong mains equipment may damage your device. You should only use
the power supply unit provided! If you require foreign adapters/mains units, please
contact our bintec elmeg service.
Incorrect cabling of the ISDN and ETH interfaces may also damage your device. Con-
nect only the ETH interface of the device to the LAN interface of the computer/hub or a
WAN interface if available and the ISDN interface of the device only to the ISDN con-
nection.
Note
If you connect an unconfigured device to an ISDN connection in parallel to a PBX, the
PBX cannot take any calls until an ISDN number is configured on the device. If no
entry is specified, every incoming ISDN call is accepted by the ISDN Login service.
bintec RS353jw is equipped with two external WLAN antennas, bintec RS353j-4G is
bintec elmeg GmbH
1 Installation
bintec RS Series 1