Conditions and Corrective Actions If Undetected Drives Aren’t Displayed Properly
Even when you configure the NAS to show the confirmation screen if a drive being used for the RAID array cannot
be mounted, undetected drives will not be displayed under the following conditions. If you are using any of the
RAID array configurations below, follow the corrective procedure.
Conditions Corrective Actions
RAID 10 has been configured. 1 Refer to the “Selecting the Action on the Confirmation Screen”
subsection above on how to access the confirmation screen.
2 Select “Shut down the TeraStation and reconnect the drives” and
click Execute.
3 After the TeraStation shuts down, confirm that all drives have
been inserted properly.
4 Press the power button to power on the TeraStation.
5 Log in to Settings and make sure the confirmation screen doesn’t
appear.
Multiple arrays have been configured.
Configuring a Hot Spare
If you have a hot spare configured and an array fails, the TeraStation immediately switches over to the hot spare. To
use a hot spare, you need a RAID 1 or RAID 5 array and an extra drive that’s not part of an array.
Notes:
• All data on the hot spare drive is deleted when it is configured as a hot spare and again when it changes from a
spare to a drive in the array.
• A hot spare cannot be configured for TeraStation models with only two drives included.
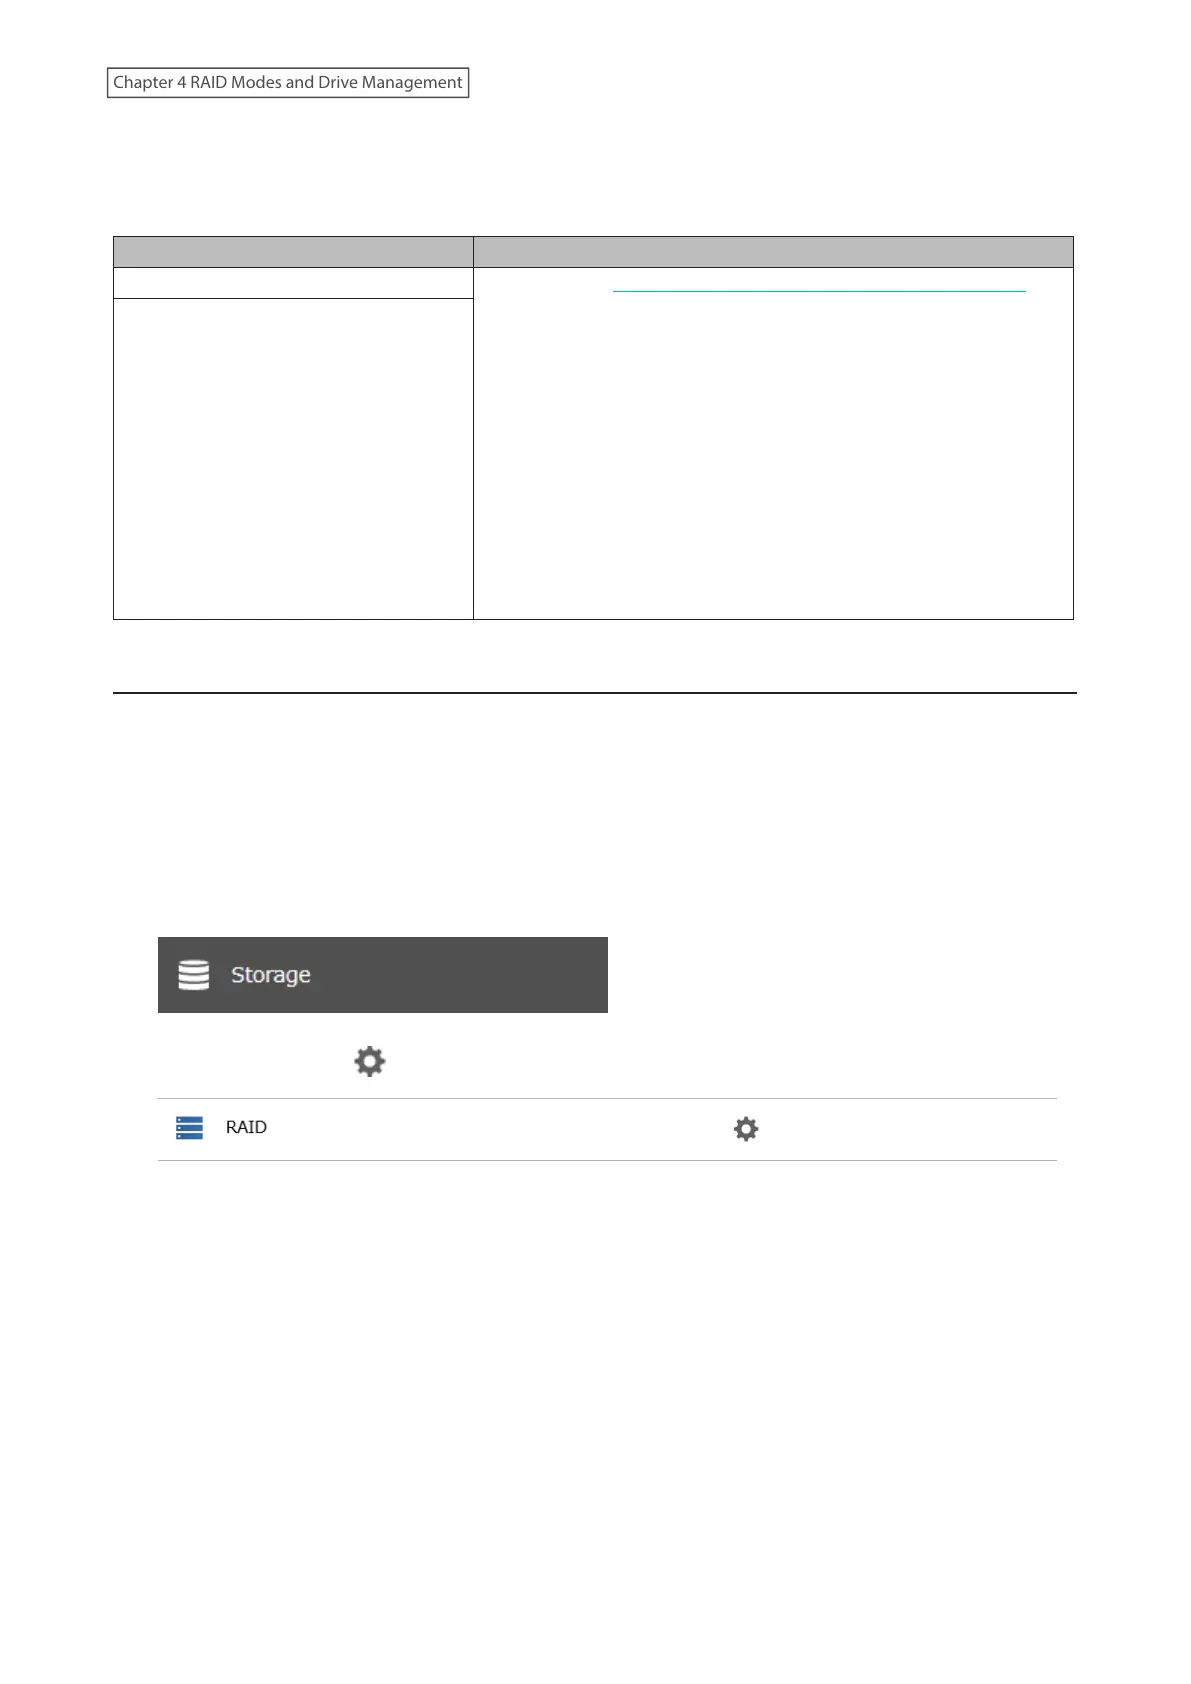
1 From Settings, click Storage.
2 Click the settings icon ( ) to the right of “RAID”.
57
Chapter 4 RAID Modes and Drive Management