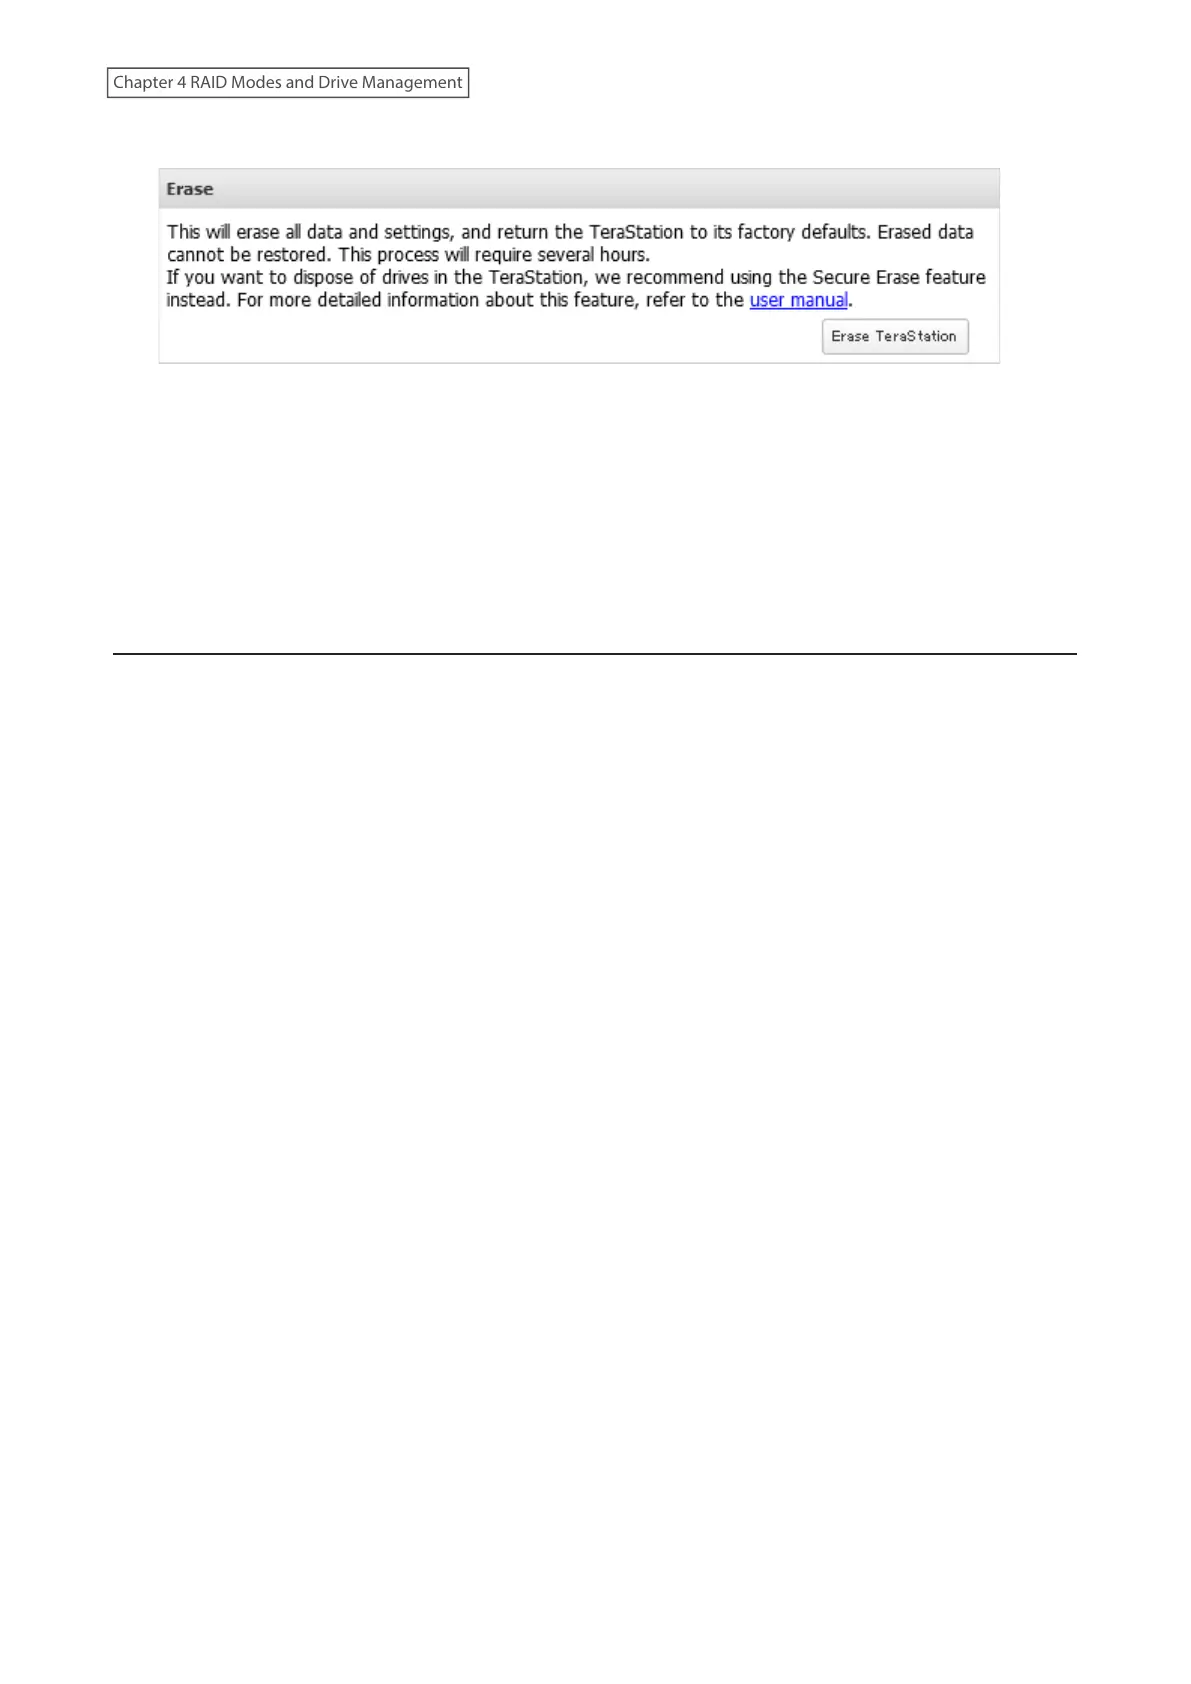
3 Click Erase TeraStation.
4 The “Confirm Operation” screen will open. Enter the confirmation number, then click OK.
5 The complete format process will begin. The process is complete when the TeraStation shuts down
automatically. To power on the TeraStation, press the power button.
Note: If you remove a drive and then erase all data on the TeraStation, the E22 error along with the number of the
removed drive will appear as a notification. You can still use the TeraStation.
Performing the Secure Erase Command
The Secure Erase feature runs the Secure Erase command native on a drive to eliminate its data using methods that
meet the Purge category according to NIST 800-88 standards.
Follow the procedure below to perform the Secure Erase command on the TeraStation. After performing the Secure
Erase command, dispose of the TeraStation and its drives accordingly.
The Secure Erase feature is intended to be permanently data destructive. Buffalo’s product warranty does not cover
data loss in the use of this or any other system application.
1 Press and hold down the power button for three seconds to turn off the TeraStation.
2 Turn the TeraStation back on while holding down the function button. You should hold down the function
button for at least 10 seconds after pressing the power button.
3 When the power LED changes from blinking to glowing, release the function button and open Settings from
NAS Navigator2.
4 Click OK.
74
Chapter 4 RAID Modes and Drive Management