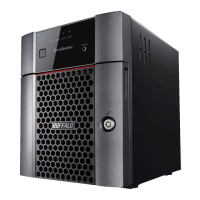
6 When the replaced drive is recognized, the status LED will flash red and the I31 message will appear as a
notification.
7 Close the front cover.
8 Press the function button. The TeraStation will beep once. Press and hold the button until the TeraStation
beeps again.
9 The process is completed once the replaced drive is set as a hot spare.
If you want to use the replaced drive as a normal drive rather than a hot spare, navigate to Storage> RAID and click
the RAID array, select the new drive, and click Set as a normal drive.
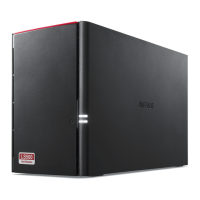
Replacing a Non-Malfunctioning Drive
If you must change a drive that is not malfunctioning, shut down the TeraStation, then disconnect the drive.
A new drive should be inserted after turning on the TeraStation. Make sure that the startup process is successful
by checking that the power LED changes to a steady green. If you need to replace more than one drive all at once,
replace the drives one at a time to preserve your data. When replacing the non-malfunctioning drive, the RAID array
will function as below:
Operating in a Redundant RAID Array
If you are using a redundant RAID mode such as RAID 1, 5, or 6, the RAID array will enter degraded mode after
replacing the drive. You will be unable to use the TeraStation until you recover the RAID array with a new drive.
Operating in RAID 0
All data on the RAID array will be deleted after replacing the drive. You will be unable to use the TeraStation until
you delete and create a new RAID array with a new drive.
Operating in JBOD
All data on that drive will be deleted after replacing the drive. You will be unable to use the TeraStation until you
format a new drive.
Re-Inserting Drives
If the E14 or E16 error appears as a notification after initial bootup, follow the procedure below to re-insert the
internal drives.
1 Turn off the TeraStation.
2 Open the front cover with the included key.
254
Chapter 11 Drive Replacement and Troubleshooting