SMP Gateway User Manual • 1
1 Welcome
Congratulations on acquiring your new SMP Gateway! You now have unlimited connectivity for
all the equipment in your substation.
In this manual, we will show you how to use the SMP Gateway to integrate existing and new
RTUs, IEDs, PLCs and control centers into a single modern, homogeneous substation automation
system.
You will learn how to set up your SMP Gateway as a:
Protocol Translator – The SMP Gateway translates standard or proprietary device protocols
to control center protocols such as DNP3, TEJAS, IEC-60870-5-101/103/104 or IEC-61850
(UCA 2.0).
Data Concentrator – The SMP Gateway collects the data from all connected devices,
regardless of protocol, and makes it available to control centers using LAN, WAN, modem or
serial connections.
Terminal Server – The SMP Gateway supports centralized maintenance, monitoring and
control of all devices by using the passthrough communications mode.
Substation Communications Gateway – The advanced capabilities of the SMP Gateway
make it the ideal choice for any substation automation project.
1.1 SMP Gateway Models
There are currently 3 SMP Gateway models:
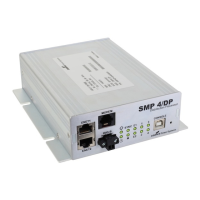
The SMP 4 has 4 ports. It comes in a compact and economical format that allows it to be
installed directly within relay protection enclosures. There is also an optional internal modem
available, which allows the SMP 4 to communicate with a SCADA or device via a dialup
connection.
The SMP 16, which can be mounted in a 19-inch rack, comes in two versions, both of which
have the same basic characteristics:
The SMP 16/CP is a gateway that offers 16 RS-232/422/485 universal serial ports,
2 Ethernet ports and an integrated modem.