Stacker
254 Service Instructions 755 A/756 A - 00.0 - 02/2019
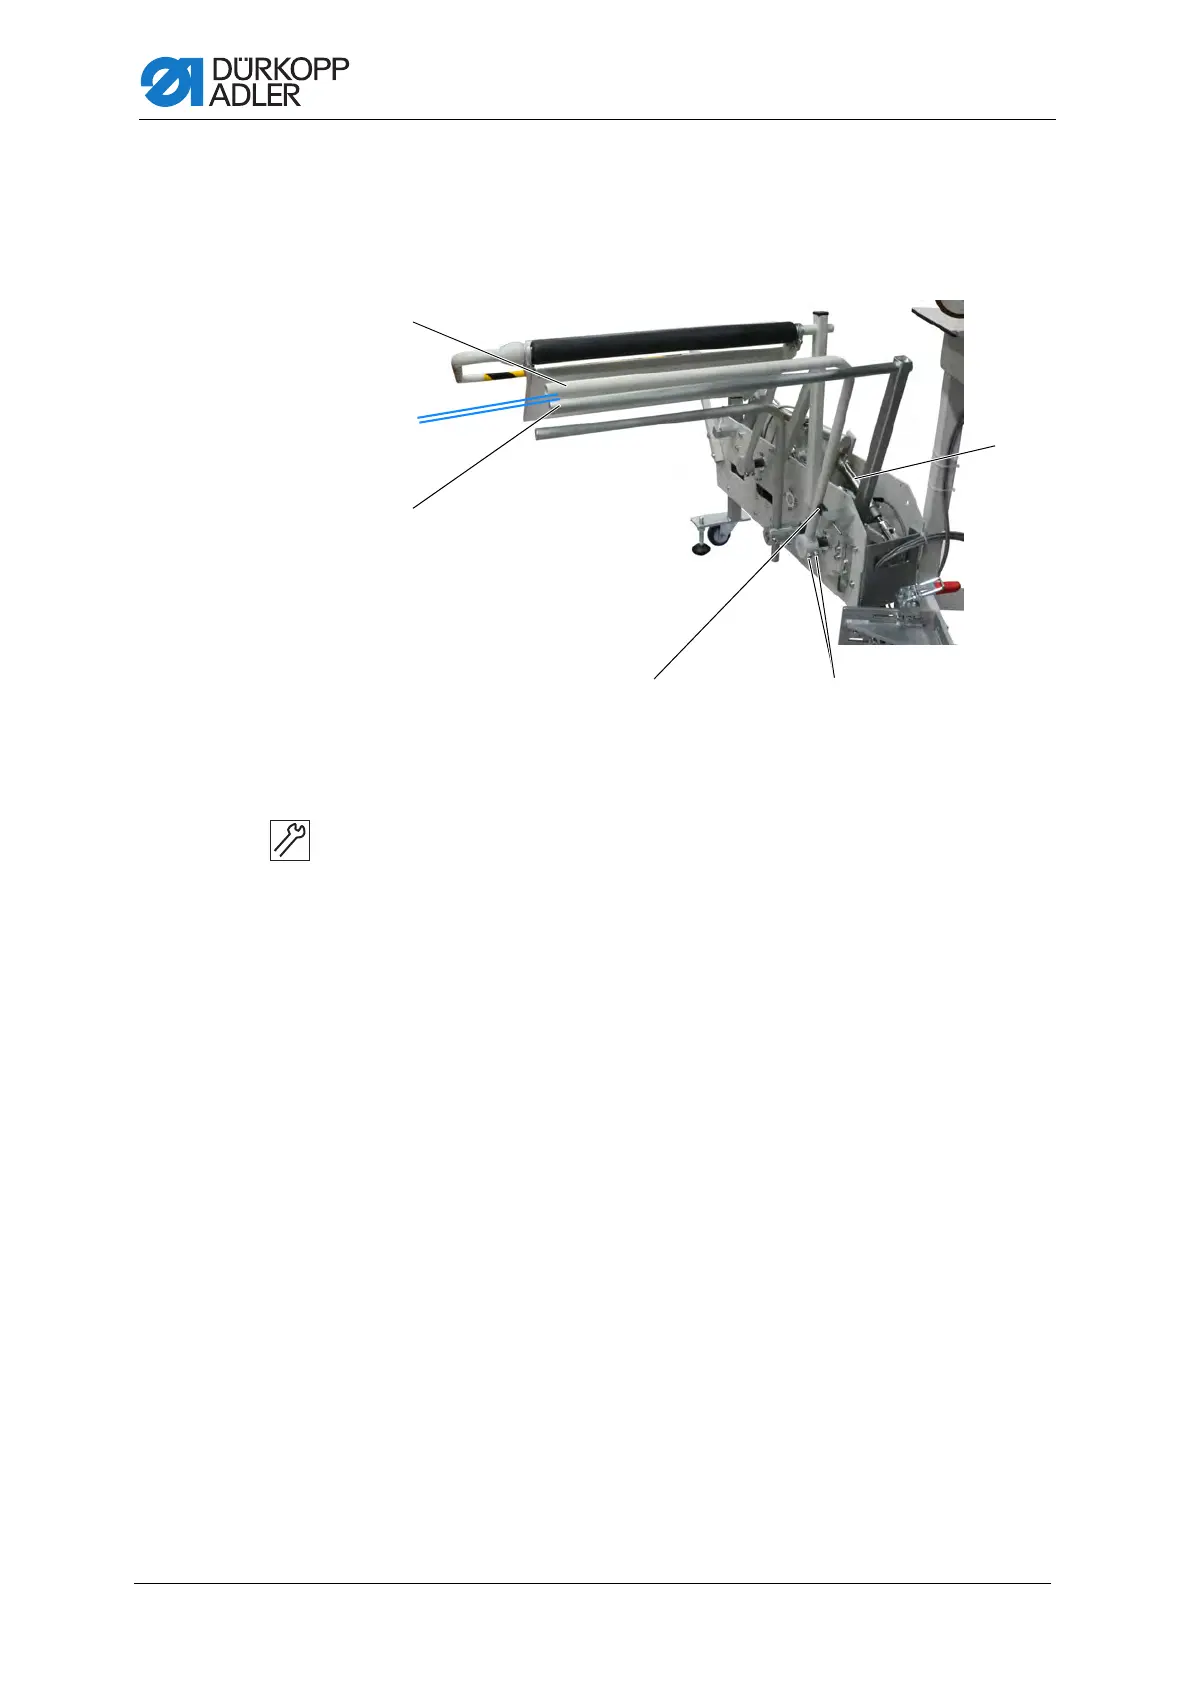
28.3 Setting the stacker brackets
Setting the front clamping bracket
Fig. 249: Setting the stacker brackets (1)
To set the front clamping bracket:
1. Check if the stop (3) is set to the correct position ( p. 253).
2. Loosen the screws (4).
3. Position the front clamping bracket (1) at stop (3).
4. Press the pneumatic cylinder (5) into its end position.
5. Set the throw-over stacker (2) to its rear position.
The distance between the front clamping bracket (1) and the throw-
over stacker (2) is approx. 12 mm.
6. Tighten the screws (4).
(1) - Front clamping bracket
(2) - Throw-over bracket
(3) - Stop
(4) - Screws
(5) - Pneumatic cylinder
 Loading...


