297
GEARCASE SERVICE, 40 – 65 HP MODELS
GEARCASE REMOVAL AND INSTALLATION
12
Gearcase Installation
Before installing gearcase, shift rod
adjustment MUST be checked. Refer to SHIFT
ROD ADJUSTMENT on p. 300.
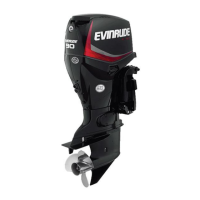
Coat th e drivesh aft splines with Moly Lube. DO
NOT co at top su rface of th e driveshaf t be cause
lubricant may prevent seat ing of the driveshaf t in
the crankshaft.
Apply Adhesive 847 to the exhaust housing seal’s
outer su rface. Place the seal in the ge arcase
exhaust cavity. Apply Triple-Guard grease to the
seal’s inner surfaces.
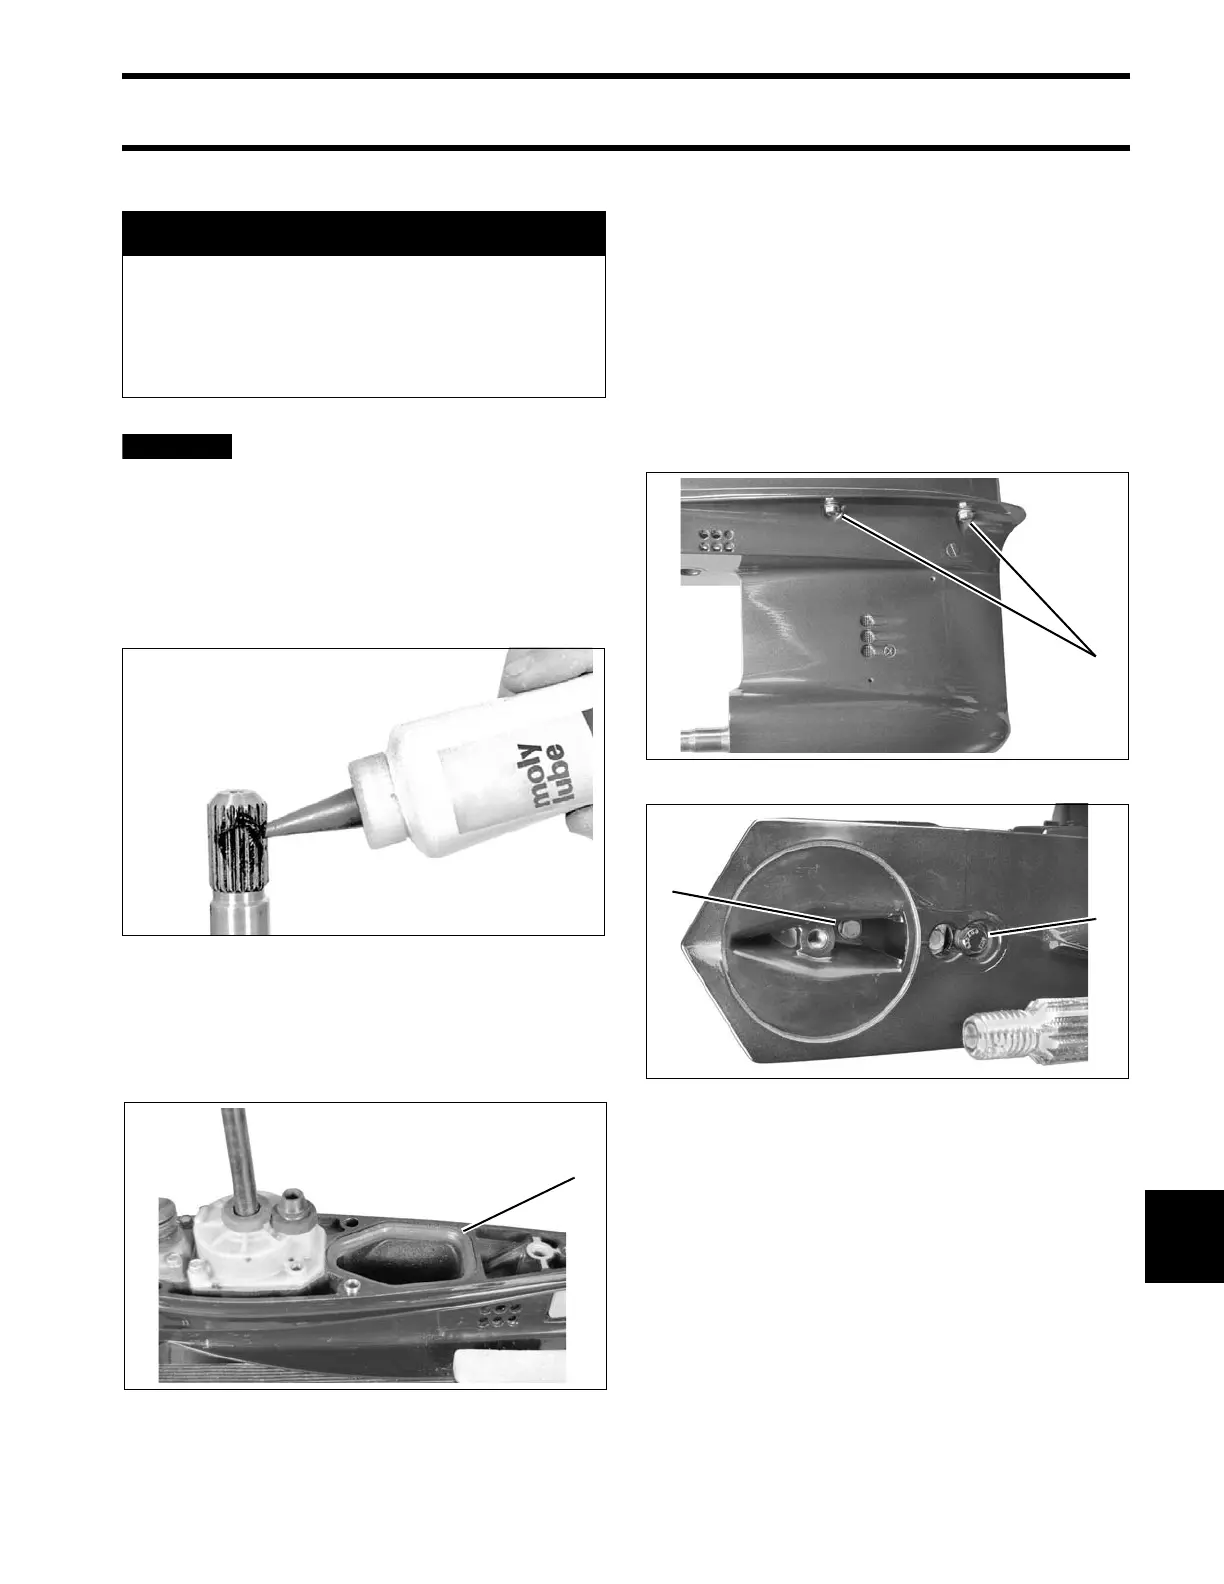
Slide the gearcase into place, making sure:
• Driveshaft engages the crankshaft.
• Inner exhaust housing installs correctly.
• Shift ro d does not turn an d is positio ned prop-
erly in the shift rod lever below the crankcase.
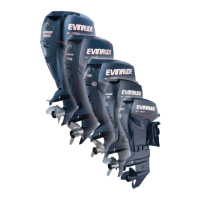
Apply Triple-Guard g rease to th reads o f th e
gearcase retaining screws. T ighten the screws to
a torque of:
• 3/8 in. screws – 18 to 20 ft. lbs. (24 to 27 N·m)
• 7/16 in. screw – 28 to 30 ft. lbs. (38 to 40 N·m)
• 5/16 in. screw – 10 to 12 ft. lbs. (13.5 to 16 N·m)
Apply Triple-Guard grea se to threads of the trim
tab screw. Inst all a nd align th e trim t ab with th e
index ma rks noted prior to disassembly . T ighten
the trim t ab screw to a to rque of 35 to 4 0 ft. lbs.
A WARNING
During service, the outboard may drop
unexpectedly. Avoid personal injury;
always support the outboard’s weight with
a suitable hoist or the tilt support bracket
during service.
30385
1. Exhaust housing seal 008354
1. 3/8 in. screws 001994
1. 7/16 in. screw
2. 5/16 in screw
001995