6 Scanning
123
5.
Tap the button under [File Format], and then select the file format of the scanned data to be saved.
6.
Tap , and then configure the scan settings as needed.
• For details about the settings, see "Configuring the Detailed Settings (P.125)."
7.
Tap [Start].
• If the message about the next document is displayed, follow the on-screen instructions to finish scanning.
Checking the Scanned Data
You can check the scanned data before storing. On the detailed setting screen, display the check mark for
[Preview], and then tap [Preview] on the upper right corner. When a document is scanned, the Preview screen for
the document is displayed.
• For details about the [Preview] setting, see "Configuring the Detailed Settings (P.125)."
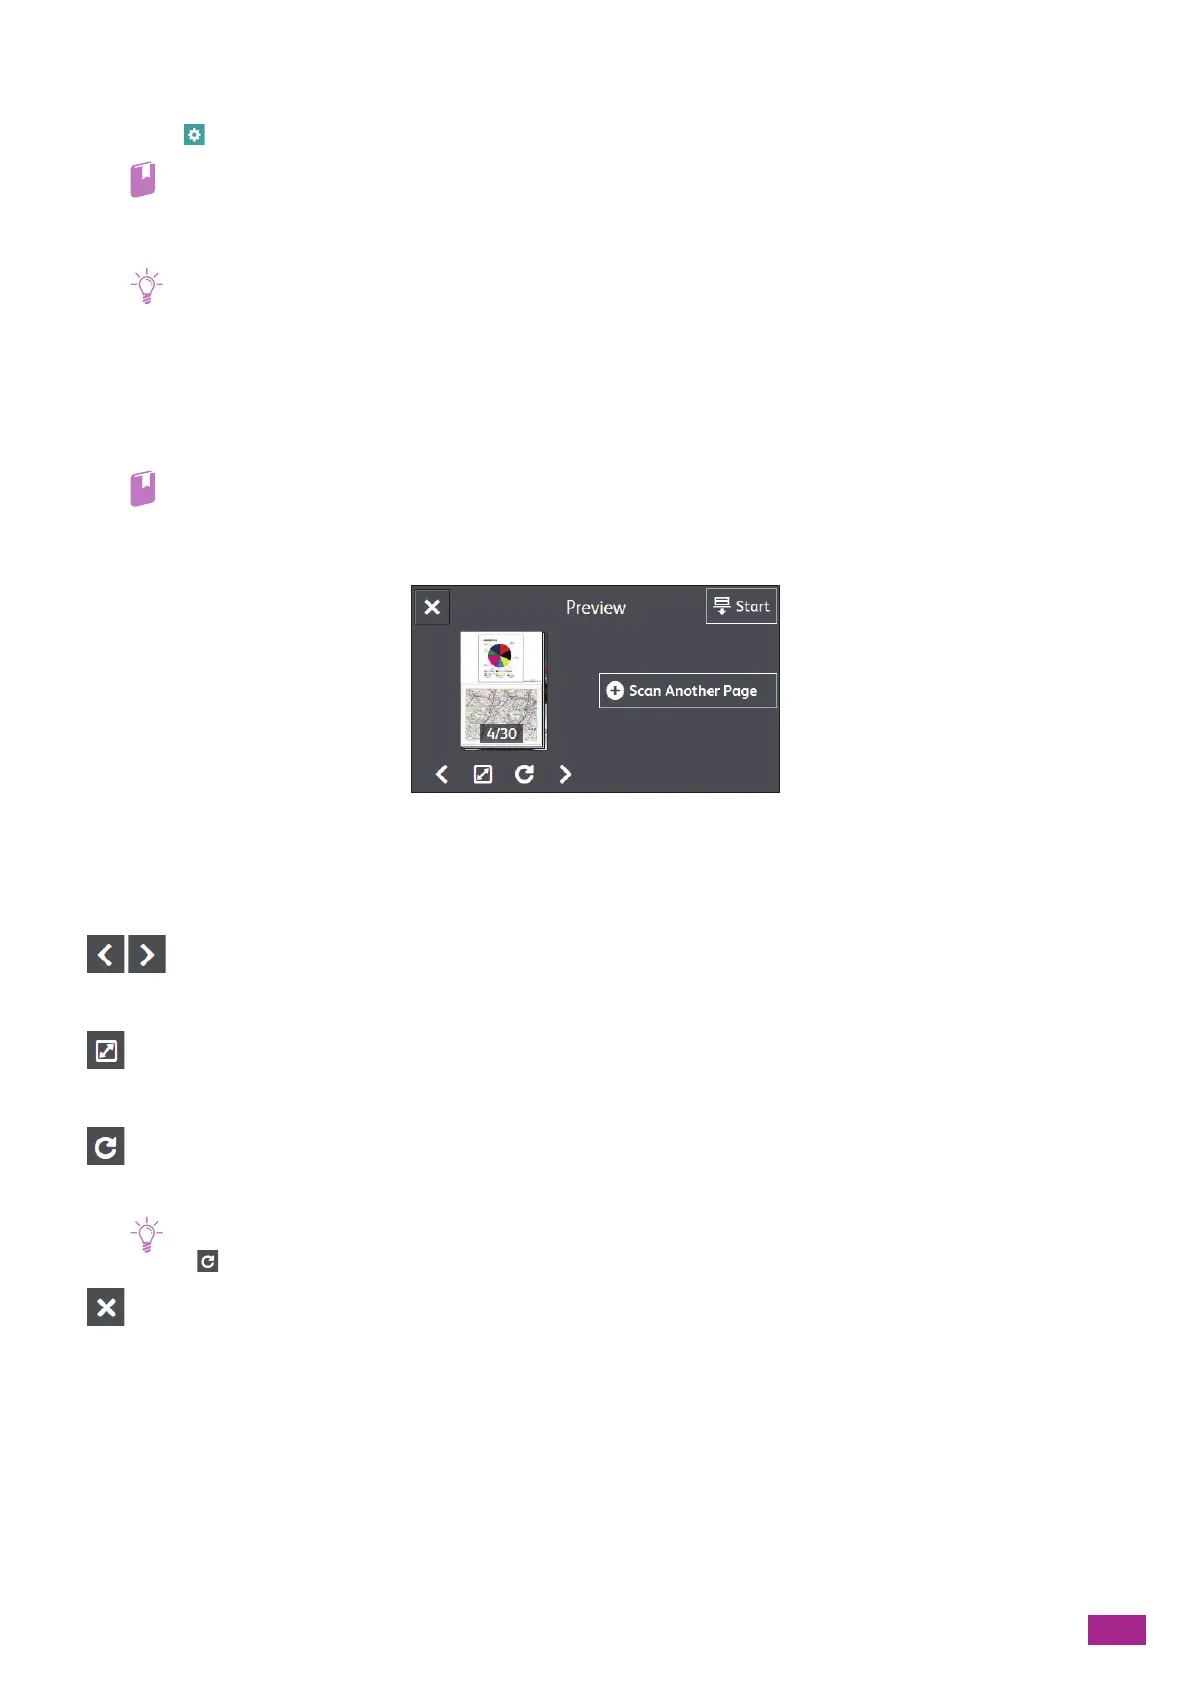
Preview Screen
You can perform the following operations.
[Scan Another Page]
Displayed when the document is placed on the document glass. Tap to scan the next document.
Switches the page to be displayed.
Opens the Preview details screen.
Rotates all the pages by 90 degrees clockwise each time you tap it. Pages are also rotated on the output data.
• is not displayed depending on the file format.
Closes the preview screen.
[Start]
Stores scanned data to a computer or a server.

 Loading...