6 Scanning
135
6.
Perform either of the following:
• When Acquiring the DNS Server Address Automatically:
Select the [Use DHCP to Assign Address] check box for [IPv4 DNS Servers], or select the [Use
DHCPv6-lite to Assign Address] check box for [IPv6 DNS Servers], depending on your network
environment.
• When Acquiring the DNS Server Address Manually:
Clear the [Use DHCP to Assign Address] check box for [IPv4 DNS Servers] and enter the address in
[Server Address], or clear the [Use DHCPv6-lite to Assign Address] check box for [IPv6 DNS Servers] and
enter the address in [Server Address], depending on your network environment.
7.
Click [OK].
8.
Click [Restart Now].
9.
When restarting the machine is complete, click [Refresh].
Registering the Mail Server Settings in the Machine
1.
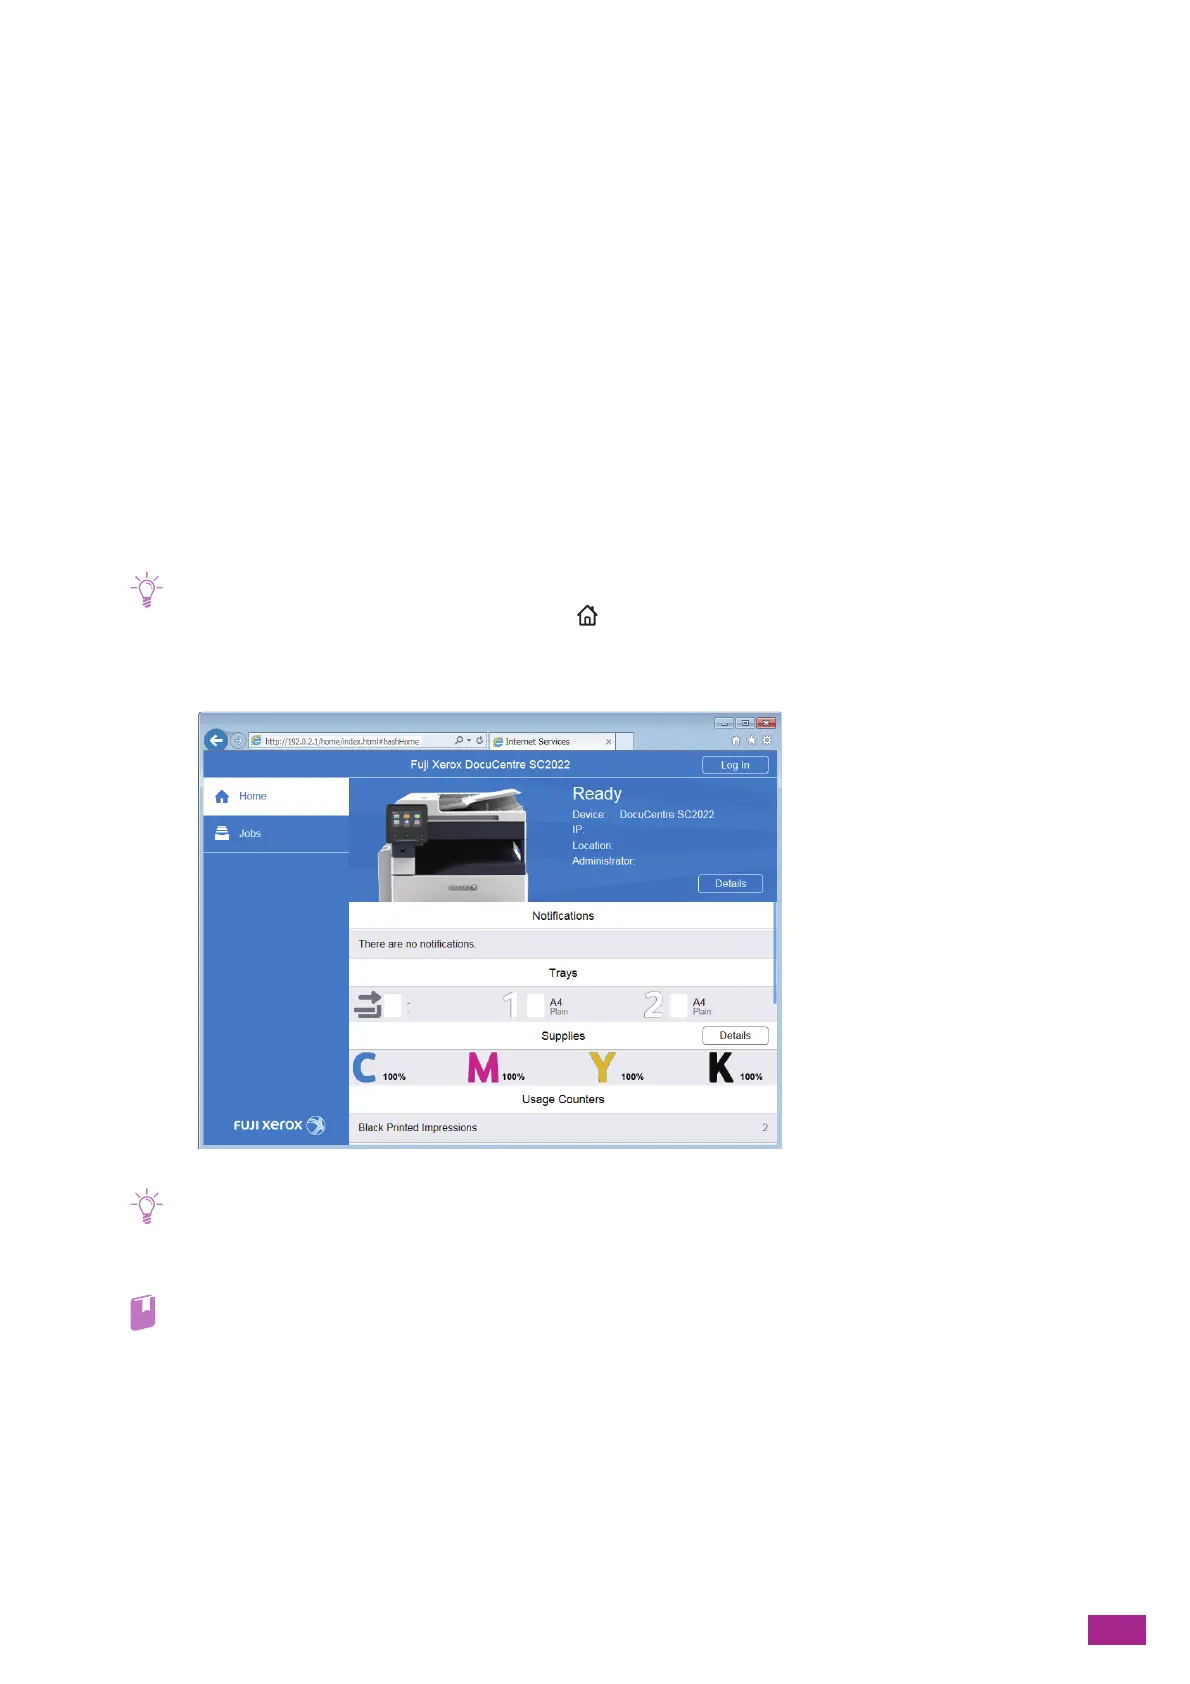
Enter the IP address of the machine in your web browser and start CentreWare Internet Services.
• To check the IP address of the machine, press the <Home> button on the operator panel, and then tap [Device] >
[About].
2.
Click [Log In] on the upper right corner.
• If [Local User] is displayed on the upper right corner, proceed to step 4.
3.
Enter the [User Name] and [Password] for the administrator, and then click [Log In].
• For details about the default user name and password, see "Logging In As the Administrator (P.273)."
4.
Click [Connectivity] on the left pane of the screen.

 Loading...