6 Scanning
137
3.
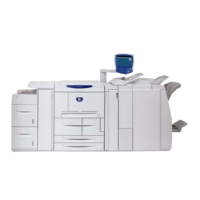
Tap [S can to E ma il] .
4.
Enter the e-mail address for the recipient.
• You can also use the address book or an LDAP server to specify the e-mail address. For details, see "Using the Address
Book (P.279)."
5.
Tap the button next to , and then select the file format of the scanned data to be sent.
6.
Tap , and then configure the scan settings as needed.
• For details about the settings, see "Configuring the Detailed Settings (P.140)."
7.
Tap [Send].
• If the message about the next document is displayed, follow the on-screen instructions to finish scanning.
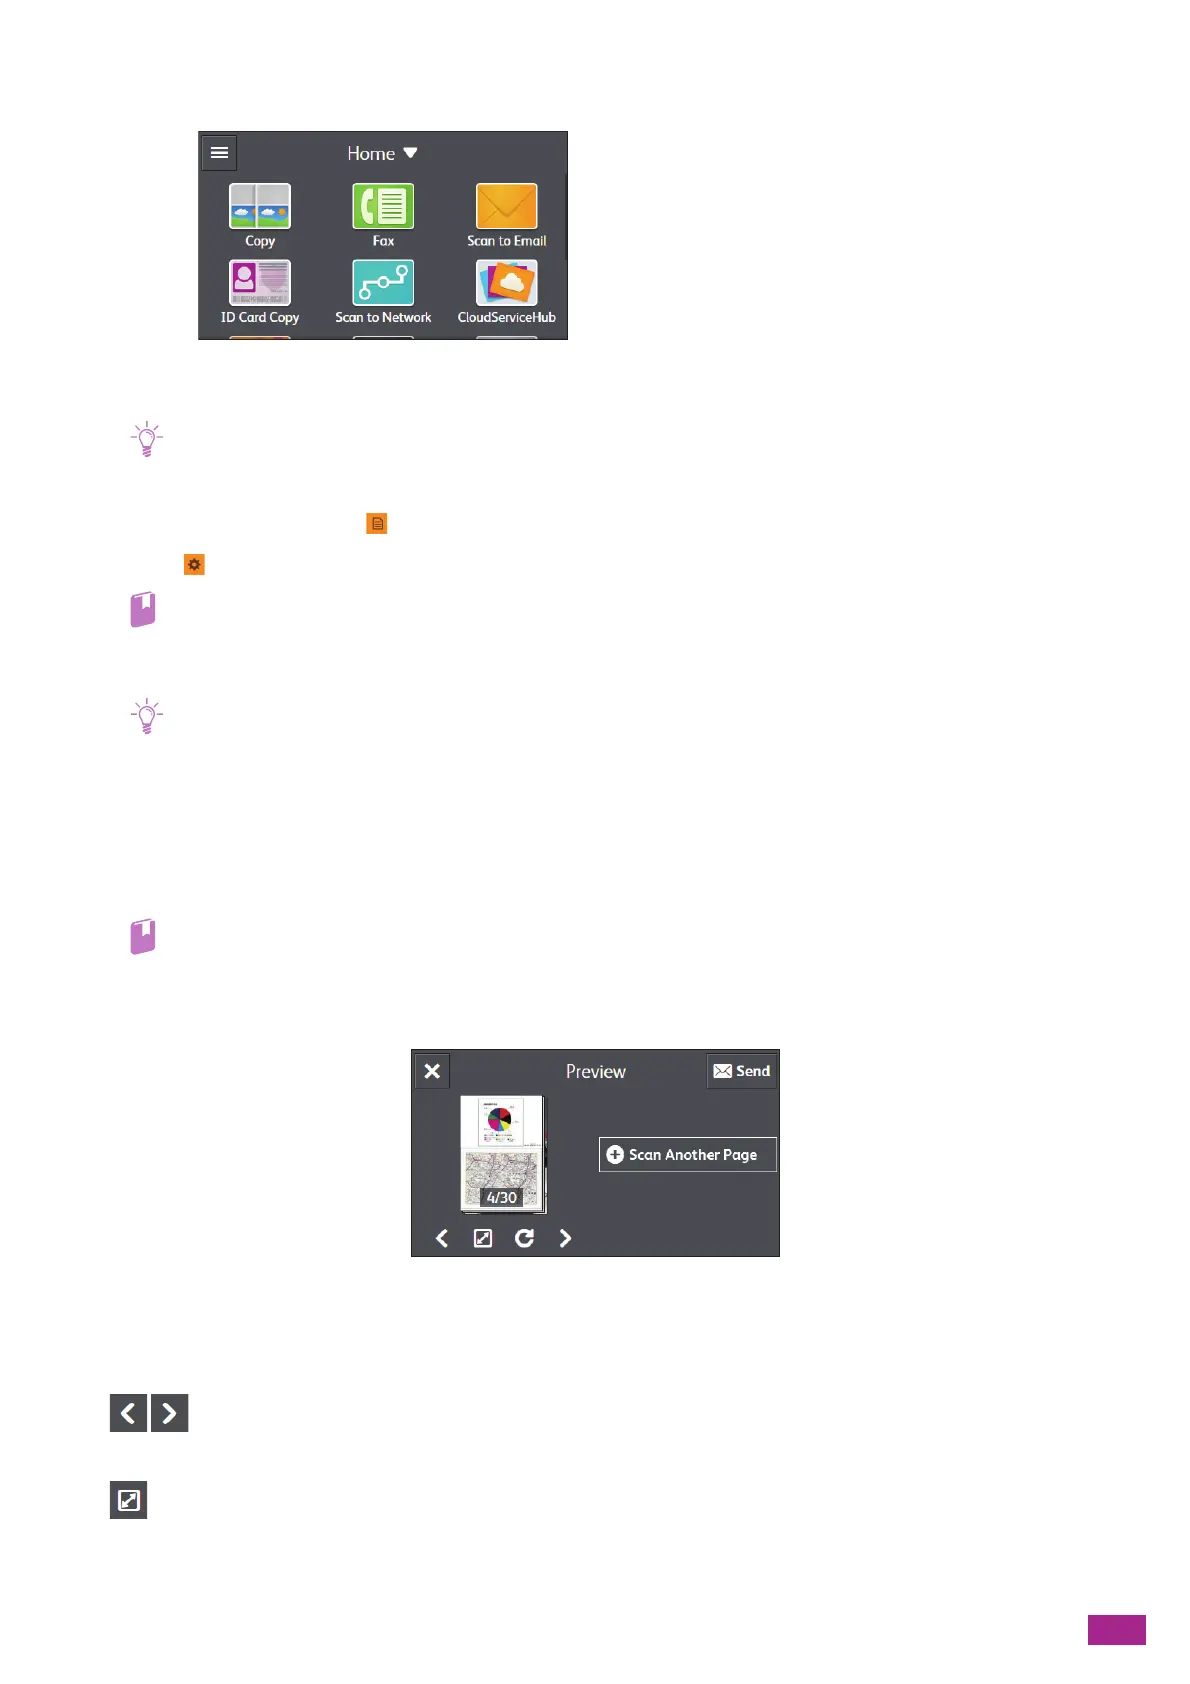
Checking the Scanned Data
You can check the scanned data before sending the data. On the detailed setting screen, display the check mark
for [Preview], and then tap [Preview] on the upper right corner. When a document is scanned, the Preview screen
for the document is displayed.
• For details about the [Preview] setting, see "Configuring the Detailed Settings (P.140)."
Preview Screen
You can perform the following operations.
[Scan Another Page]
Displayed when the document is placed on the document glass. Tap to scan the next document.
Switches the page to be displayed.
Opens the Preview details screen.

 Loading...