User Guide
210
3.
Enter the [User Name] and [Password] for the administrator, and then click [Log In].
• For details about the default user name and password, see "Logging In As the Administrator (P.273)."
4.
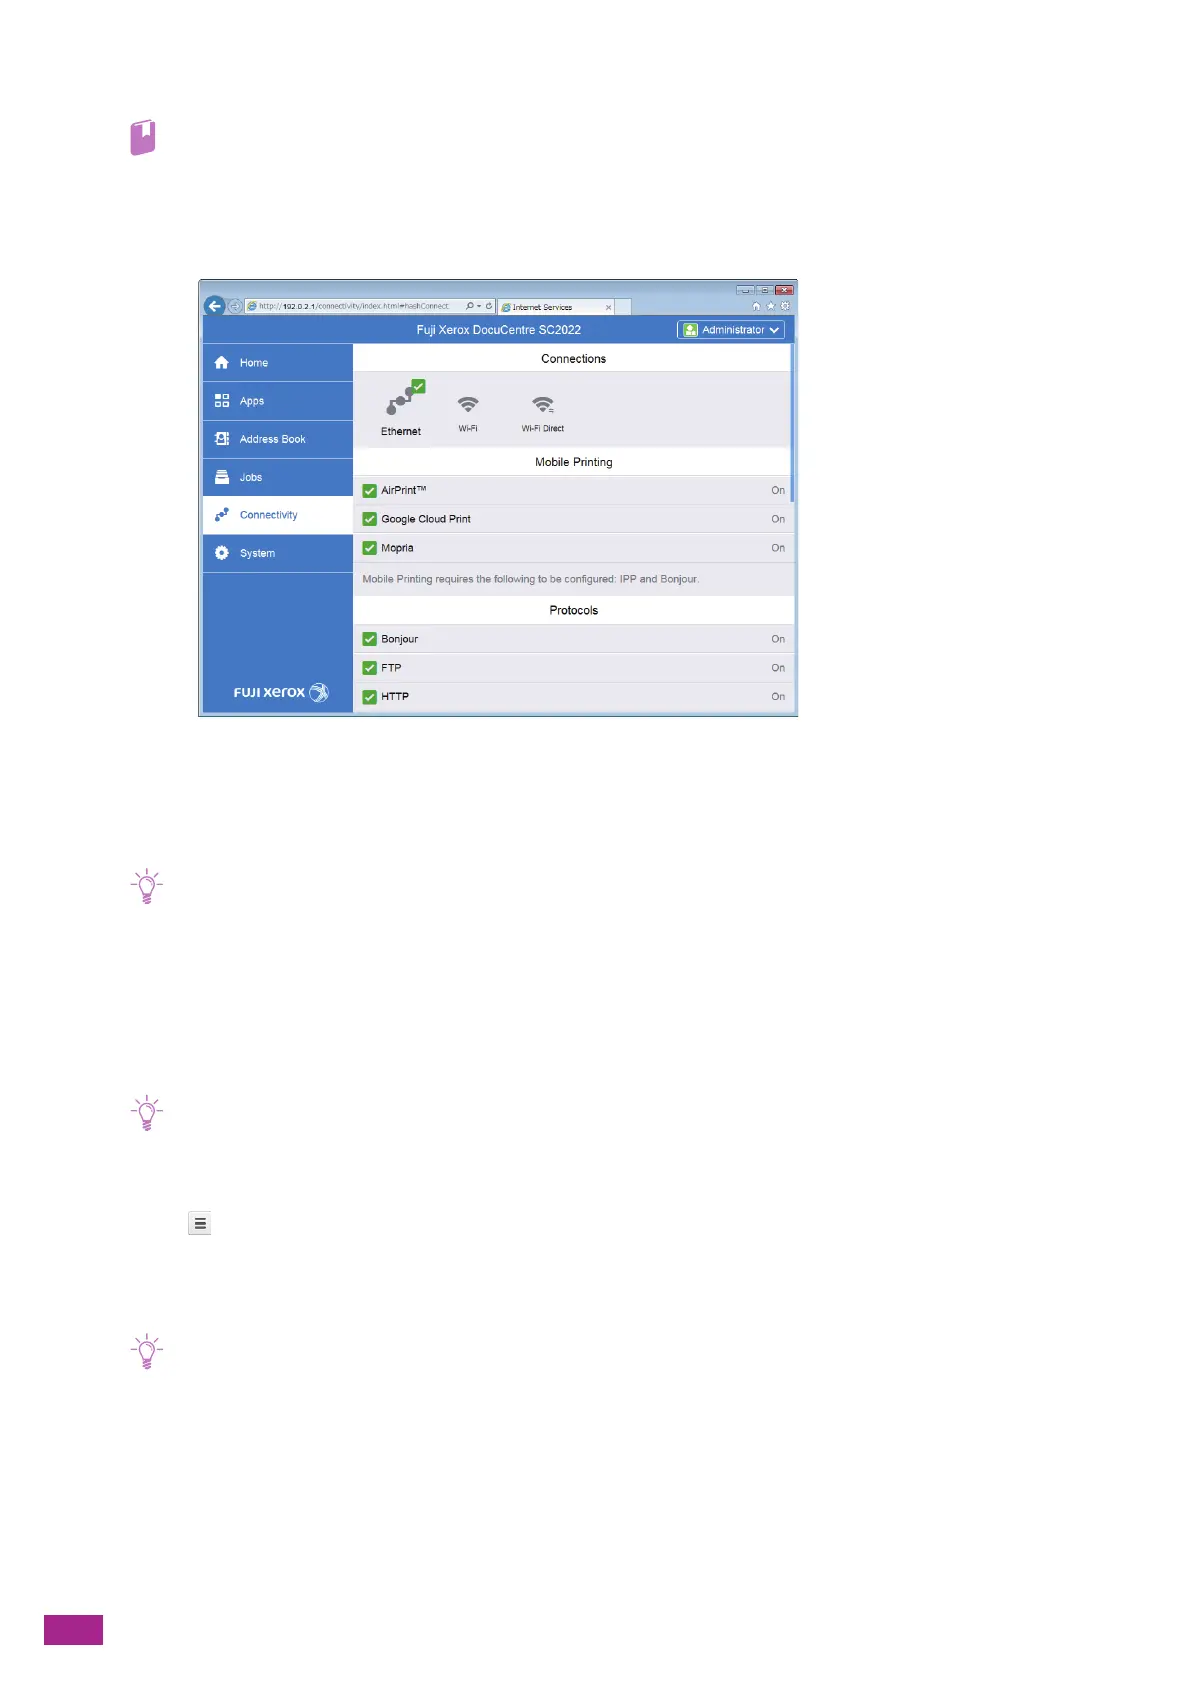
Click [Connectivity] on the left pane of the screen.
5.
Click [Google Cloud Print] in [Mobile Printing].
6.
Click [Printer Registration] > [Register] > [Continue].
A sheet with a URL for the Google Cloud Print registration web site is printed.
7.
Enter the URL written on the sheet to visit the Google Cloud Print registration web site.
• You can scan the QR code printed on the sheet to visit the registration site.
8.
Enter your Google account on the login screen.
9.
Click [Finish printer registration] > [Manage your printers].
The machine is listed in the [Printers] list and ready for use with the Google Cloud Print service.
Registering Using Google Chrome
• Make sure that [Bonjour (mDNS)] is enabled. For details about the settings, see "[Protocol] (P.247)."
1.
Open the Google Chrome browser.
2.
Click in the upper right corner, and then select [Settings].
3.
Click [Show advanced settings] in the bottom of the page.
4.
Click [Google Cloud Print] > [Manage].
• If a message is displayed under [New Devices] to sign in to Chrome, click [sign in] and sign in to Chrome.
5.
Click [Register] for the machine that you want to register.
6.
When the window to confirm the registration appears, click [Register].
7.
Follow the on-screen instructions.

 Loading...