User Guide
280
3.
Tap > [Add Contact].
4.
Tap [N ame] .
5.
Enter a name, and then tap [OK].
• The name you specified in [Name] is also entered in the [Index Key] box automatically as the index name. Tap the box if
you want to rename the index name.
• The destinations are listed in order by their index names entered in the [Index Key] box.
6.
Tap [Enter an Email Address].
If you do not register an e-mail address, proceed to step 8.
7.
Enter an e-mail address, and then tap [OK].
8.
Tap [Enter a fax number.].
If you do not register a fax number, proceed to step 10.
9.
Enter a fax number, and then tap [OK].
10.
If you want to register this address as a favorite, tap . If not, skip this step.
• Once you register a contact as a favorite, you can easily and quickly select it from the favorites list in the address book.
11.
Tap [OK].
Registering Destinations in a Group
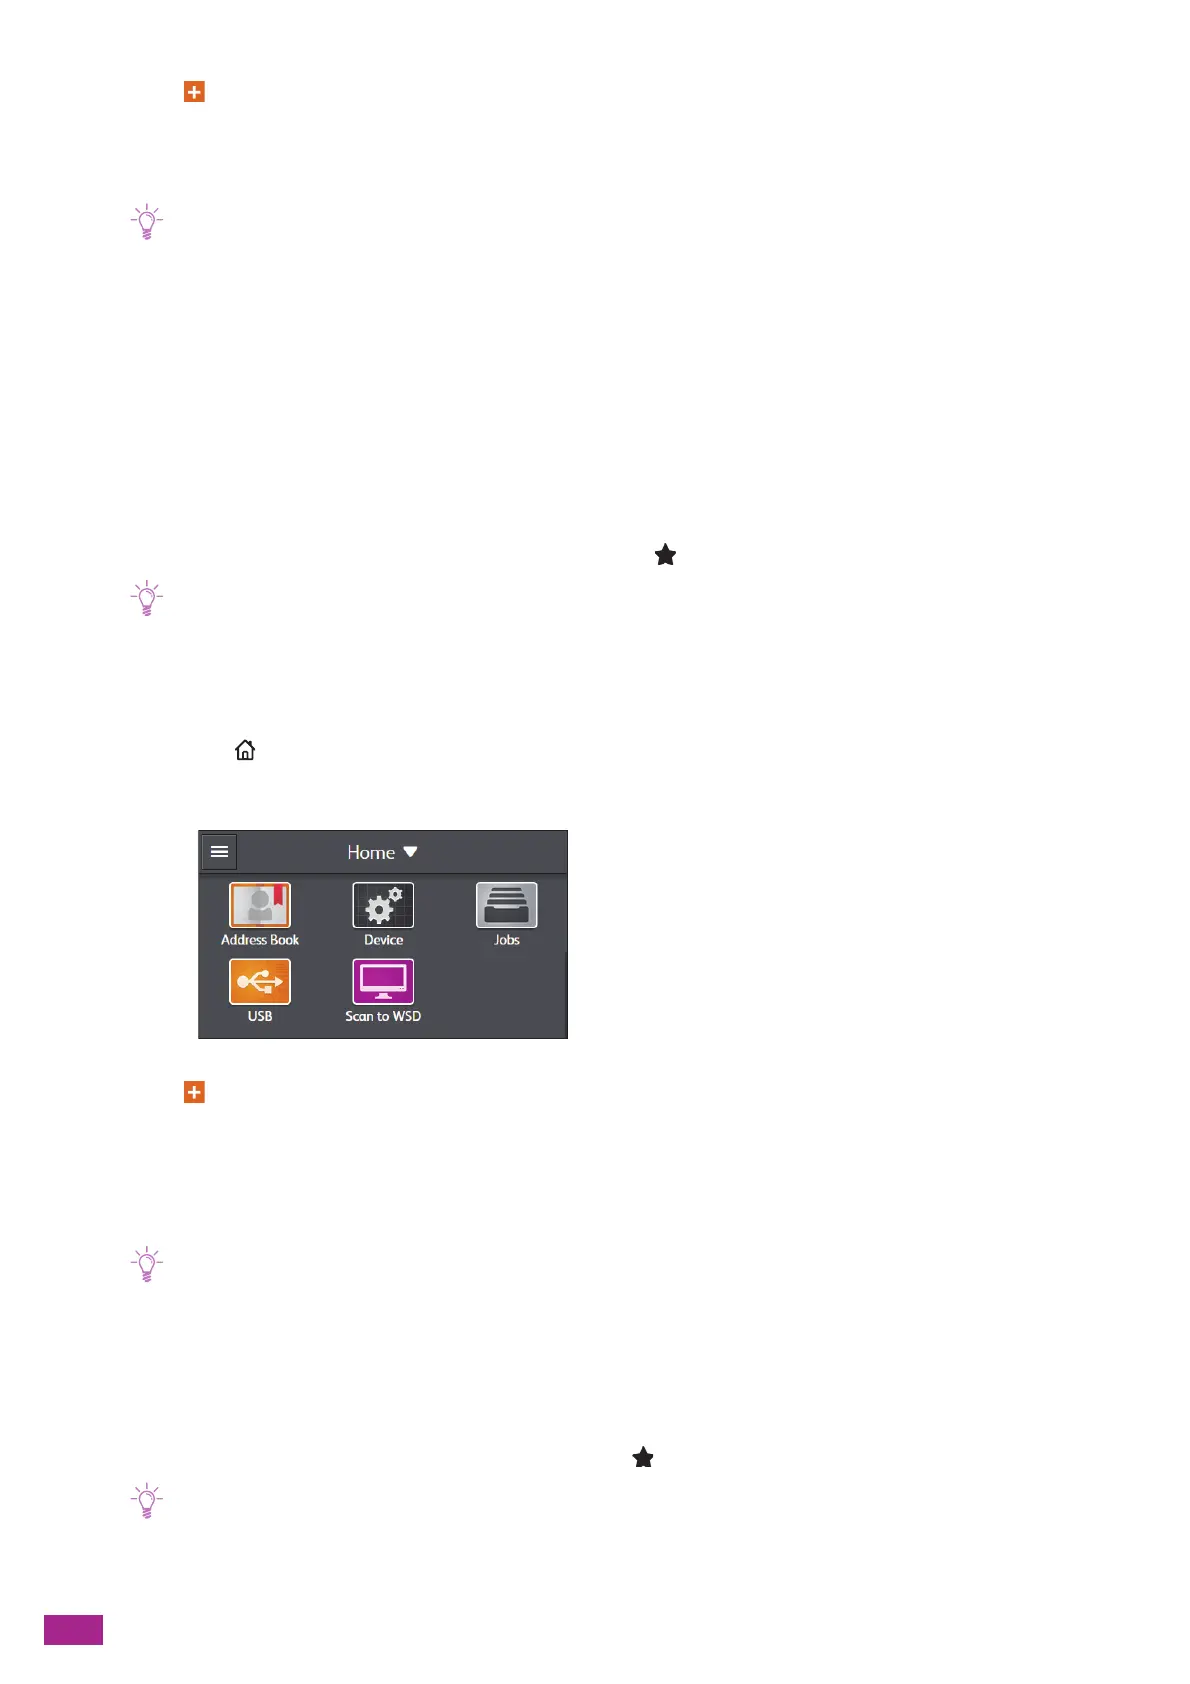
1.
Press the <Home> button.
2.
Tap [Address Book].
3.
Tap > [Add Group].
4.
Tap [Email] or [Fax] to select the type of destination to register.
5.
Tap [Enter a group name.].
6.
Enter a group name, and then tap [OK].
• The registered groups are listed by index name in the address book.
• The name you specified in [Name] is also entered in the [Index Key] box automatically as the index name. Tap the box if
you want to rename the index name.
7.
Tap [Add Member].
8.
Tap all the destinations that you want to register in the group, and then tap [OK].
9.
If you want to register this group as a favorite, tap . If not, skip this step.
• Once you register a group as a favorite, you can easily and quickly select it from the favorites list in the address book.
10.
Tap [OK].

 Loading...