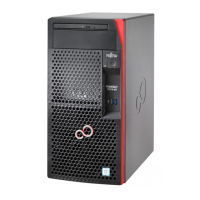
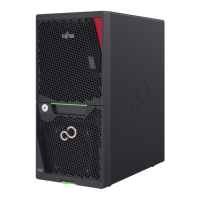
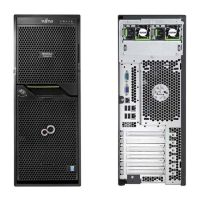
TX1310 M1
Upgrade and Maintenance Manual 215
System board and components
14.4.3.2 Swapping the processor
V CAUTION!
Be careful not to touch or bend the pins on the processor socket!
I Save the socket cover for future use. Always replace the socket cover if
you remove the processor from the socket.
Ê Carefully remove the processor from its socket on the defective system
board as described in section "Removing processor" on page 145.
Ê Install the processor on the new system board as described in section
"Installing a processor" on page 150.
14.4.4 Concluding steps
Ê Reconnect all cables to the system board. For a complete cabling overview,
please refer to section "Cabling plans" on page 218.
Ê "Installing the TPM" on page 196 (if applicable)
Ê Install all memory modules, see section "Installing a memory module" on
page 136.
I Make sure that you reinstall each memory module in the slot it was
located before the replacement.
Ê Install the heat sink, see section "Installing the heat sink" on page 156.
Ê Install all expansion cards see section "Expansion cards" on page 123.
I Make sure that you reinstall each card in the slot it was located before
the replacement.
Ê "Installing the HDD cage" on page 59
Ê "Installing the front cover" on page 48
Ê Install all removed accessible drives as described in section "Installing
accessible drives" on page 49.
Ê "Installing the side cover" on page 53
Ê "Connecting the server to the mains" on page 54
Ê Connect all external cables.
Ê "Updating or recovering the system board BIOS" on page 68
 Loading...
