○○○○○○○○○○○○○○○○○○○○○○
5•8 Reference Guide
○○○○○○○○○○○○○○○○○○○○○○
5•8 Reference Guide
The Record View page
REC RIFF... (F2)
Opens the SELECT RIFF dialog window where
you can select a riff to record.
Select the Variation, section and chord with the
cursor buttons and press ENTER to confirm.
SOUND VIEW (F5)
Recalls the Sound View page where you can see
and change the sounds assigned to the Perform-
ance.
REC VIEW (F6)
Recalls the «Record View» page where it is pos-
sible to control the record/play parameters.
ERASE... (F7)
Cancels a track, riff, variation or the entire Style.
TRACK - Cancels the selected track.
RIFF - Cancels the selected riff.
VARIATION - Cancels the selected variation.
STYLE - Cancels the entire Style.
The Record View page shows several parameters
which you can set for your User Style before start-
ing your recording or playback.
MODE... (F1)
Opens the «Record Mode» dialog window where
you can select various recording options.
REPLACE - The new notes substitute “old” notes
already present in the tracks being recorded.
OVERDUBB - New notes are merged with those
already present on the tracks being recorded.
PUNCH IN/OUT - A means of inserting a correc-
tion without repeating a recording. Punch record-
ing is activated by pressing an appropriately pro-
grammed pedal (under EDIT CONTROLS).
Activate the recording with PLAY. When the song
reaches the point at which the correction must
be inserted, press the pedal. At this point, the
recording proceeds in “replace” mode. When the
correction is complete, release the pedal to stop
the recording.
○○○○○○○○○○○○○○○○○○○○○○
Sample Translator 2•53
○○○○○○○○○○○○○○○○○○○○○○
Sample Translator 2•53
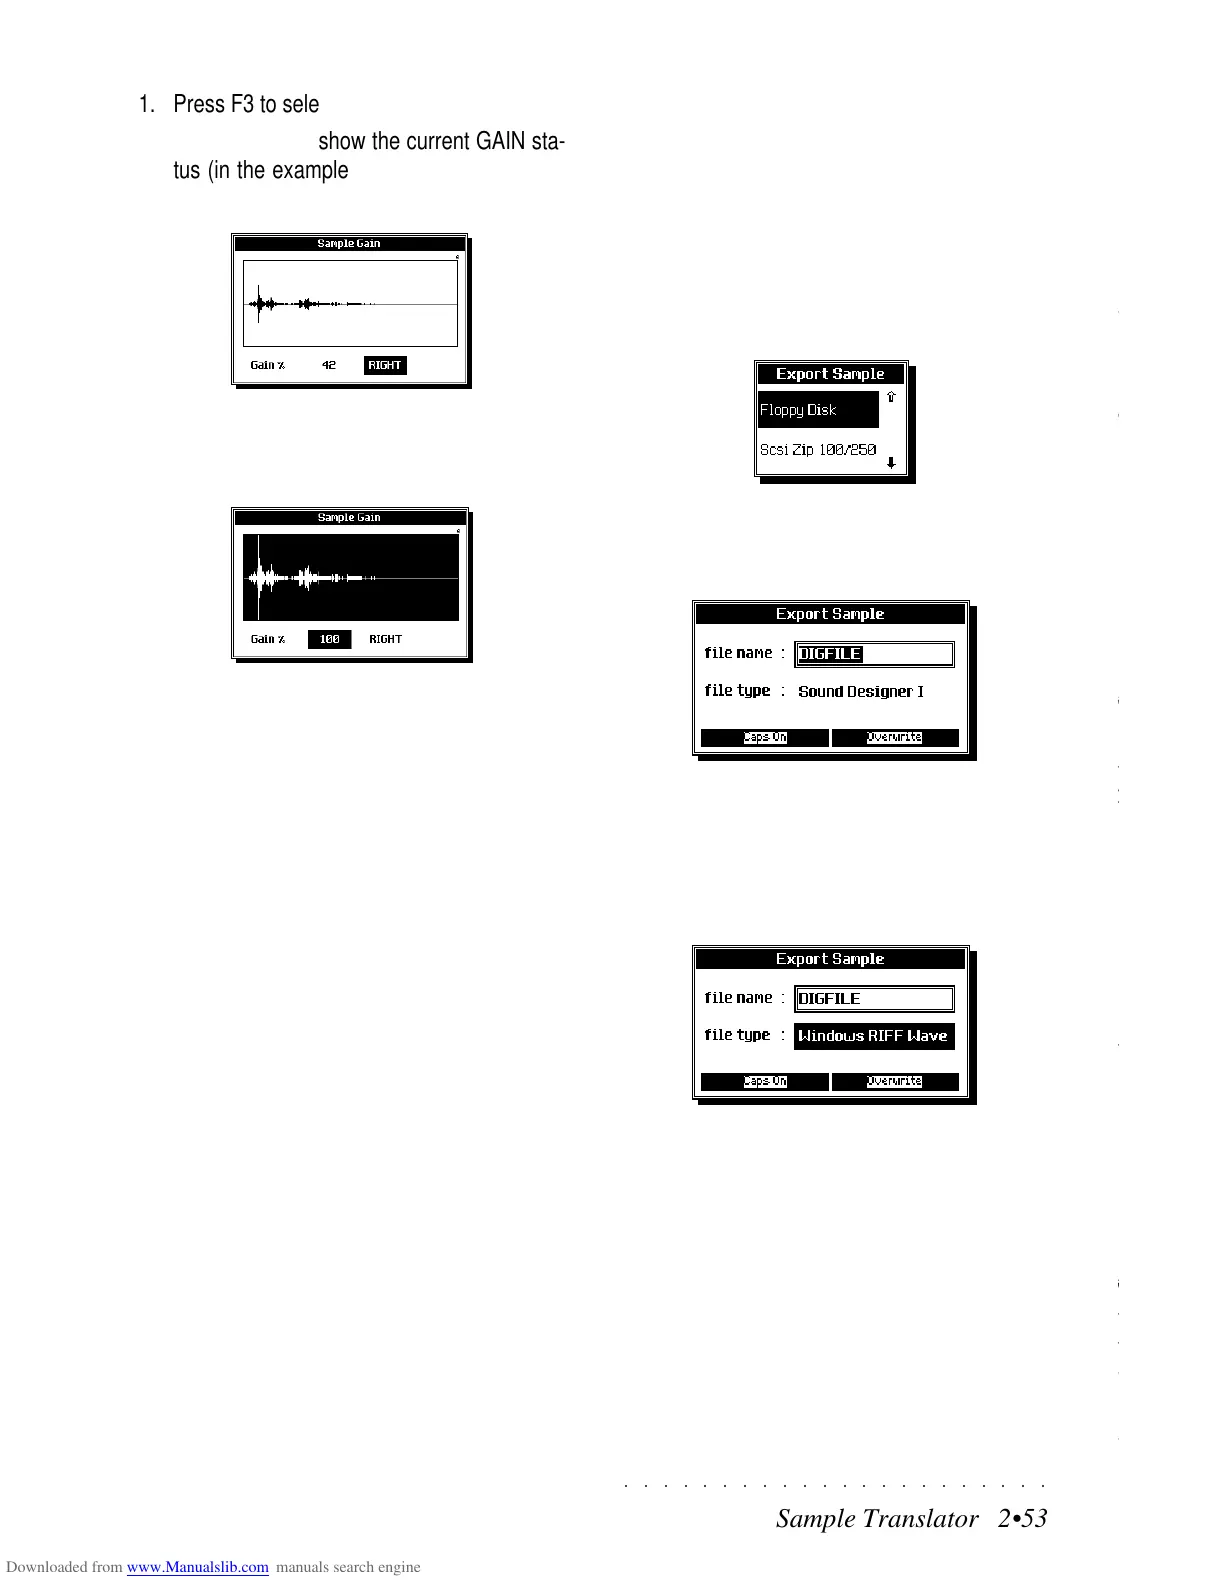
1. Press F3 to select GAIN.
The display will show the current GAIN sta-
tus (in the example, we are working on the
RIGHT section of a stereo sample).
2. Rotate the Dial to set the Gain to a suitable
level, playing the sample as you regulate the
setting.
3. Press ENTER to confirm the setting.
After a short period, the sample Gain setting
is memorized.
CUT (F5)
This option allows you to trim the Sample at a
specified Loop End in order to “cut off” the last
portion of the Sample.
If you vary the current setting of the Loop End
and wish to eliminate the portion of the sample
that follows, press F5 to trigger the CUT option.
After using CUT, you’ll find that the Loop End point
cannot be taken to a higher value.
EXPORT (F7)
Use the Export option to save the Sample cur-
rently in edit to disk or SCSI device (if installed).
1. Premete EXPORT to open a selection win-
dow where you can select the periferal de-
vice to export toper aprire una finestra di dia-
logo dove potete segliere l’unità esterna dove
esportare il sample.
2. Press ENTER to open a dialog where you
can specify a name for the sample and se-
lect the format.
You can chose to save in two of the most
commonly recognized formats: Sound De-
signer 1 or Windows RIFF Wave.
3. Select the File Type parameter and rotate the
Dial to select the other format.
4. Press ENTER to start the export procedure.
If you export to disk, insert the disk into the
drive before pressing Enter.
Shortly after, the Sample is saved.
Press ESCAPE to exit the Sample Edit dis-
play.