○○○○○○○○○○○○○○○○○○○○○○
2•36 Reference Guide
○○○○○○○○○○○○○○○○○○○○○○
2•36 Reference Guide
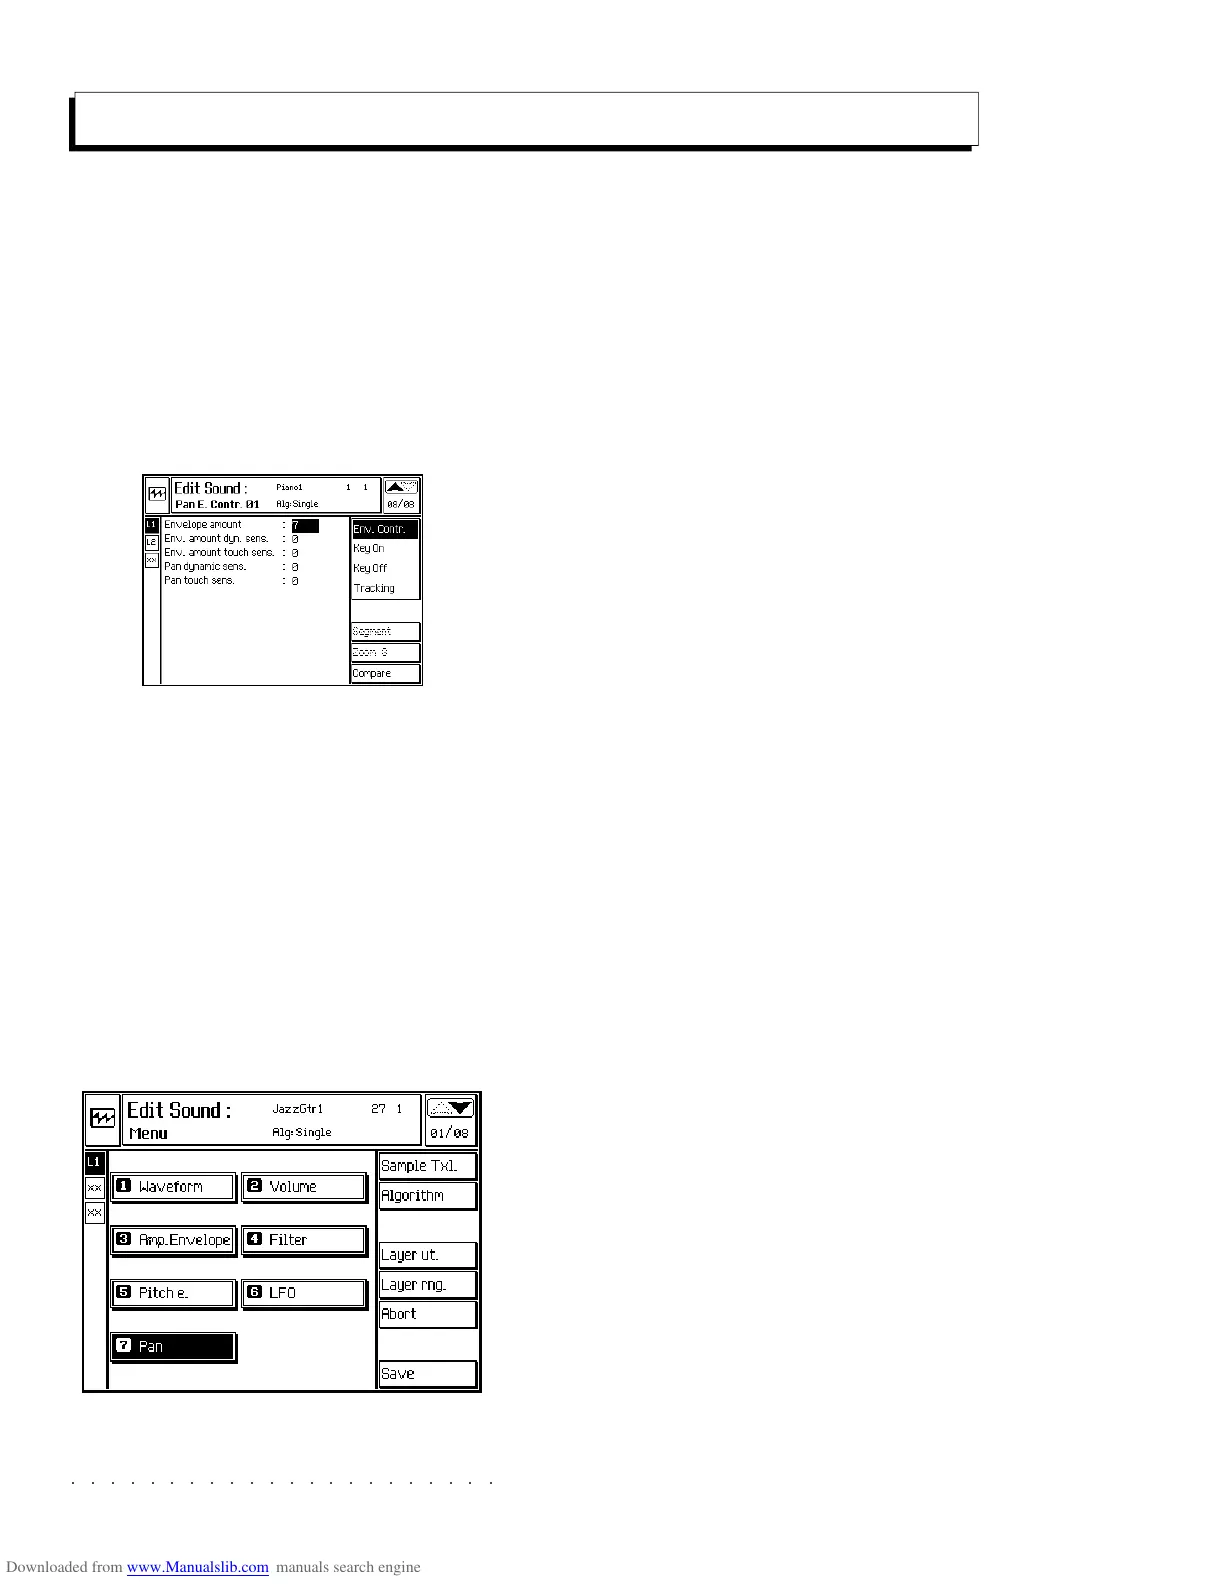
Pan
Valid for all Algorithms. In Dual situations, re-
gardless of whether the Filters are connected in
series or in parallel, there is only one pan enve-
lope for both waveforms (oscillators).
The position of the sound in the “stereo pano-
rama” can be controlled dynamically by means
of the Pan envelope divided in two parts: the “Pan
Key On Envelope” and the “Pan Key Off Enve-
lope.
PAN ENVELOPE CONTROL PARAMETERS
ENVELOPE AMOUNT: Activates the Pan Enve-
lope and determines its depth of action. Assign-
able values: 0 … 7. 0 = no envelope.
ENV AMOUNT DYN SENSITIVITY: Links the en-
velope amount to key velocity variations.
Positive values increase the envelope amount by
increasing the key velocity while negative values
act inversely with increased key velocity.
Assignable values: –7 ... +7. 0 = no response.
ENV. AMOUNT TOUCH SENS.: Links the enve-
lope amount to variations in the Aftertouch pres-
sure.
Positive values increase the envelope amount by
increasing the Aftertouch pressure, while nega-
tive values act inversely with increased
Aftertouch.
Assignable values: –7 ... +7. 0 = no response.
PAN DYNAMIC SENSITIVITY: Links the sensi-
tivity of the Pan envelope to key velocity varia-
tions.
Positive values move the sound further right by
increasing the key velocity while negative values
act inversely with increased key velocity.
Assignable values: –7 ... +7. 0 = no response.
PAN TOUCH SENSITIVITY: Links the sensitiv-
ity of the Pan envelope to variations in the
Aftertouch pressure.
Positive values move the sound further right by
increasing the Aftertouch pressure, while nega-
tive values act inversely with increased
Aftertouch.
Assignable values: –7 ... +7. 0 = no response.
Edit Sound - Pan
○○○○○○○○○○○○○○○○○○○○○○
Song 6•1
○○○○○○○○○○○○○○○○○○○○○○
Song 6•1
The SONG button allows you to select any
SONGS that you may already have loaded to
memory from Disk or Hard Disk. From the same
button, you can also enter Song Record mode
by selecting an empty User Song.
SONG-PERFORMANCES
Each Song contains up to 8 Performances, which
are loaded and memorized with the correspond-
ing Song.
Using the Song-Performance is an alternative and
rapid method of changing Sounds and Effects.
Song-Performances instantly reset the instru-
ment, therefore, they are very useful during a real
time Song recording.
PROGRAMMING SONG PERFORMANCES
Program your Song Performance using the meth-
ods described for the Global Performances and
Style Performances. Store the Song Perform-
ance to the Song Performance bank with the
STORE PERF procedure (refer to the Perform-
ance chapter for instructions).
A Song Performance can have a maximum of 32
tracks.
Let’s first examine how to select a Song and play
it back. In this section you will also find explana-
tions regarding the various options offered in song
playback mode.
LOAD SONGS TO MEMORY
If you haven’t already loaded any Songs to RAM
memory, refer to the DISK chapter for illustrated
instructions of the Load file operation from Disk,
Hard disk or SCSI device (optional).
Song
SONG PLAYBACK
1. Once you’ve loaded your Song(s), press the
SONG button to open the SONG BANKS
selection window.
2. Select the Song with the corresponding Soft
button to enter Song Playback mode.
The display shows the Time/Tempo window,
where you can modify some playback param-
eters.
If you want to see the sounds assigned to
the tracks of the Song Performance, press
the SoundView button, (F5), and use the
Track scroll buttons to bring other tracks into
view.
Return to the Time/Tempo window with but-
ton F6.