○○○○○○○○○○○○○○○○○○○○○○
6•6 Reference Guide
○○○○○○○○○○○○○○○○○○○○○○
6•6 Reference Guide
5. You can fill the list in a single step using the
«Select All” function (F7).
To replace a file inserted into the list by mis-
take, select the name to replace, then select
the file that you want to insert and press EN-
TER.
6. Press F8 («Play») to start the playback of the
Songs in the list.
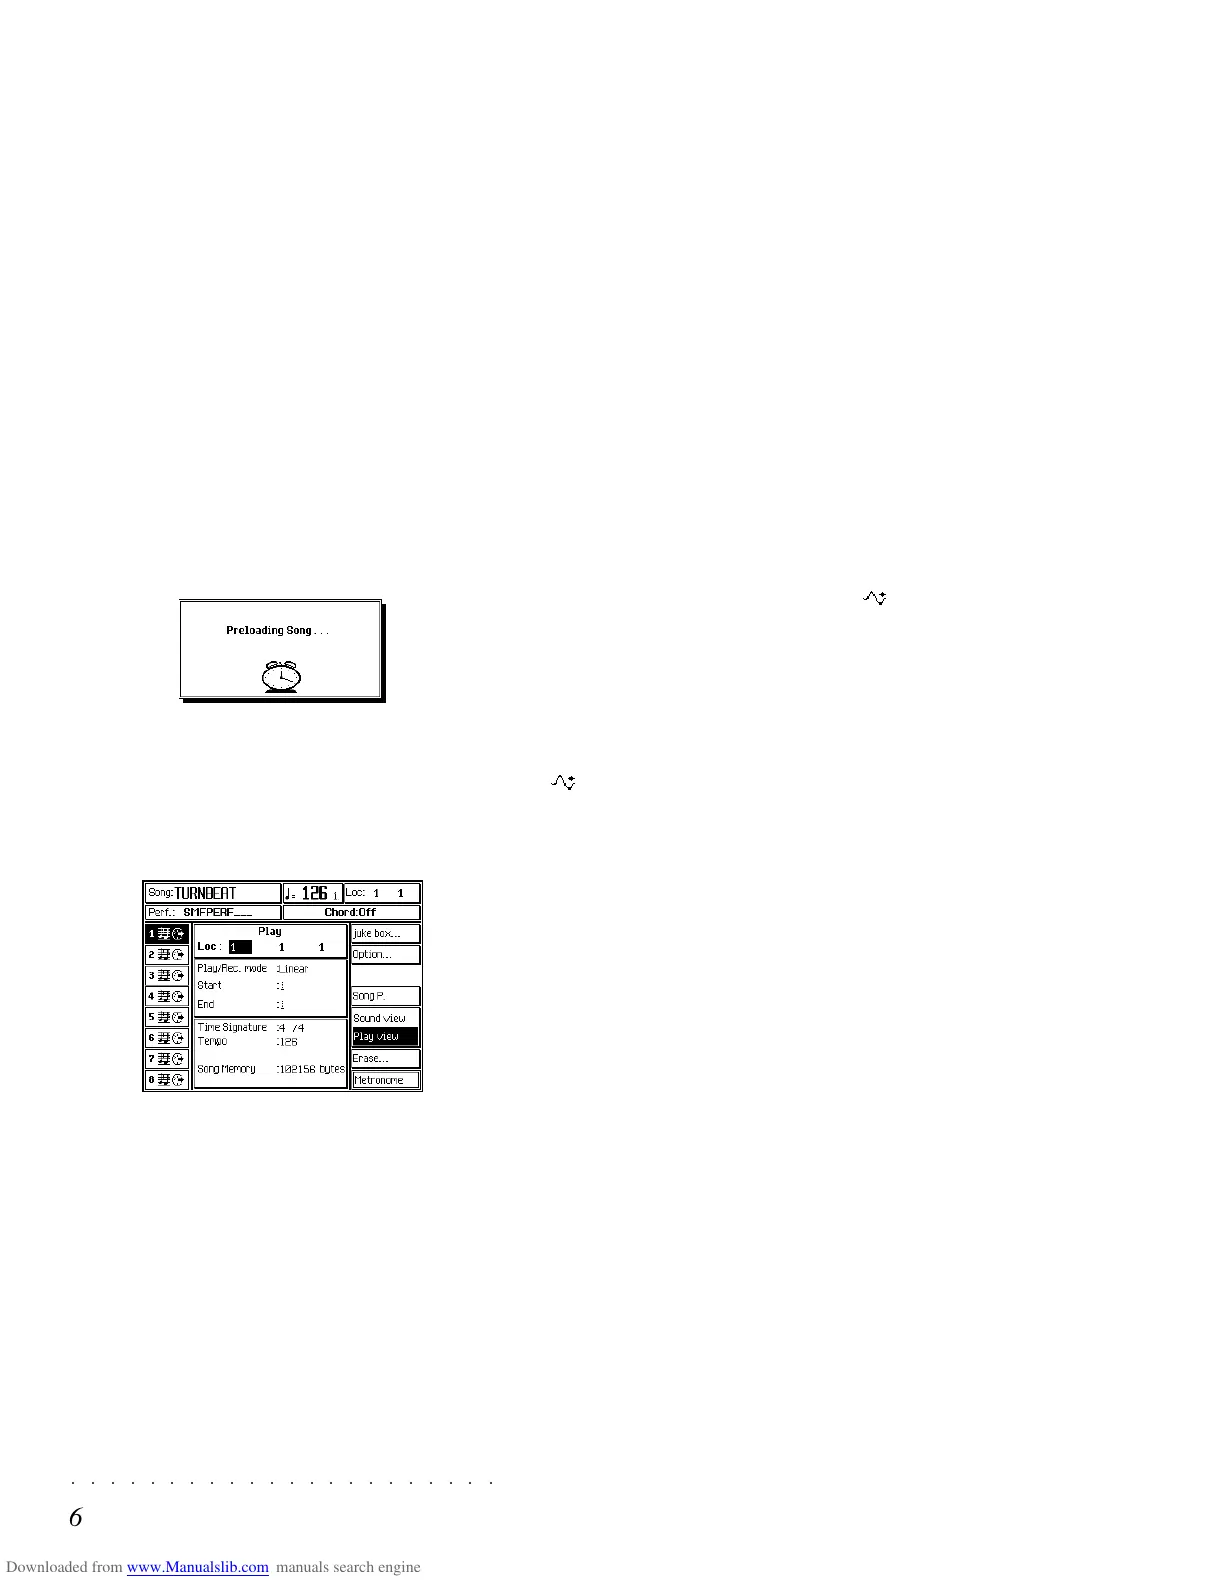
After short disk scanning period, the first Song
(or Midi file) on the disk starts to play. If
Preload engages the Hard Disk, the first song
of the first Block found containing Songs will
start to play. During playback, the back-
ground loading procedure for the second
song begins (the message “Preloading Song”
appears for an instant).
During playback, press PRELOAD to open
the TIME/TEMPO display where you can se-
lect a track and set it to key-play in order to
play along with the Song. Use the << and >>
buttons to advance or rewind the Song at will.
Playback continues non-stop until all the
Songs or MIDI Files on disk, or in the en-
gaged Hard disk Block, have been played.
Press STOP only if you want to stop play-
back, otherwise you will cancel the Preload
operation.
THE PRELOAD FUNCTIONS
Starting with the Time/Tempo display, press
PRELOAD to gain access to all the options avail-
able which you can select with the soft buttons
F1…F8.
FLOPPY DISK (F1)
Selects the floppy disk.
HARD DISK (F2)
Selects the Hard disk (if installed).
AUTO PRELOAD (F3)
When this option is selected (negative highlight),
Songs are loaded into memory together with all
associated RAM-Sounds and RAM Sounds. If
there is not sufficient memory in RAM to accept
the associated Sounds, ROM Sounds will be used
instead and the Song may playback incorrectly.
If the Auto Preload option is not selected, the
Songs associated RAM-Sounds and RAM
Sounds will not be loaded.
RESET LIST (F4)
Cancels the current list and stops the playback
instantly.
PLAY ALL SONGS (F5)
Select this option to automatically play all the
Songs or Midi files contained in a disk without
first loading the data into RAM memory. After
pressing Preload with a disk inserted in the drive,
select PLAY ALL SONGS (F5) and press
PRELOAD twice. After a short scanning period,
the first available Song (or MidiFile) will start to
play. Playback will continue non-stop until all the
Songs (or Midi files) on disk have been played.
SONG/SMF (F6)
Use this option to select the type of file to insert
in the list. The current type being handled is
shown in capital letters. If, for example, the type
5. You can fill the list in a single step using the
«Select All” function (F7).
To replace a file inserted into the list by mis-
take, select the name to replace, then select
the file that you want to insert and press EN-
TER.
6. Press F8 («Play») to start the playback of the
Songs in the list.
After short disk scanning period, the first Song
(or Midi file) on the disk starts to play. If
Preload engages the Hard Disk, the first song
of the first Block found containing Songs will
start to play. During playback, the back-
ground loading procedure for the second
song begins (the message “Preloading Song”
appears for an instant).
During playback, press PRELOAD to open
the TIME/TEMPO display where you can se-
lect a track and set it to key-play in order to
play along with the Song. Use the << and >>
buttons to advance or rewind the Song at will.
Playback continues non-stop until all the
Songs or MIDI Files on disk, or in the en-
gaged Hard disk Block, have been played.
Press STOP only if you want to stop play-
back, otherwise you will cancel the Preload
operation.
THE PRELOAD FUNCTIONS
Starting with the Time/Tempo display, press
PRELOAD to gain access to all the options avail-
able which you can select with the soft buttons
F1…F8.
FLOPPY DISK (F1)
Selects the floppy disk.
HARD DISK (F2)
Selects the Hard disk (if installed).
AUTO PRELOAD (F3)
When this option is selected (negative highlight),
Songs are loaded into memory together with all
associated RAM-Sounds and RAM
Sounds. If
there is not sufficient memory in RAM to accept
the associated Sounds, ROM Sounds will be used
instead and the Song may playback incorrectly.
If the Auto Preload option is not selected, the
Songs associated RAM-Sounds and RAM
Sounds will not be loaded.
RESET LIST (F4)
Cancels the current list and stops the playback
instantly.
PLAY ALL SONGS (F5)
Select this option to automatically play all the
Songs or Midi files contained in a disk without
first loading the data into RAM memory. After
pressing Preload with a disk inserted in the drive,
select PLAY ALL SONGS (F5) and press
PRELOAD twice. After a short scanning period,
the first available Song (or MidiFile) will start to
play. Playback will continue non-stop until all the
Songs (or Midi files) on disk have been played.
SONG/SMF (F6)
Use this option to select the type of file to insert
in the list. The current type being handled is
shown in capital letters. If, for example, the type
○○○○○○○○○○○○○○○○○○○○○○
Edit Sound 2•31
○○○○○○○○○○○○○○○○○○○○○○
Edit Sound 2•31
FILTER ENVELOPE KEY ON & KEY OFF
Valid for all Algorithms.
The Key On and Key Off Filter Envelopes are 10
segment curves (maximum).
The Key On envelope represents the variation of
the Filter cutoff frequency for the entire duration
that the notes are held pressed.
The Key Off envelope controls Filter variations
after releasing the notes.
The options and parameters used to shape the
Filter Key On/Key Off Envelopes, (Zoom, Seg-
ment, Time and Level), are identical to those used
for the Amplitude Key On/Key Off Envelope ex-
plained on page 2..24.
An illustrated example of how to program Key
On & Key Off Envelope is on page 2. 25.
FILTER ENVELOPE TRACKING
Valid for all Algorithms.
The Filter Envelope Tracking curve, valid both
for the Key On and Key Off Filter Envelopes, in-
creases or reduces the speed of action of the
Filter envelope across the keyboard.
The options and parameters used to shape the
Balance Envelope Tracking curve, (Segment,
Point, Key and Level), are identical to those used
for the Volume Tracking curve explained on page
2. 20.
An illustrated example of how to program a Track-
ing curve is on page 2. 22.