3. Squeeze the latches on either side of the ribbon cable connector where it attaches to
the rear of the craft interface, and connect the cable.
4. Grasp the craft interface, and press it into the chassis.
5. Tighten the screws at the four corners of the craft interface, using #2 phillips
screwdriver.
NOTE: After you install the craft interface in an operating packet transport
switch, allow several minutes for the LEDs on the craft interface to reflect
the current state of the packet transport switch.
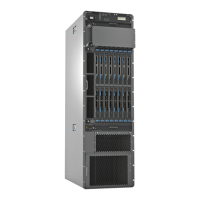
Figure 49: Installing a Replacement Craft Interface
Related
Documentation
PTX5000 Craft Interface Description on page 26•
• Preventing Electrostatic Discharge Damage to a PTX5000 Packet Transport Switch
on page 222
Replacing a PTX5000 Control Board
1.
Removing a PTX5000 Control Board on page 163
2.
Installing a PTX5000 Control Board on page 164
Copyright © 2012, Juniper Networks, Inc.162
PTX5000 Packet Transport Switch Hardware Guide

 Loading...