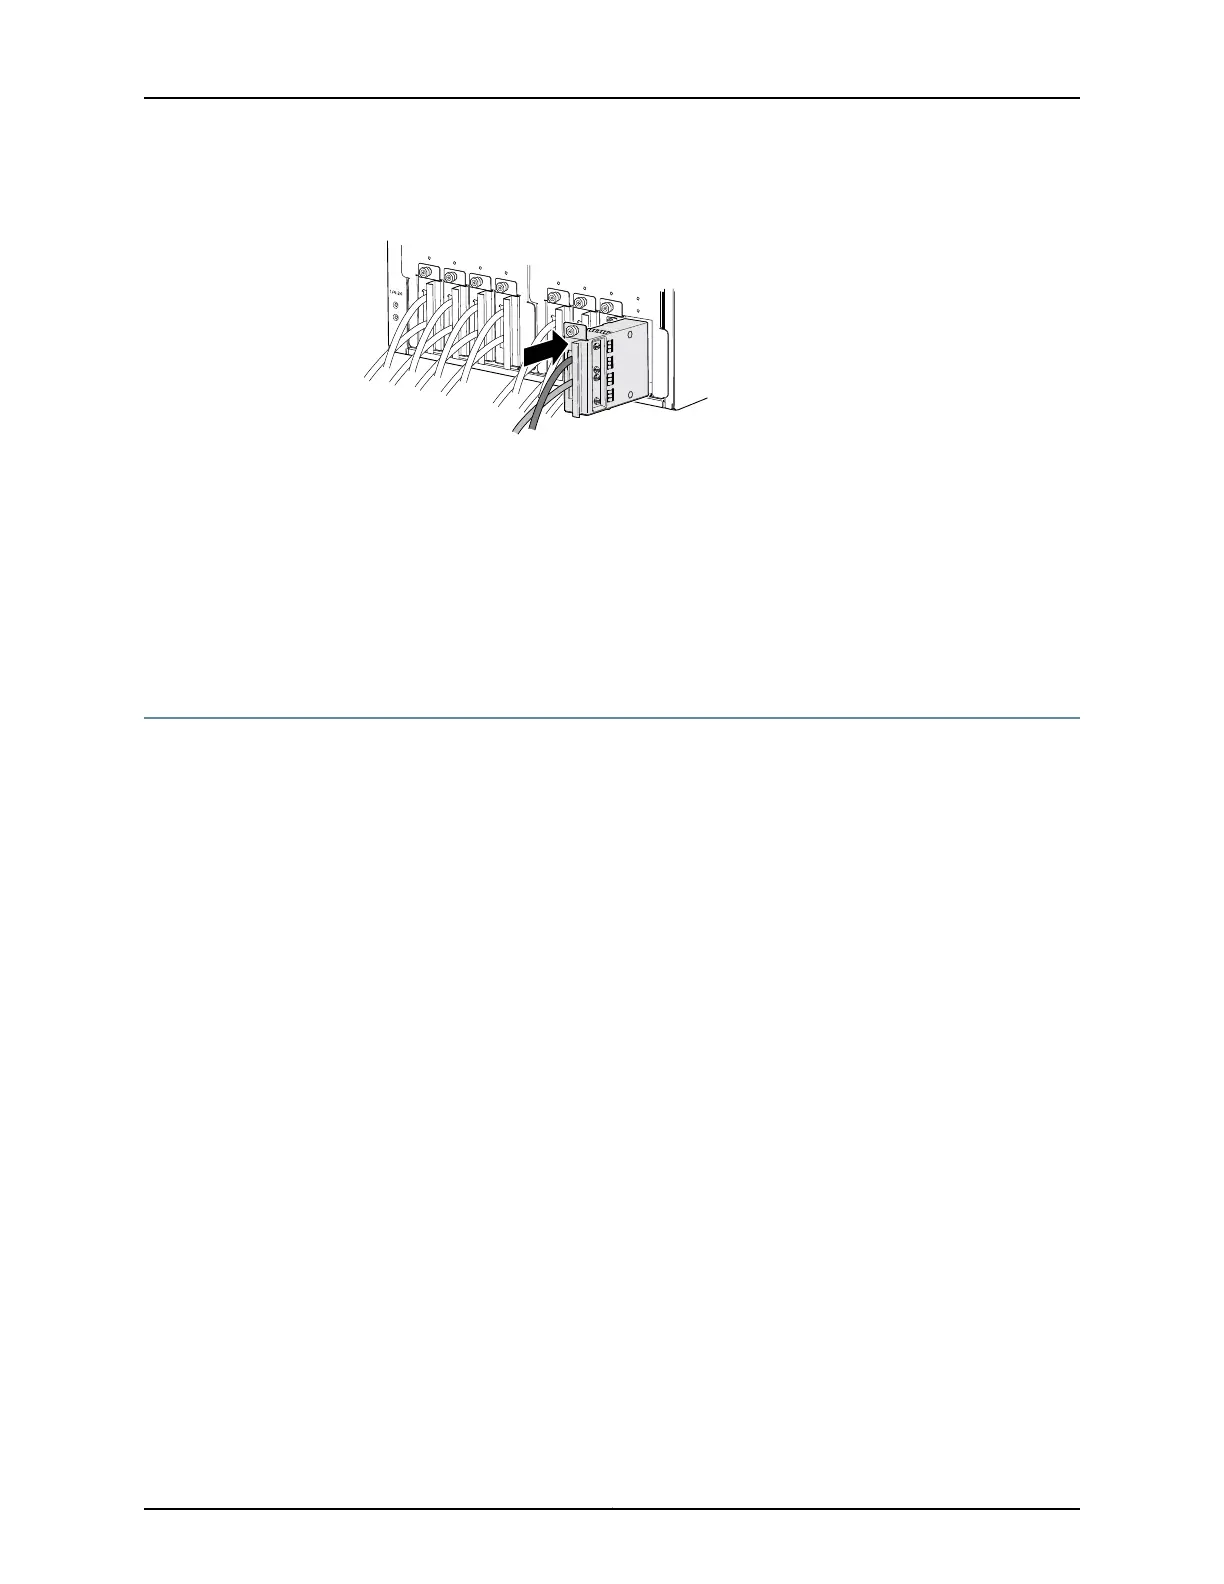
Figure 74: Installing an Input Power Tray
10. Tighten the captive screws on the input power tray. Use a Phillips screwdriver.
11. Reinstall the PSMs at the front of the chassis.
12. Move the power switch on the PDU to the on (|) position
Related
Documentation
PTX5000 Power System Description on page 37•
• PTX5000 Power Distribution Unit LEDs on page 42
Replacing a PTX5000 PDU DC Power Cable
1.
Removing a PTX5000 PDU DC Power Cable on page 198
2.
Installing a PTX5000 PDU DC Power Cable on page 200
Removing a PTX5000 PDU DC Power Cable
Each PDU has eight input power trays. Each input power tray is hot-insertable and
hot-removable, and weighs 1.6 lb (0.7 kg).
To remove a DC power cable:
1. Switch off the customer site circuit breakers to the input power tray that contains the
DC power cable being removed.
2. Make sure that the voltage across the DC power source cable leads is 0 V and that
there is no chance that the cables might become active during the removal process.
Verify that the –48 V 120 A LEDs on the PDU faceplate are off.
3. Switch the circuit breaker for the input power tray on the PDU faceplate to the off
position (O).
4. Loosen the captive screws that secure the input power tray to the PDU.
5. Remove the input power tray from the PDU.
Copyright © 2012, Juniper Networks, Inc.198
PTX5000 Packet Transport Switch Hardware Guide

 Loading...


