3. Grasp the handle and pull the fan tray until it stops (approximately 1.5 inches out of
the chassis).
WARNING: To avoid injury, keep tools and your fingers away from the fans
asyou slide the fan tray out of the chassis. The fansmight still be spinning.
4. When the fans stop spinning, press the release latch located on the left side of the
fan tray.
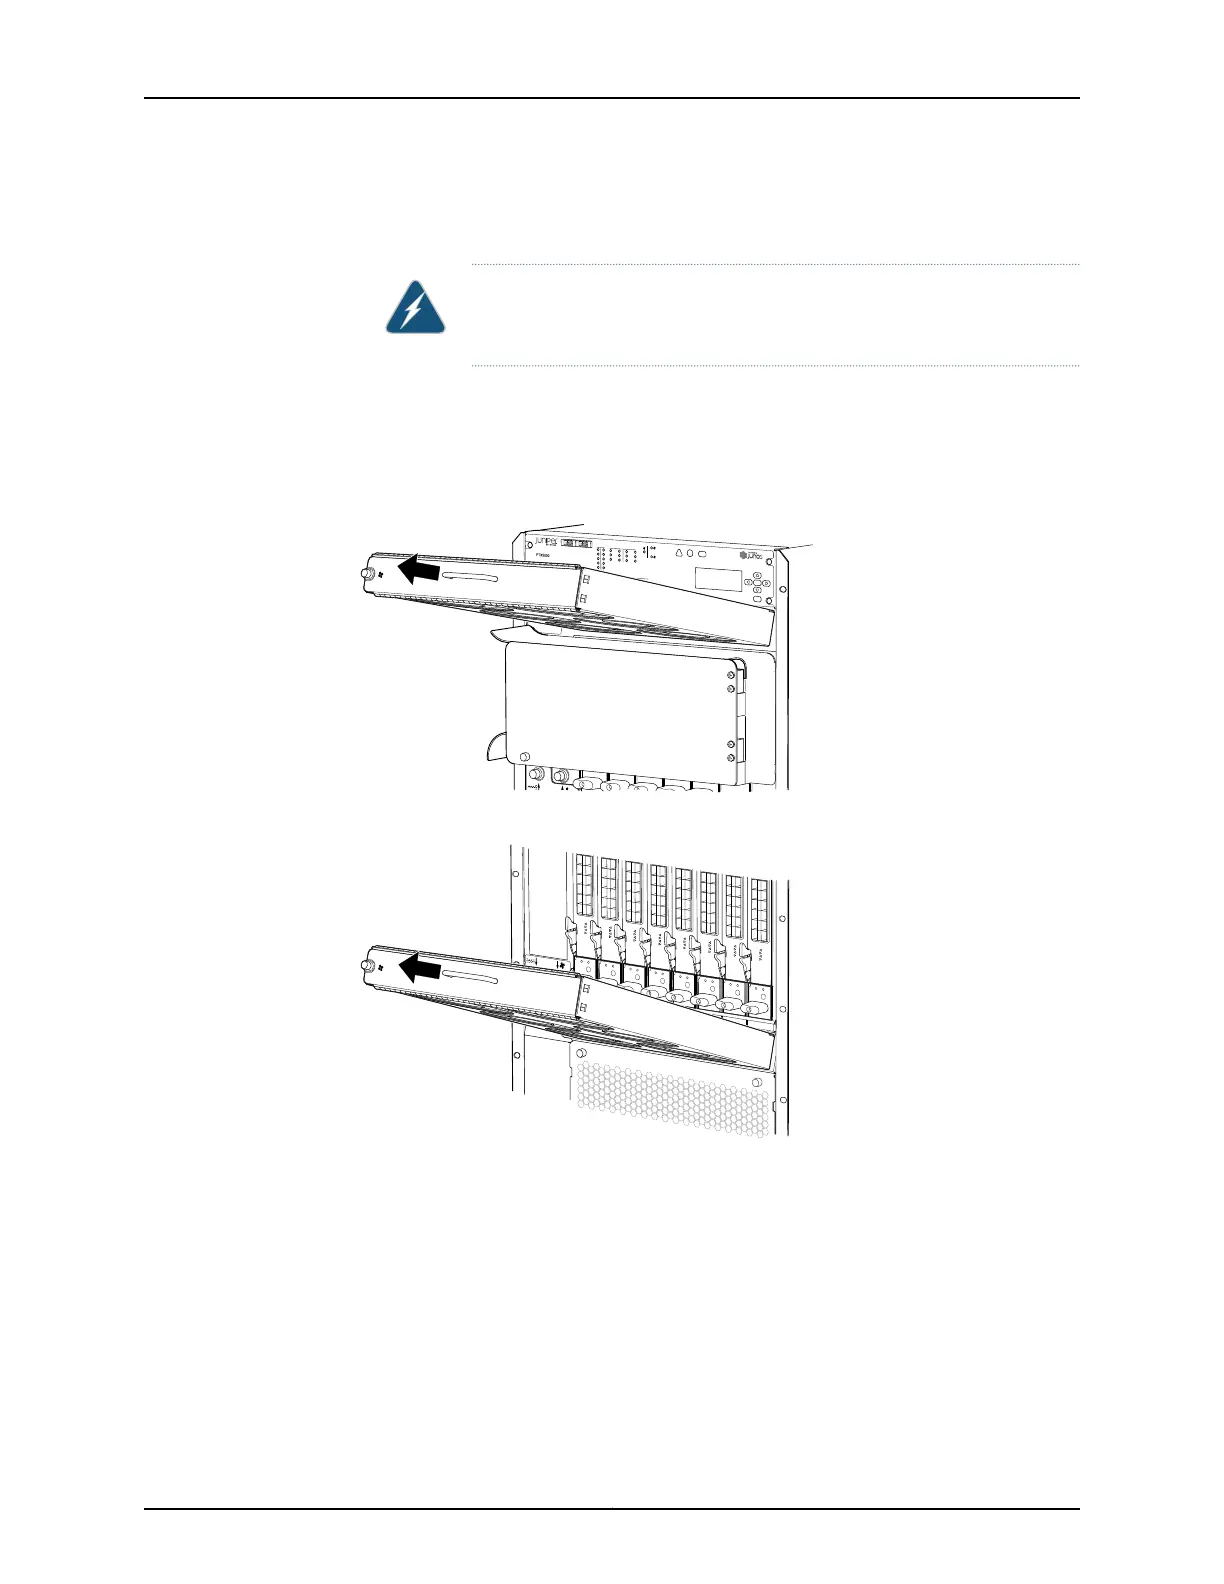
5. Grasp the handle and pull the fan tray completely out of the chassis.
Figure 65: Removing an Upper Horizontal Fan Tray
g006166
FANTRAY-PTX-HORIZONTAL
Figure 66: Removing a Lower Horizontal Fan Tray
g006168
FANTRAY-PTX-HORIZONTAL
Installing a PTX5000 Horizontal Fan Tray
To install a horizontal fan tray (see Figure 67 on page 191 and Figure 68 on page 191):
1. Attach an electrostatic discharge (ESD) grounding strap to your bare wrist, and connect
the strap to one of the ESD points on the chassis.
2. Grasp the fan tray by its handle and insert it straight into the chassis.
3. Tighten the captive screw on the left side of the fan tray faceplate to secure it in the
chassis, using a Phillips (+) screwdriver, number 2.
Copyright © 2012, Juniper Networks, Inc.190
PTX5000 Packet Transport Switch Hardware Guide

 Loading...


