Diagnostic information 2-107
5026
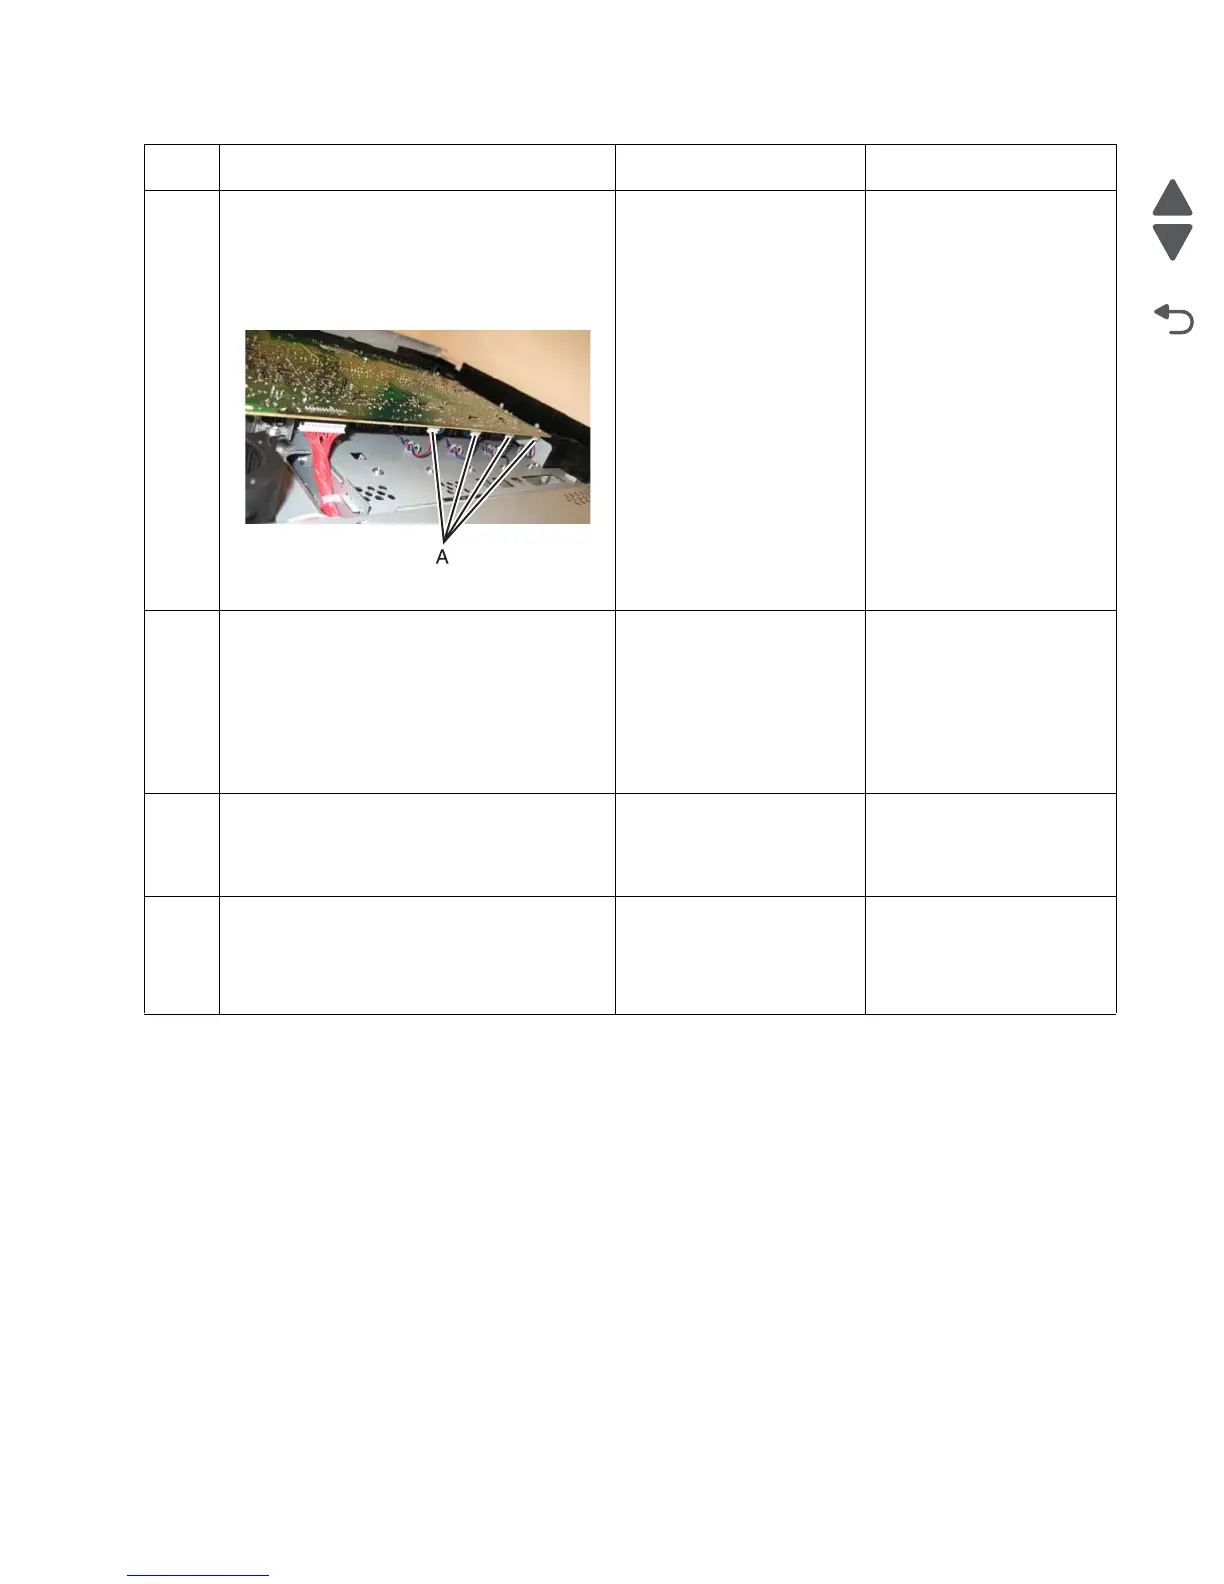
3
Remove the left cover. See “Left cover
removal” on page 4-31.
Reseat then and check all the toner level
sensor cables (A) connected to the rear of the
HVPS for damages and if they are installed
correctly.
Does the problem persist?
Go to step 4. Problem resolved.
4
Connect four new toner level sensors outside
the machine and perform a POR.
Note: Keep track of which sensors change
the error code to reduce the number of failing
sensors. Keep the old sensor which does not
reduce the failing number, leaving three new
sensors and no error reported.
Does the problem persist?
Go to step 5. Replace the failing toner
level sensors. See “Toner
level sensor removal” on
page 4-171.
5
Replace the HVPS board. See “High-voltage
power supply (HVPS) removal” on
page 4-123.
Does the error clear?
Problem resolved. Go to step 6.
6
1. Install the old HVPS back to the machine.
2. Replace the HVPS cable. See “High-
voltage power supply (HVPS) cable
removal” on page 4-125
Does the problem persist?
Replace the system board.
See “System board
removal” on page 4-163.
Problem resolved.
Step Questions / actions Yes No