4-118 Service Manual
5026
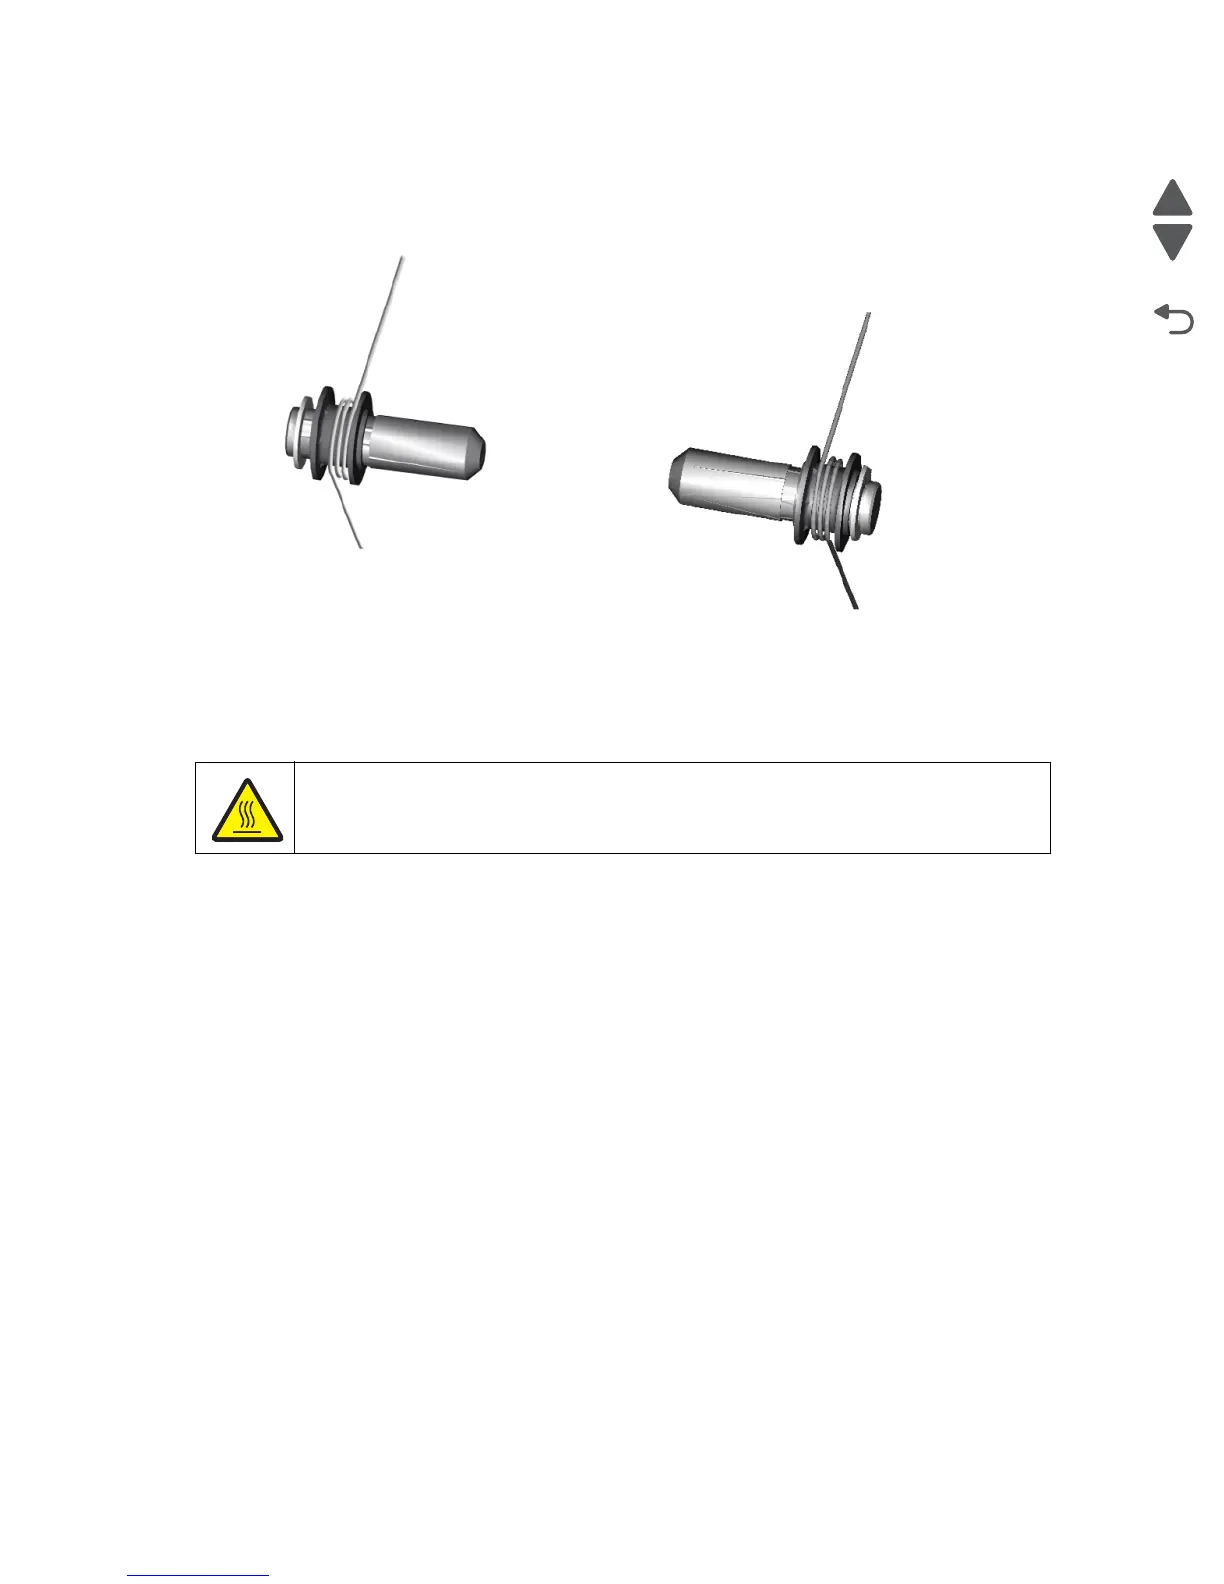
Installation note: The shorter restraint cable installs on the right side of the printer.
Note: The frame end needs to be wrapped to inside of post for two full turns
Fuser removal
See “Fuser assembly, 115 V” on page 7-7, “Fuser assembly, 230 V” on page 7-7, or “Fuser assembly,
100 V” on page 7-7 for the part number.
1. Turn off the printer.
2. Open the front access door.
3. Open the top access door.
4. Rotate the fuser thumbscrews (A) counterclockwise until loosened.
CAUTION
The fuser can be extremely hot. Use care when handling to avoid burns.