2-110 Service Manual
5026
920.14—POST (power-on self test)—Cartridge motor 2 not connected error service
check
Step Questions / actions Yes No
1 1. Turn the printer off.
2. Remove the rear frame cover. See “Rear
frame cover removal” on page 4-47.
3. Reseat the cables in connector JCARTP2
and JCARTS2.
Does the error clear?
Problem resolved. Go to step 2.
2
Check the cable in connector JCARTP2 and
JCARTS2 for pinch points and any other
damage to the cable or connector.
Are the cables damaged?
Replace the cartridge
motor 2/3 cable. See
“Cartridge motor 2/3
cable removal” on
page 4-77.
Go to step 3.
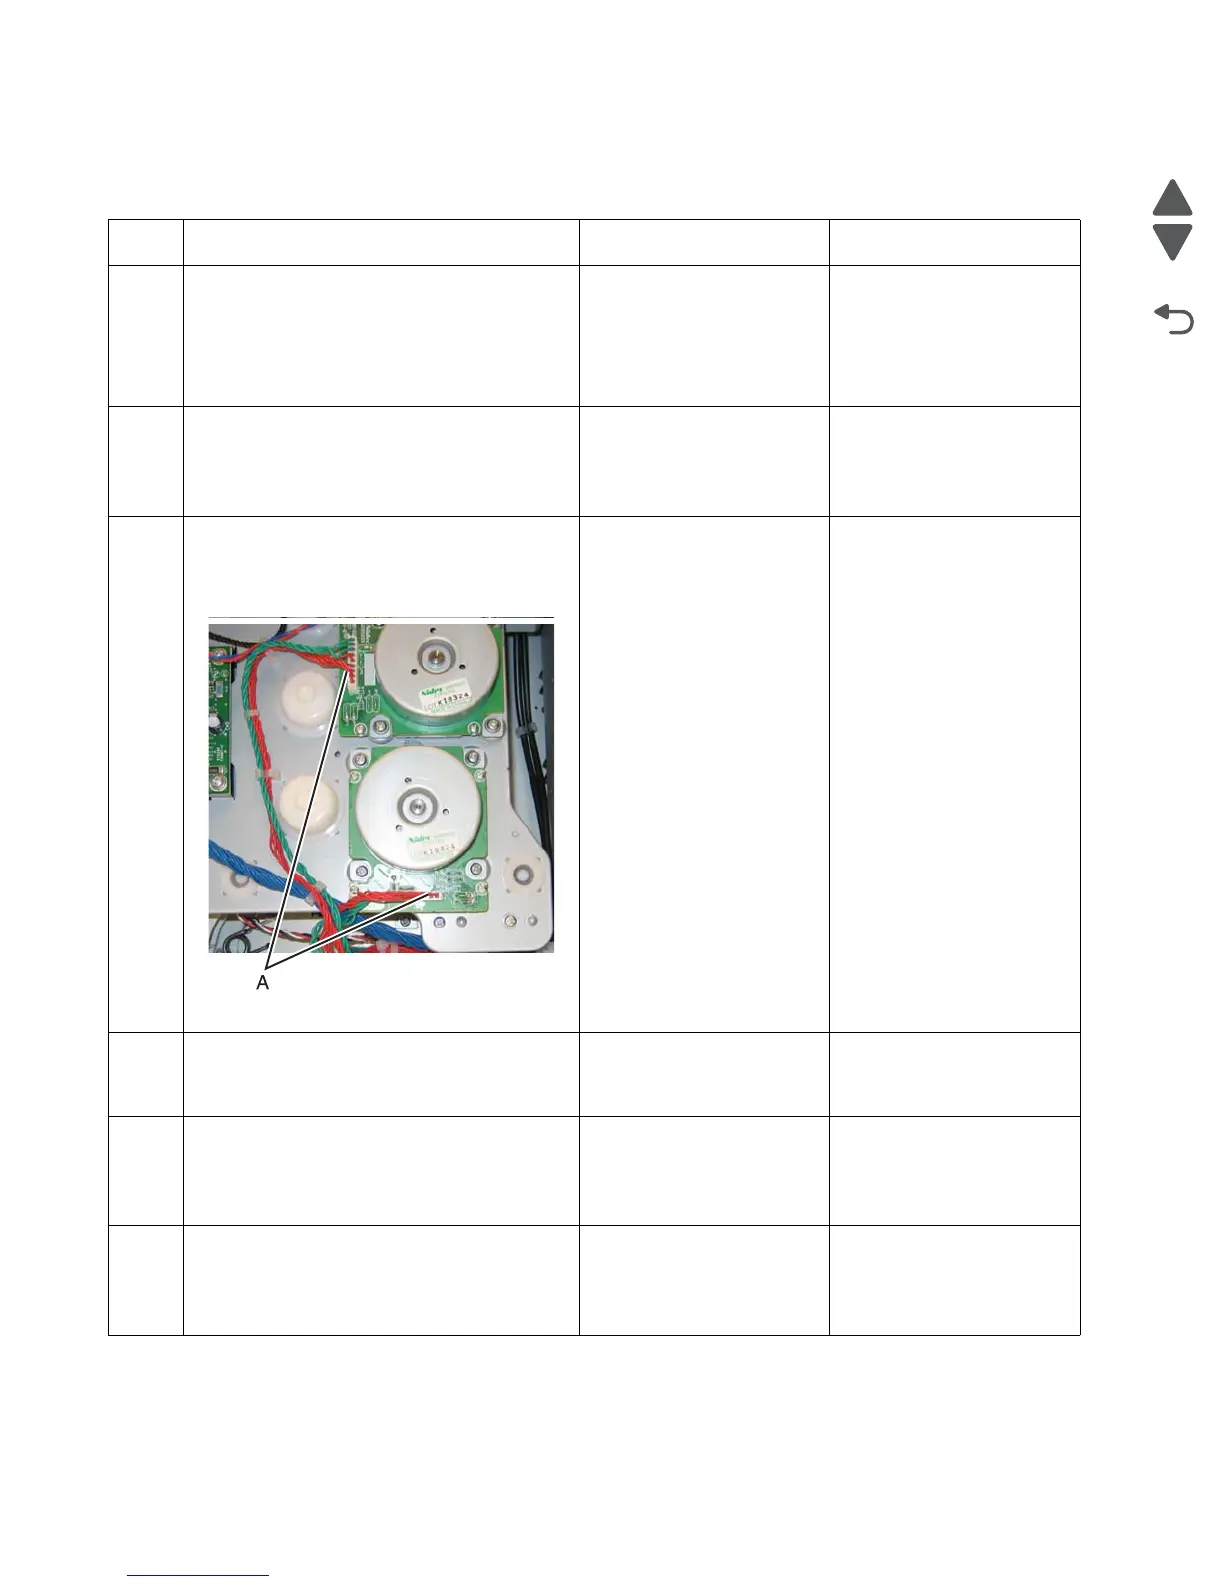
3
Remove the right cover. See “Right cover
removal” on page 4-51. Check the cartridge
motor 2/3 cable for the proper connection to
the EP drive assembly, pinch point for the
cable, or damage to the cable or connectors.
Is either cable damaged?
Replace the cartridge
motor 2/3 cable. See
“Cartridge motor 2/3
cable removal” on
page 4-77.
Go to step 4.
4
Measure the continuity across all of the fuses
on the system board.
Are any of the fuses blown?
Replace the system board.
See “System board
removal” on page 4-165.
Go to step 5.
5
Connect a new cartridge motor 1/fuser cable
from the outside of the machine.
Did the error clear?
Replace the cartridge
motor 1/fuser cable. See
“Cartridge motor 1/fuser
cable removal” on
page 4-74.
Go to step 6.
6
Connect the old cartridge motor 1/fuser motor
cable to a new EP drive assembly outside of
the machine.
Did the error clear?
Replace the EP drive
assembly. See
“Electrophotographic
(EP) drive assembly
removal” on page 4-98
Replace system board.
See “System board
removal” on page 4-163.