Diagnostic information 2-61
5026
162.xx, 163.xx—Motor Error (option tray 3) service check
3
Remove the right cover. See “Right cover
removal” on page 4-51.
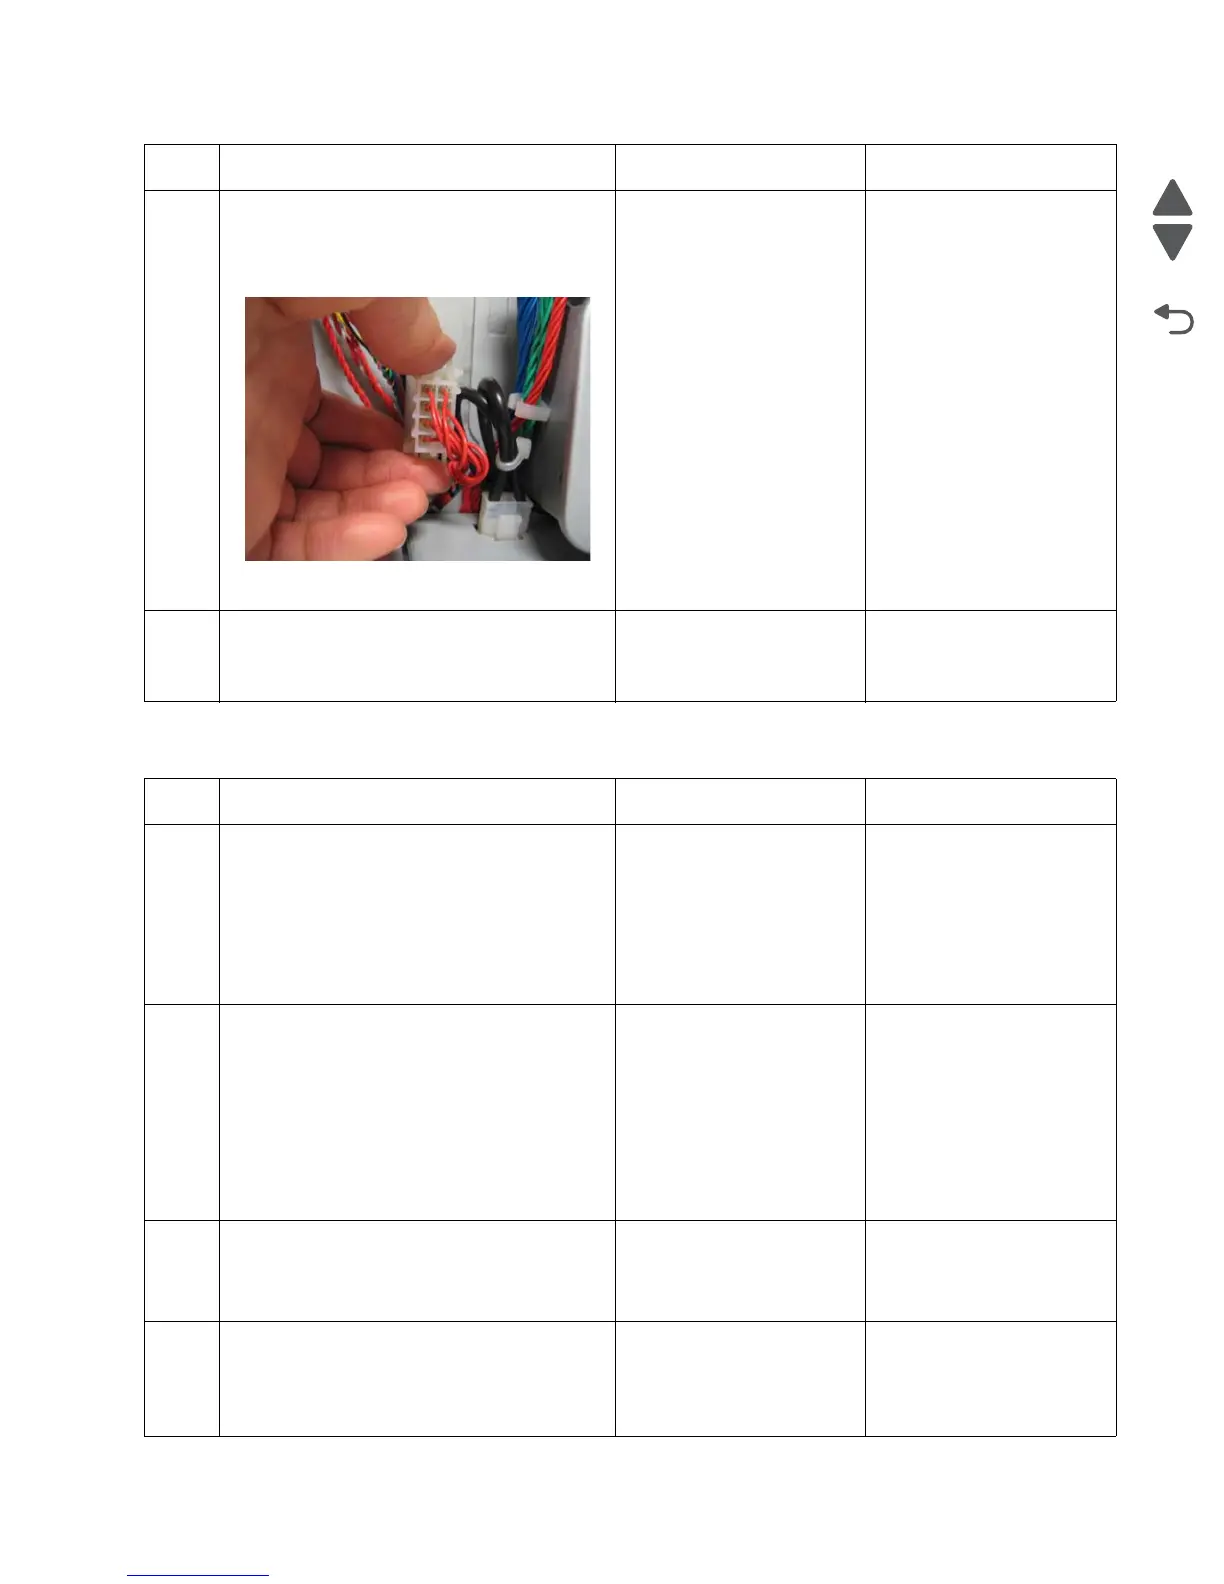
Check the option cable for pinch points and
any damage.
Is the cable damaged?
Replace the option cable.
See “Option cable
removal” on page 4-143.
Go to step 4.
4
Is the option tray 2 the high-capacity input tray
(2,000-sheet feeder)?
Replace the HCIT top plate
assembly. See “Top plate
assembly removal” on
page 4-214.
Replace the option tray 2
assembly.
Step Questions / actions Yes No
1 1. Turn the printer off.
2. Reseat option tray 3.
3. Bring the printer up in Diagnostics Menu
(turn off the printer, press and hold
buttons 3 and 6, then turn on the printer).
4. Navigate to PRINT TESTS > Tray 3 >
Single.
Did the page print?
Problem resolved. Go to step 2.
2
1. Remove all input options connected to the
machine.
2. Connect tray 3 directly on the printer
making it tray 2.
3. Bring the printer up in Diagnostics Menu
(turn off the printer, press and hold
buttons 3 and 6, and turn on the printer).
4. Navigate to PRINT TESTS > Tray 2 >
Single.
Did the page print?
Go to step 3. Go to step 4
3
Check the top and bottom autoconnect
connectors of tray 2 (input option above tray
3) for damages.
Are the autoconnect connectors damaged?
Replace tray 2 550 input
option
Go to step 4.
4
Check the top and bottom autoconnect
connectors of tray 3 for damages.
Are the autoconnect connectors damaged?
• For 550 option, replace
tray 3 550 input option.
• For HCIT, replace the
HCIT top plate
assembly.
Go to step 5.
Step Questions / actions Yes No