Repair information 4-153
5026
Printhead removal, installation, and adjustment
See “Printhead assembly” on page 7-11 for the part number.
Service tip—Testing the new printhead
See “Printhead verification” on page 3-39 for quick way to verify that the existing printhead is failing
before installing the new printhead. If the new printhead also fails, the existing printhead is probably
working properly, so the system board is probably the failing component.
Printhead removal
1.
Turn the printer off.
2. Disconnect the power cord from the electrical outlet and from the printer.
3. Remove the paper tray.
4. Open the front access door.
5. Open the top access door.
6. Remove the fuser.
7. Remove the transfer module and photoconductor units.
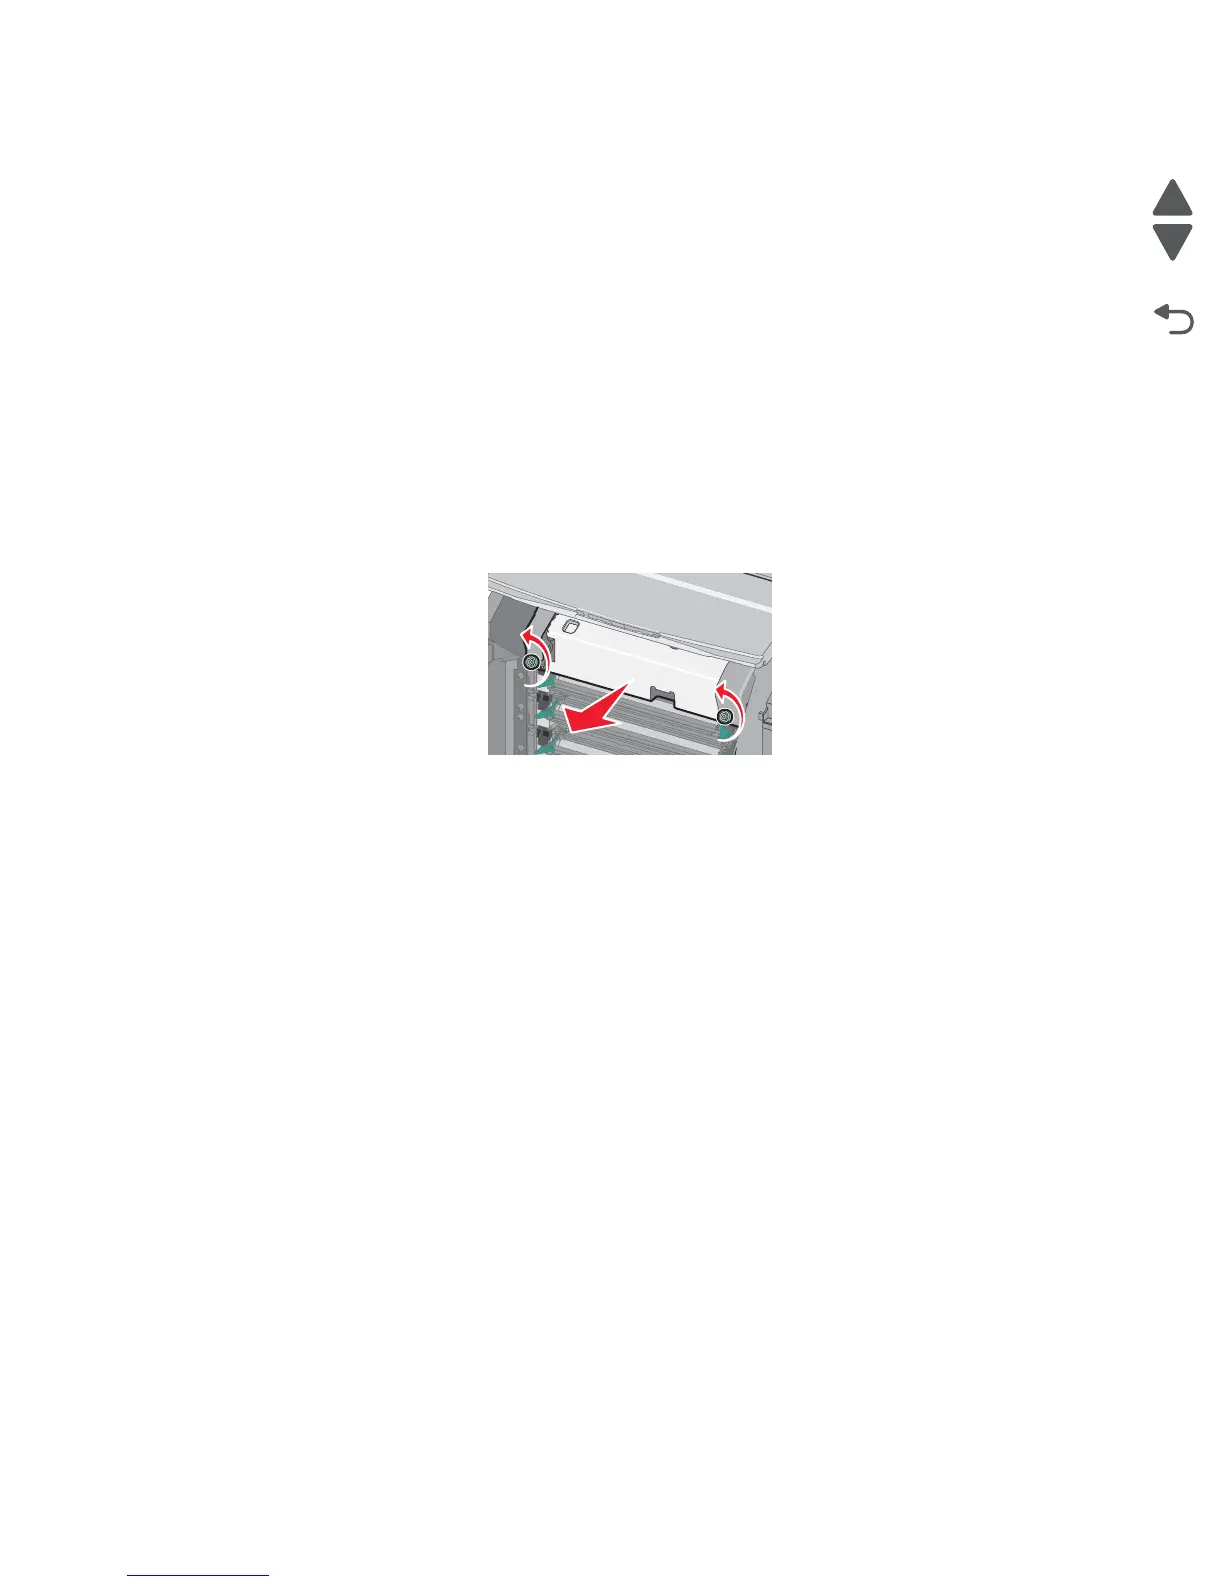
a. Disconnect the transfer module cable (A).
b. Press the two tabs (B) to release the front access cover assembly.
c. Press the two tabs (C) on either side of the transfer module, and lift out the transfer module.
Note: Leave the photoconductor units on the transport belt when removing.