Repair information 4-19
5026
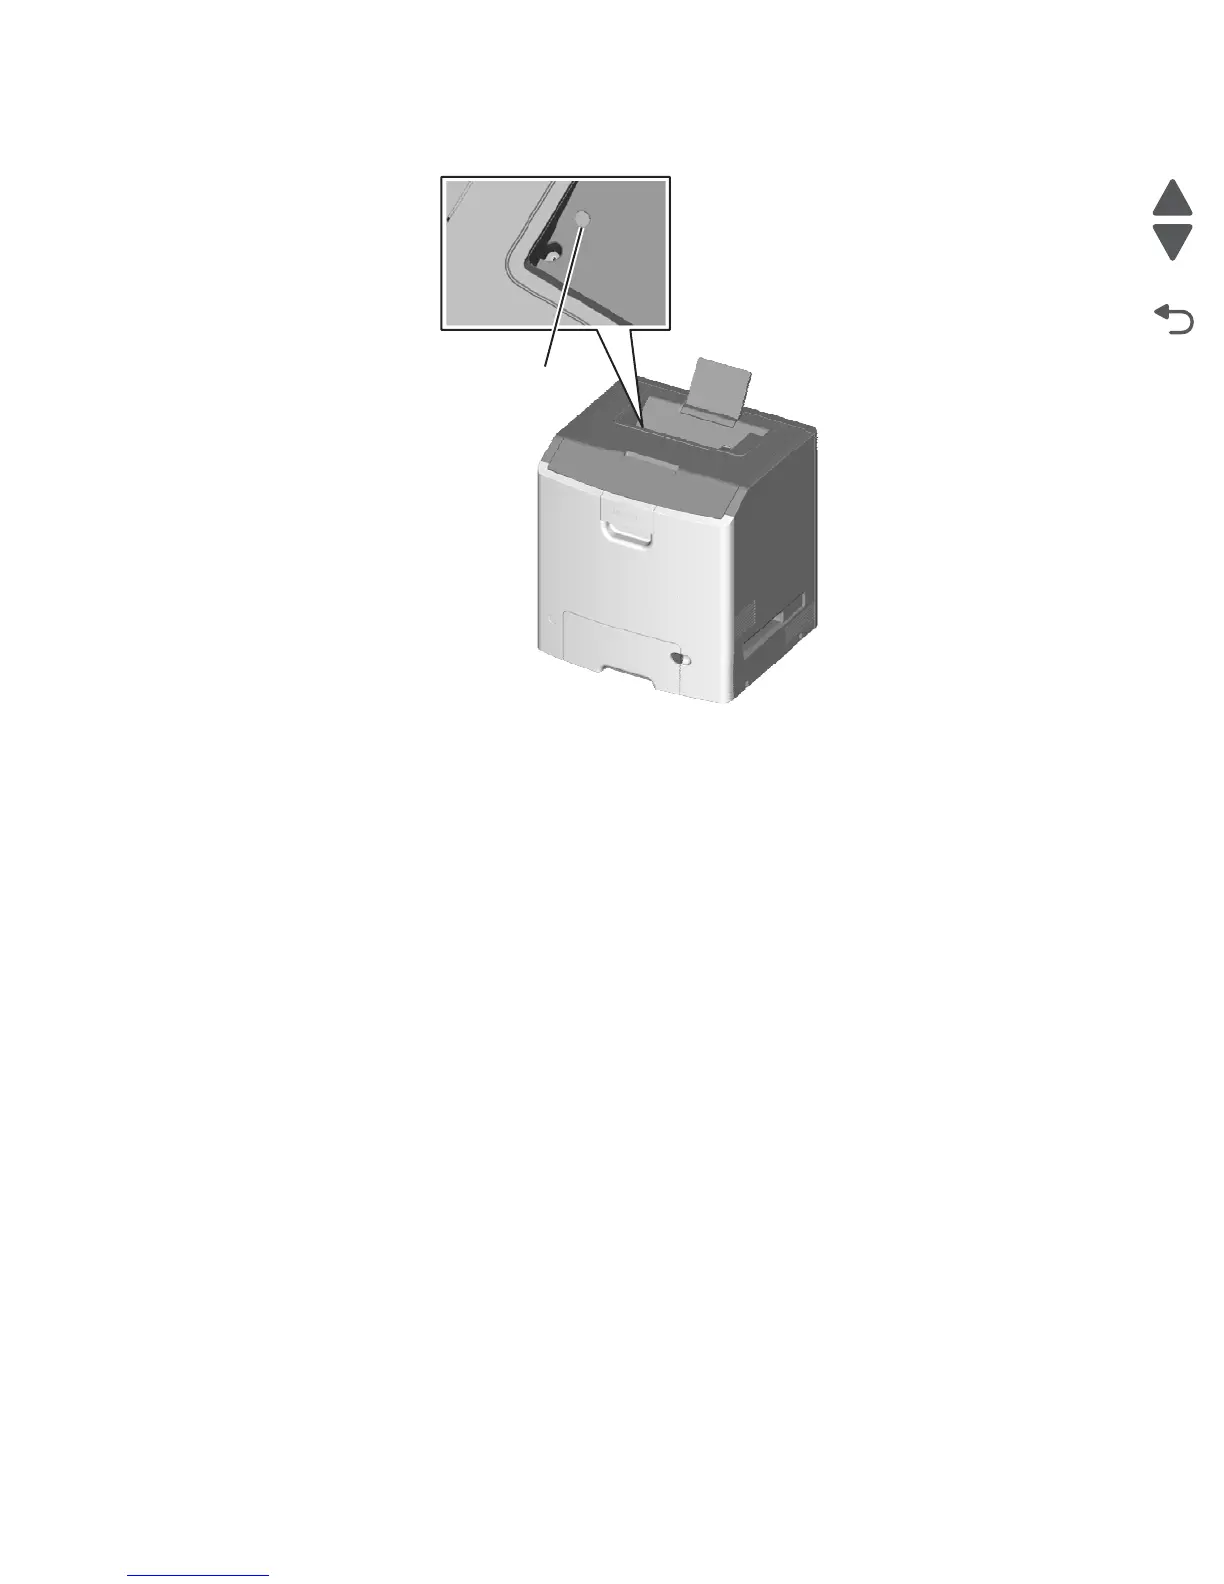
5. Remove the printhead alignment screw cover (E).
6. Reinstall the transfer module with the photoconductor units still attached.
7. Reconnect the transfer module cable.
8. Replace the toner cartridges.
9. Close the top access door.
10. Close the front access door.
11. Plug the electrical cord into the printer.
12. Plug the electrical cord into the outlet.
13. Align the printhead skew for black.
a. Enter the Diagnostic menu (turn off the printer, press and hold buttons 3 and 6, turn on the printer,
and release the buttons when the clock graphic displays).
b. Touch REGISTRATION from the DIAGNOSTICS menu, and then touch Settings.
c. Touch Skew.
d. Set the Skew to zero.