Repair information 4-147
5026
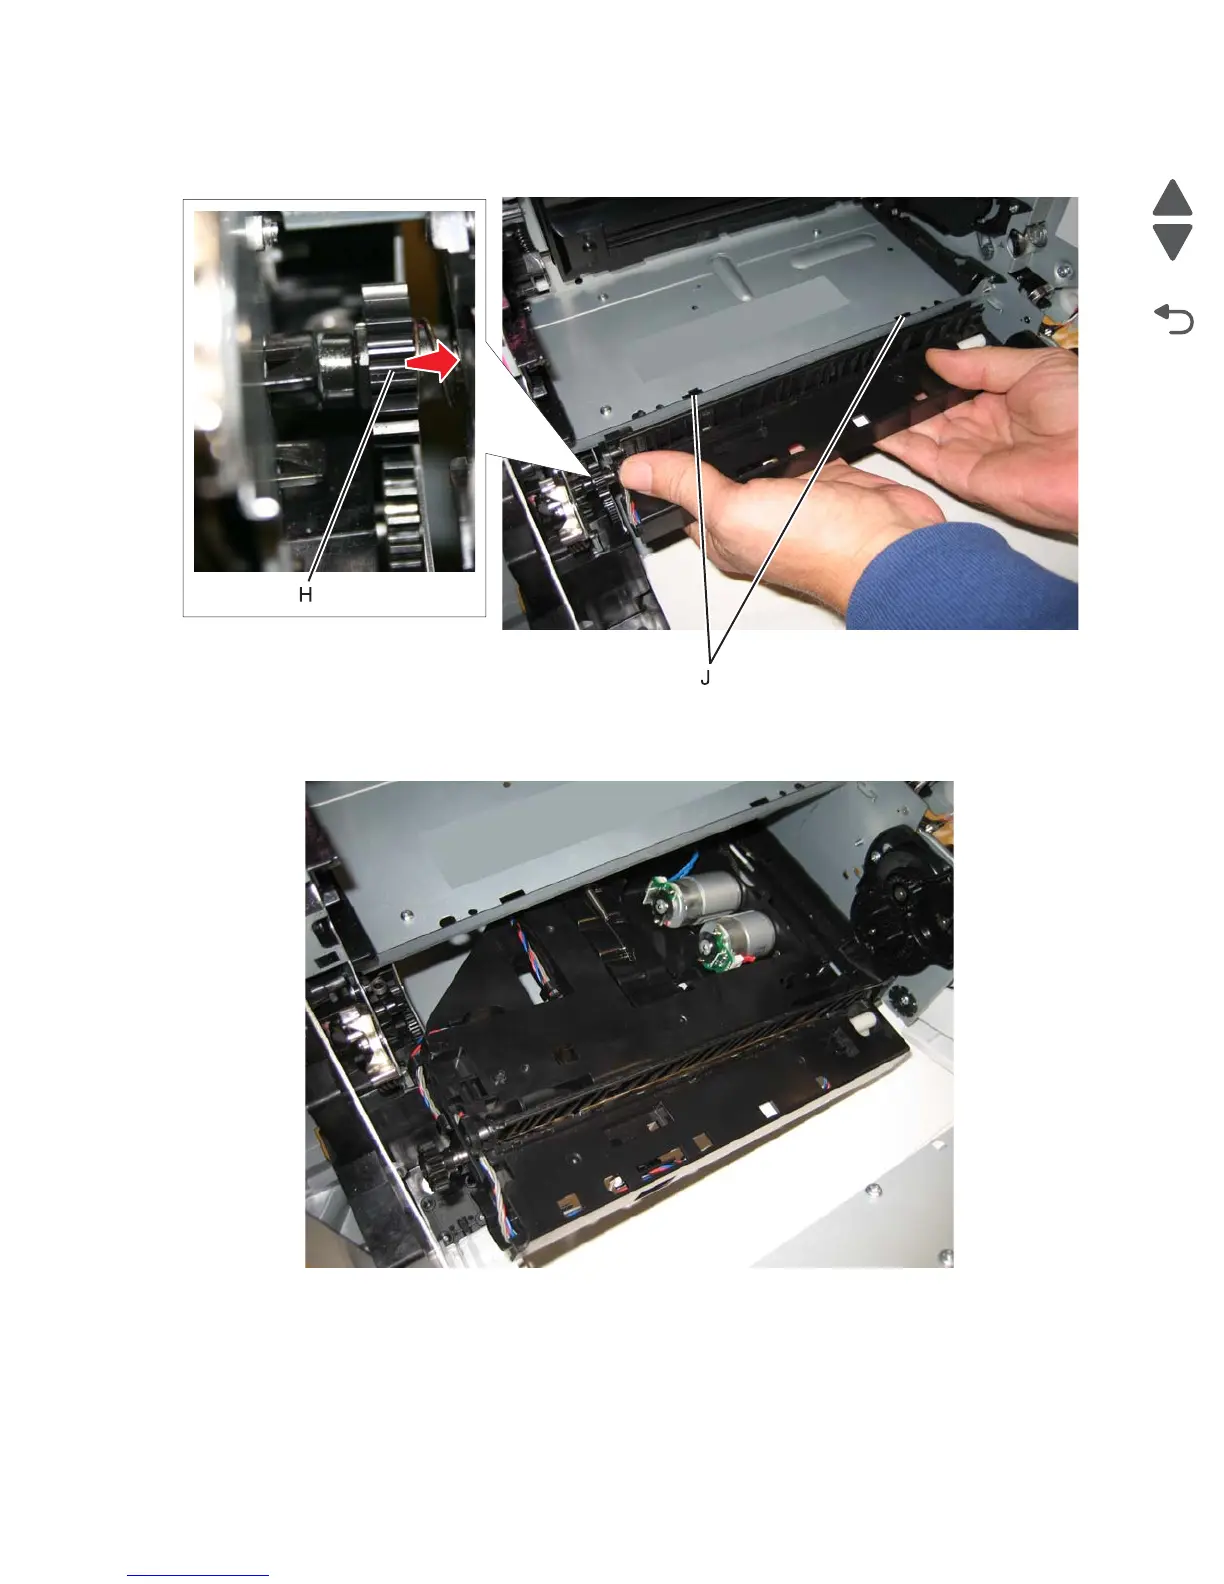
10.With one hand, disengage the gear (H), then grasp the paper pick assembly, and pull forward and
downward to disengage the assembly until the front (J) and rear locking tabs release (not visible).
11. Lower the paper pick mechanism, and remove through the front of the printer.
Note: Make sure the JTRAY1 and JTRAY2 connectors do not bind when passing through the frame
access hole.
Installation notes:
1. Remove the waste toner assembly. See “Waste toner assembly removal” on page 4-184.
2. Replace the rear frame cover to protect the system board.
3. Turn the printer on its back.
4. Slide the paper pick assembly toward the back of the printer, and down to engage the tabs (A).